The holiday season is upon us, and what better way to celebrate than with festive, handmade accessories? This year, ditch the store-bought and embrace the joy of DIY with our guide to creating adorable, fur-trimmed scrunchies. These cozy and stylish hair accessories are perfect for adding a touch of festive cheer to any outfit, from casual daytime looks to glamorous holiday parties. Imagine the soft, luxurious feel of faux fur against your wrist, perfectly complementing your sparkling holiday attire. Forget complicated sewing techniques; our method is surprisingly simple and quick.
This tutorial introduces the ingenious "burrito method" for creating perfectly formed scrunchies, even for beginners. This clever technique minimizes sewing, making it a perfect project for a busy holiday season. Ready to transform scraps of festive fabric and fluffy faux fur into delightful hair accessories? Let's dive into the step-by-step instructions and create some wonderfully warm and whimsical scrunchies!
Preparation and Safety Guidelines
- Fabric (4 inches x 20 inches)
- Faux fur (2 inches x 20 inches)
- 10 inches of ¼ inch wide elastic
- Scissors/Razor blade/X-acto knife
- Marking pen/Sharpie
- Sewing machine
- Clover bodkin
- Sewing needle
- Always supervise children around scissors and needles, if using.
- Ensure fabric and fur trim are securely attached to prevent accidental ingestion or strangulation, especially if making scrunchies for young children.
- Use a strong elastic that won't easily break to maintain scrunchie integrity and prevent choking hazards.
Step-by-Step Instructions
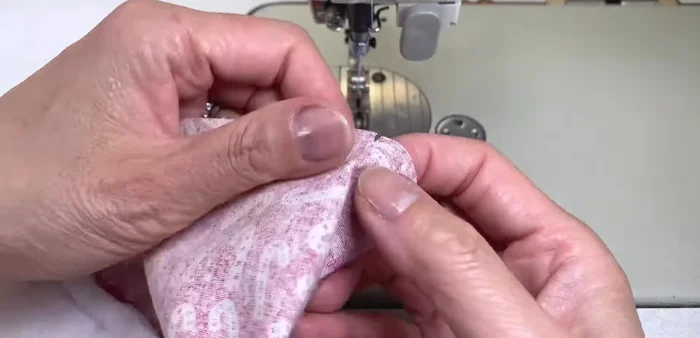
Prepare Fabrics
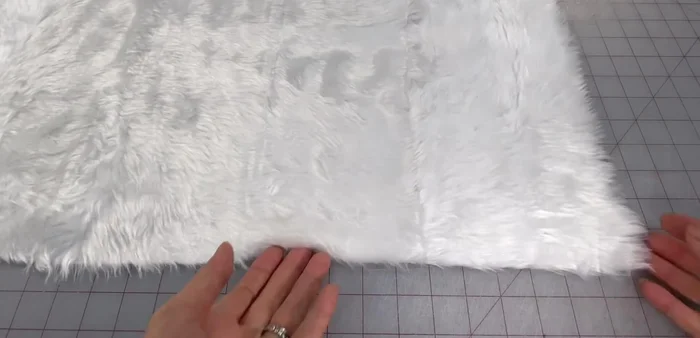
- Cut fabric and fur:
- Cut main fabric 4 inches by 20 inches. Cut faux fur 2 inches by 20 inches (avoid cutting through both layers of fur to minimize shedding).

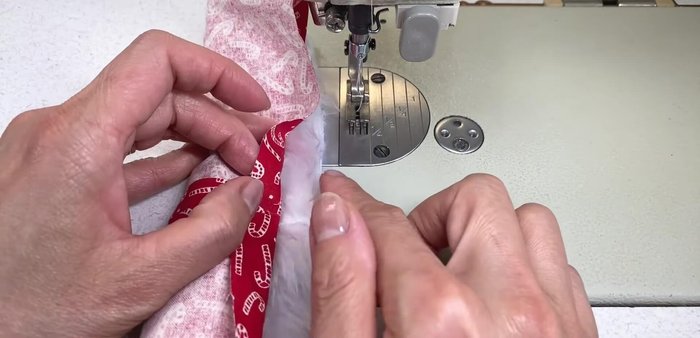
Prepare Fabrics Attach Fur to Fabric
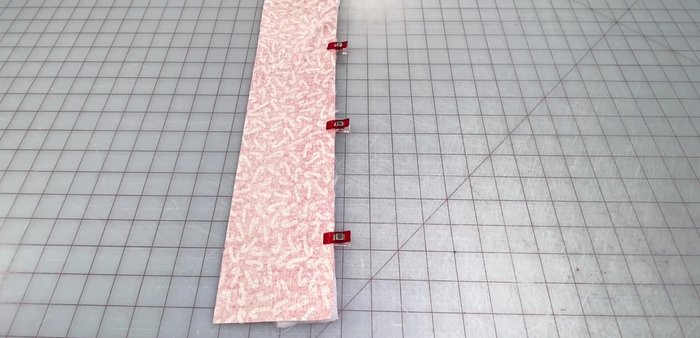
- Place fabric on top of fur (right sides together), pin or clip, and sew with a ½ inch seam allowance, pushing the fur towards the inside of the seam.
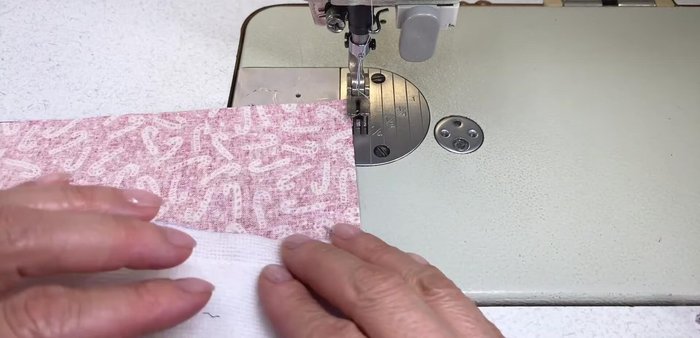
Attach Fur to Fabric Create Fabric Tube
- Fold fabric in half (right sides together), flip it over (fur at the top), match seam lines, and stitch short sides together with a ½ inch seam allowance.
- Cut small notches at the halfway mark of the folded fabric.
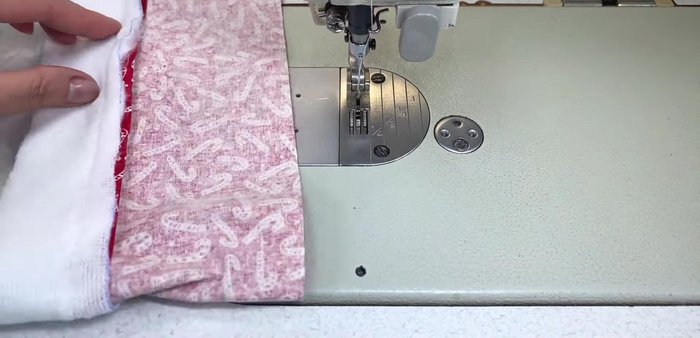
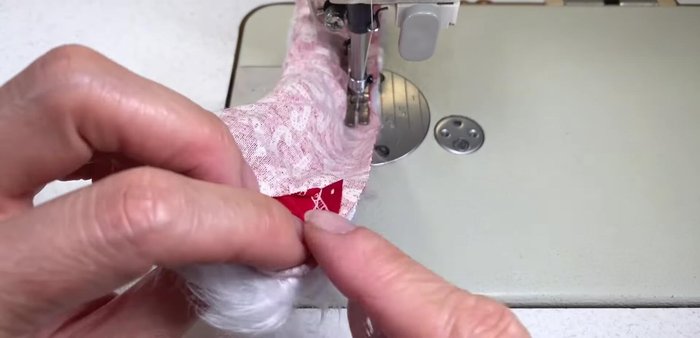
Create Fabric Tube Burrito Roll and Stitch
- Using the burrito method, finger press seam open, turn fabric over (seam at the bottom), and roll top layers together to create a skinny roll.
- Match bottom seam of fabric with fur seam, push fur ends in, and stitch from top edge of seam allowance with a ½ inch seam allowance, pulling center fabric towards you as you sew. Ensure notches are matched.
- Leave a 2-3 finger wide opening for elastic insertion, back tack to finish.
Burrito Roll and Stitch Insert Elastic
- Insert elastic through opening using a bodkin, pull it through and tie ends tightly.
- Pull all fabric and elastic right side out.
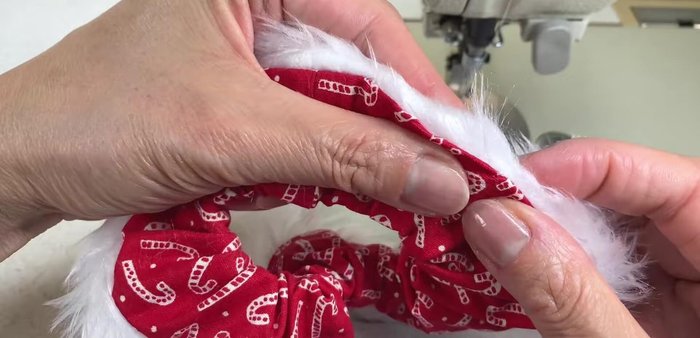
Insert Elastic Finishing Touches
- Remove excess fur from seams using a blunt needle.
- Hand stitch the opening closed using a slip stitch, catching both fur backing and fabric folds.
Finishing Touches


Read more: DIY Stretchy Fingerless Gloves: Easy Sewing Tutorial
Tips
- To minimize fur shedding, use scissors, a razor blade, or an X-acto knife to cut along the backing of the fur only.
- When sewing fur, push the fur towards the inside of the seam to prevent bulkiness.
- If using fur with a shorter pile, you don't need to worry about pushing it to the inside of the seam during stitching.
- The notches help to match the fabric edges evenly when using the burrito method.
- You can substitute the faux fur with other materials like sherpa or minky fabric.