Cozy up this fall with a handmade fringed flannel scarf, the perfect blend of warmth and effortless style! Flannel's soft texture and inherent charm make it an ideal fabric for a DIY project, and adding a generous fringe elevates it from simple to stunning. This guide will walk you through creating your own full-length fringed flannel scarf, perfect for adding a touch of handmade personality to your autumn wardrobe. Whether you're a seasoned crafter or a complete beginner, you'll find this project surprisingly accessible and incredibly rewarding.
Forget expensive store-bought scarves – making your own is easier than you think and allows for complete customization. From choosing the perfect flannel print to mastering the art of the fringe, this comprehensive guide covers every step of the process. Ready to transform a simple piece of fabric into a stylish and cozy accessory? Let's dive into the detailed, step-by-step instructions that will have you wrapped up in warmth in no time!
Preparation and Safety Guidelines
- Flannel fabric (two coordinating patterns)
- Rotary cutter
- Straight edge
- Measuring tape
- Straight pins
- Thread
- Seam ripper
- Always use sharp scissors when cutting fabric and fringe to avoid injury. Keep fingers away from the blade.
- If using a rotary cutter, use a cutting mat underneath to protect your work surface and prevent accidental cuts.
- When working with needles (if adding embellishments), be mindful of where you place them to avoid accidental pokes or pricks. Store needles safely when not in use.
Step-by-Step Instructions
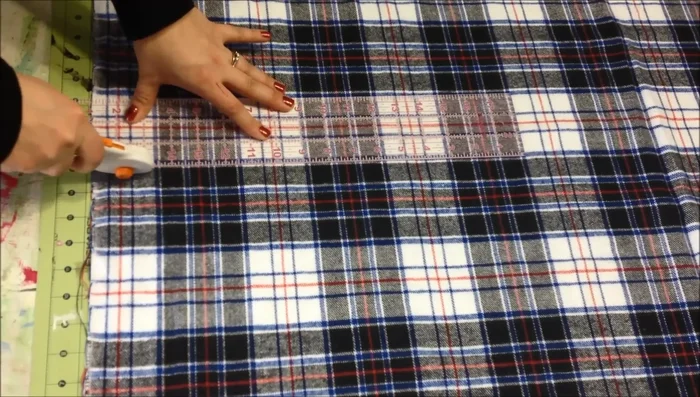
Measure and Cut Fabric
- Determine scarf width and length. Multiply desired width by two, adding extra inches for fringe. Cut fabric pieces to these dimensions.

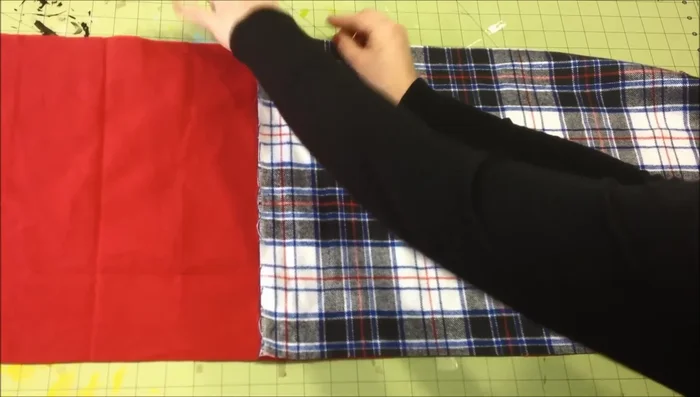
Measure and Cut Fabric Join Fabric Pieces
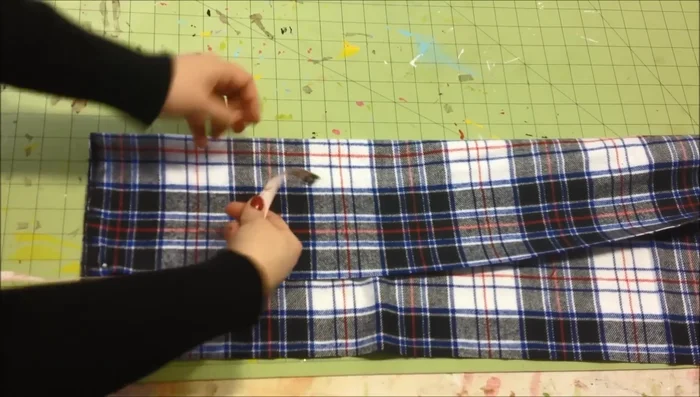
- Overlap fabric pieces with wrong sides together. Pin the pieces together.
- Sew the two pieces of flannel together along both the front and back sides, stopping before the fringe section.
Join Fabric Pieces Prepare for Fringe
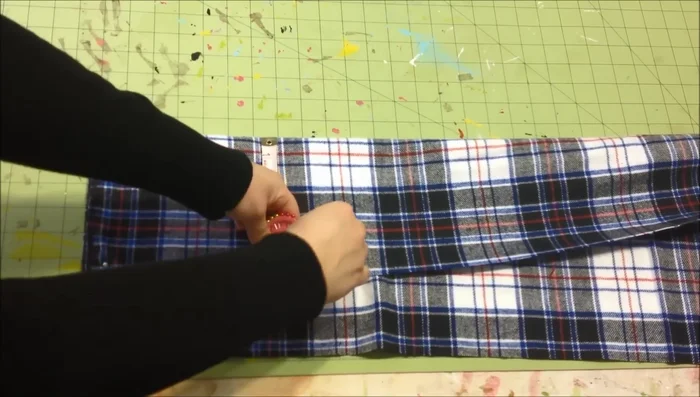
- Measure and fold one scarf width. Pin to create the folded edge of the scarf, leaving the bottom section for the fringe.
- Pin along the entire length of the scarf, creating a straight line to mark the fringe section.
- Sew a straight stitch along the pinned line to secure the scarf and fringe.
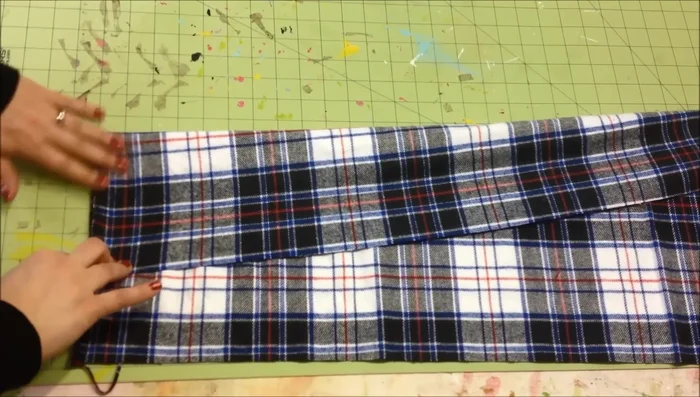
Prepare for Fringe Create the Fringe
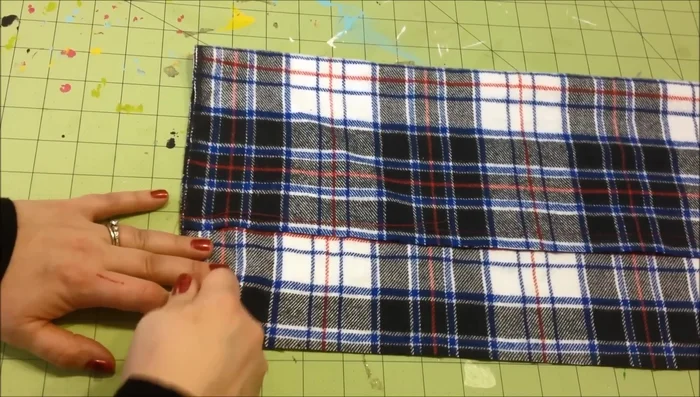
- Use a seam ripper to carefully separate the horizontal threads from the vertical threads in the fringe section. Pull loose threads to create fringe.
Create the Fringe Finish and Trim Fringe
- Trim and even out the fringe with a rotary cutter and straight edge to create a neat, even look. (1 1/2 inches fringe length is recommended)
Finish and Trim Fringe

Read more: DIY Stretchy Fingerless Gloves: Easy Sewing Tutorial
Tips
- Leaving the flannel edges unfinished creates a naturally frayed and soft look. If you prefer a cleaner finish, sew the fabric pieces together with right sides facing.
- Avoid making the fringe too long (1 1/2 inches is ideal for easier management).