Looking for a stylish and versatile hair accessory that's both chic and easy to make? Then look no further than the DIY faux knot turban headband! This ingenious design offers two distinct looks in one, transforming from a sleek, modern headband to a charming knotted turban in seconds, all with minimal effort. Forget spending a fortune on expensive headbands – this project utilizes readily available materials and simple techniques, making it perfect for beginners and experienced crafters alike.
This incredibly adaptable accessory is perfect for bad hair days, adding a touch of elegance to a casual outfit or serving as the perfect finishing touch to a more formal ensemble. Ready to create your own stunning and versatile faux knot turban headband? Let's dive into the step-by-step instructions and unlock the secrets to achieving these two fabulous looks!
Preparation and Safety Guidelines
- Stretchy knit fabric
- Sewing machine (or serger)
- Scissors
- Always use fabric glue or adhesive specifically designed for fabrics and follow the manufacturer's instructions carefully. Incorrect adhesive can damage your fabric or cause irritation.
- Be mindful of the placement of the knot and headband to avoid obstructing your vision or causing discomfort.
- If using sharp tools like scissors, handle them with care to prevent accidental cuts or injuries.
Step-by-Step Instructions
Prepare the Fabric
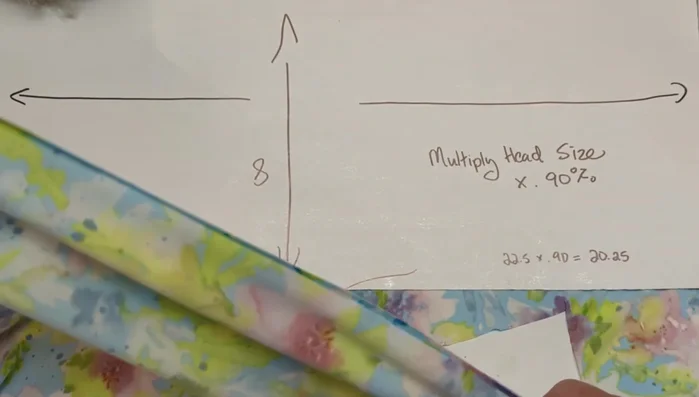
- Cut a rectangle of stretchy knit fabric with the stretch from side to side.

Prepare the Fabric Sew the Fabric Tube
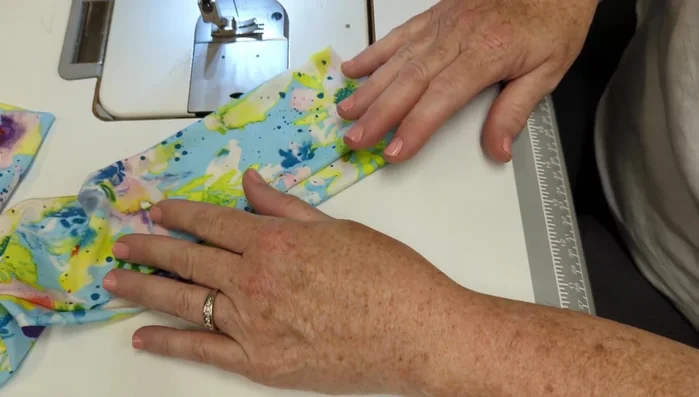
- Sew the right sides together along the top edge using a serger or overlock stitch.
- Turn the fabric right side out.
Sew the Fabric Tube Finish the Edges
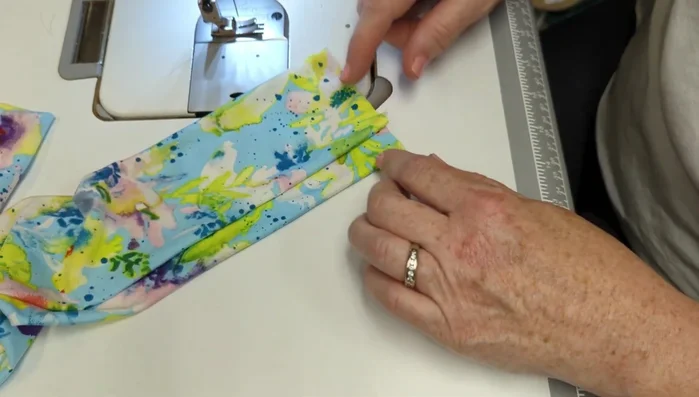
- Sew a stitch down the end of each side to create a defined edge.
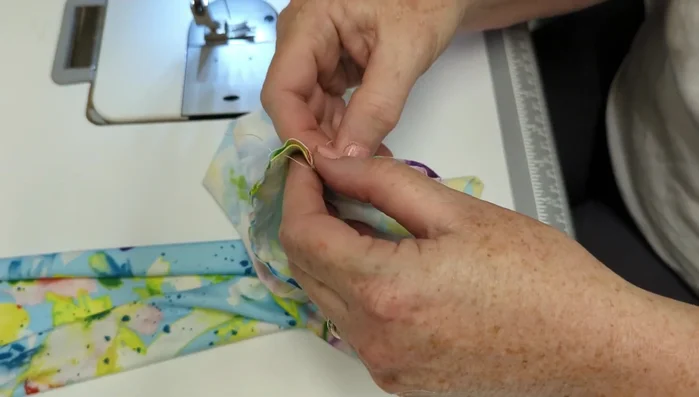
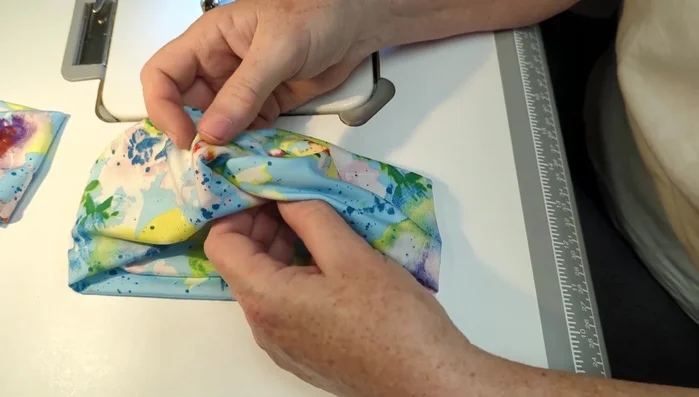
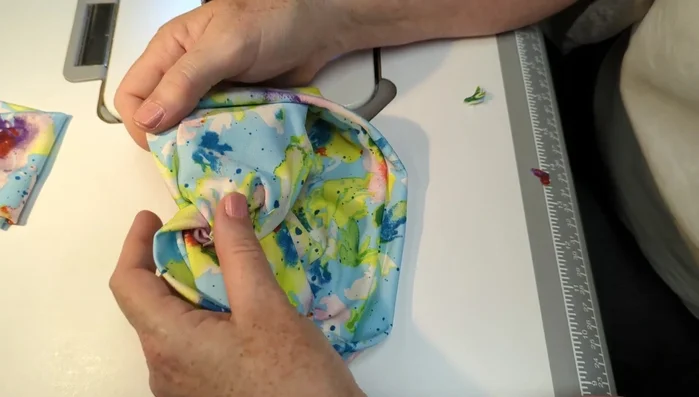
Finish the Edges Create the Faux Knot
- Sew the ends together to form the faux knot. Ensure the seams are facing UP and towards you during the folding process.
- Sew the edges of the knot together to make the knot smaller and more distinctive.
- Pull on the ends to make the knot more defined.
Create the Faux Knot Clean Up
- Trim excess threads.
Clean Up


Read more: DIY Stretchy Fingerless Gloves: Easy Sewing Tutorial
Tips
- Use an overlock or serger stitch to allow for stretch.
- The key to a well-formed knot is proper folding with seams facing up and towards you.
- Adding an extra stitching step to secure the knot creates a more polished and distinctive look.
- Measure your head circumference and multiply by 0.9 to determine fabric width.