Tired of the same old shoes? Yearning for a unique pair of heels that perfectly match your outfit or reflect your personal style? Then look no further! This guide will show you how to transform plain heels into stunning, custom-designed footwear using nothing more than fabric and a few simple tools. Forget expensive designer shoes; with a little creativity and this easy-to-follow process, you can create stylish, one-of-a-kind heels that will turn heads wherever you go. The possibilities are truly endless, from bold prints to delicate patterns, allowing you to express your individual aesthetic with every step.
This DIY project is perfect for both beginners and experienced crafters, offering a fun and rewarding way to personalize your wardrobe. We’ll guide you through each step, from selecting the perfect fabric to applying the final touches, ensuring a professional-looking finish. Ready to get started and create your dream pair of fabric-covered heels? Let's dive into the step-by-step instructions!
Preparation and Safety Guidelines
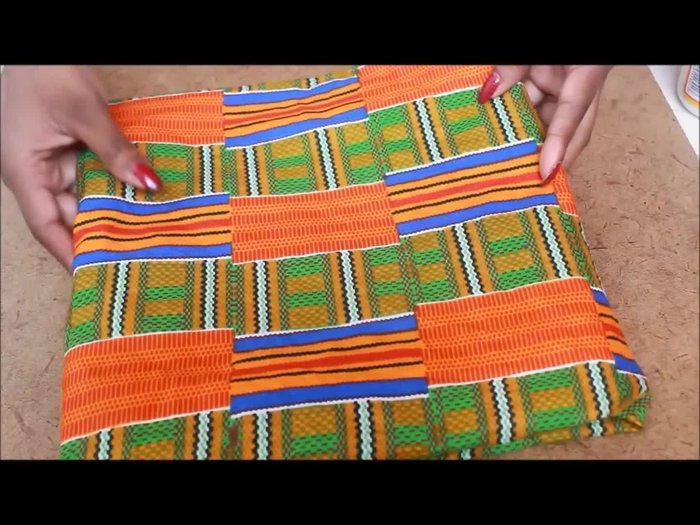
- Fabric
- Scissors
- Xacto blade cutter
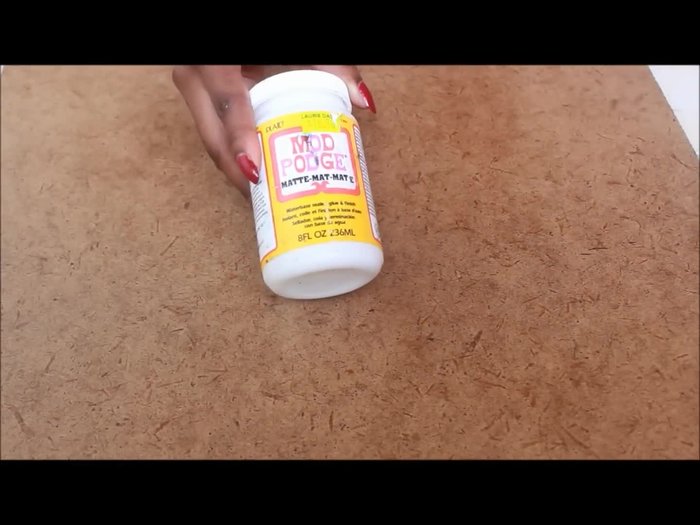
- Mod Podge glue
- Sponge paintbrush
- Heels
- Template
- Always use fabric glue specifically designed for fabrics and footwear. Regular craft glue may not adhere properly and could cause the fabric to peel off, creating a tripping hazard.
- Ensure the fabric is taut and securely glued to prevent wrinkles or bunching, which can alter the fit and comfort of the shoes and potentially cause falls.
- Test the glue on a hidden area of the fabric first to check for colorfastness and compatibility. Some fabrics may bleed or react negatively to the glue.
Step-by-Step Instructions
Gather Materials
- fabric, scissors, xacto blade, Mod Podge glue, sponge brush, heels, and a pentagon template (3.5 inches top, 3.5 inches length, 5 inches across).

Gather Materials Prepare Fabric for Heel
- Cut out two pentagon shapes from your fabric using the template.
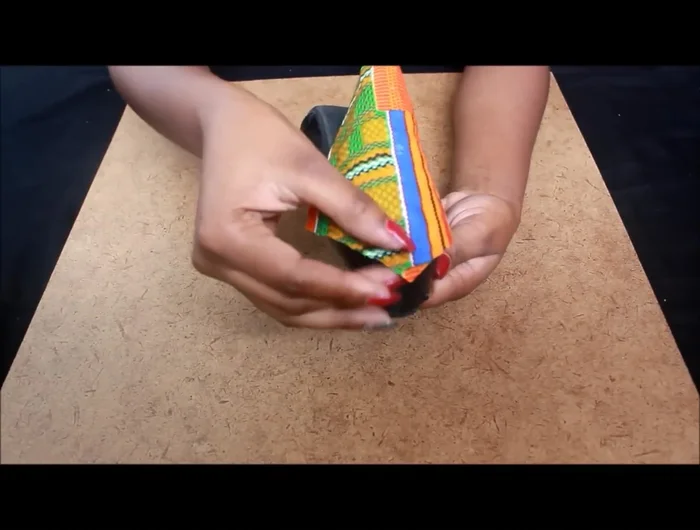
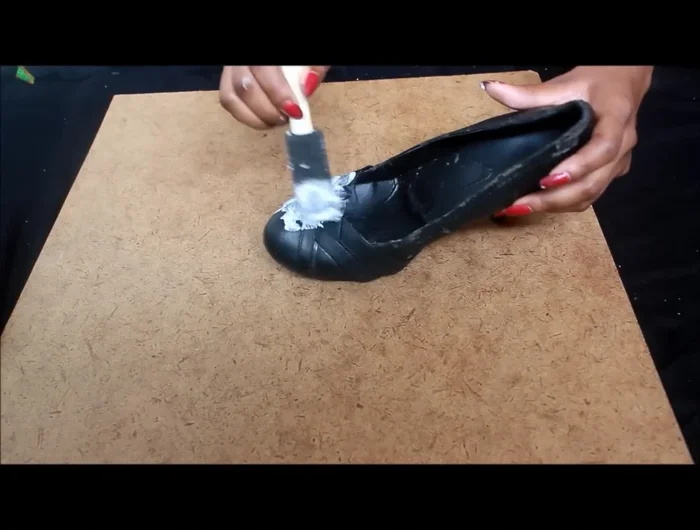
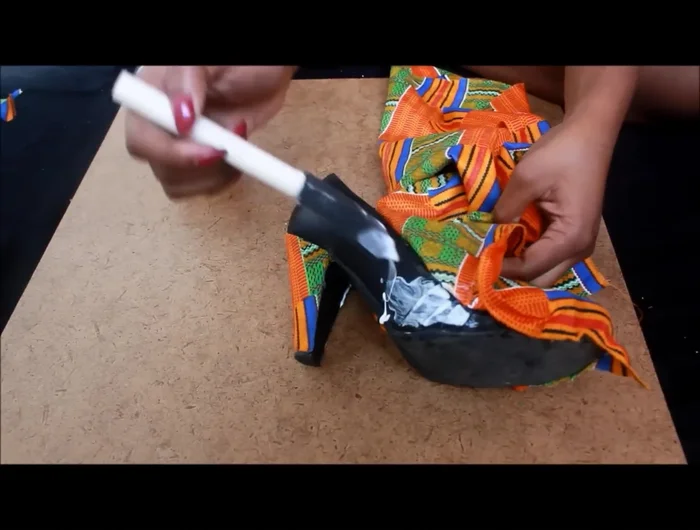
Prepare Fabric for Heel Cover the Heel
- Apply a thick layer of Mod Podge glue to the heel.
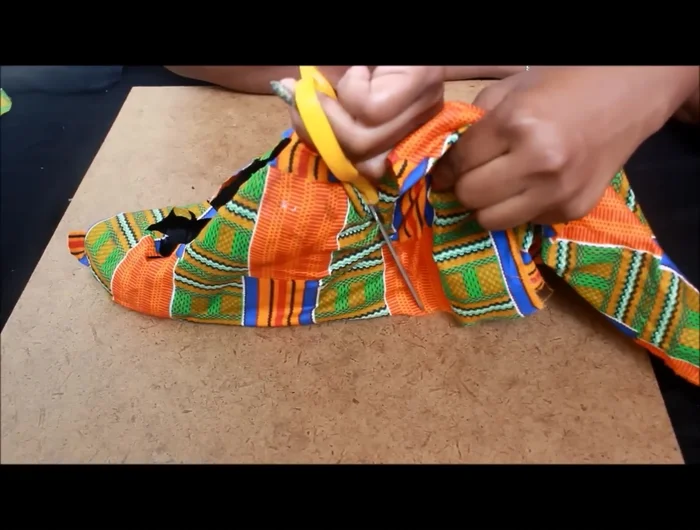
- Place the fabric onto the heel with the triangle side facing upward, smoothing it out and trimming the excess.
- Cut the top portion of the triangle away from the heel using an exacto blade.
Cover the Heel Prepare Fabric for Shoe Body
- Cut two large rectangles of fabric (approximately 16 inches by 22 inches for a size 7 shoe, adjust accordingly).
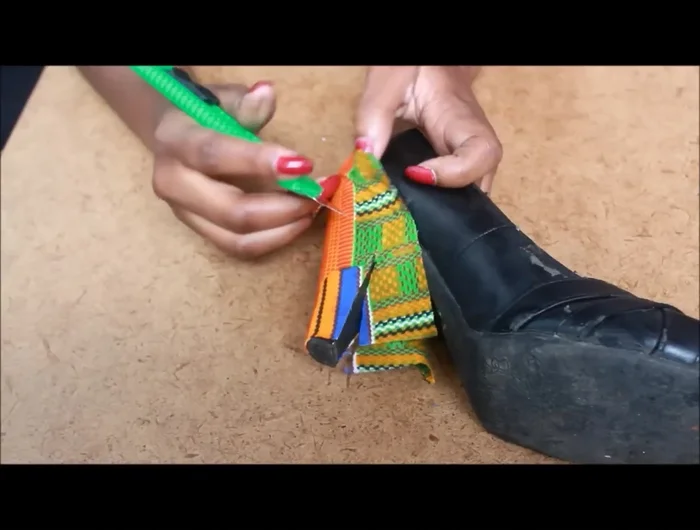
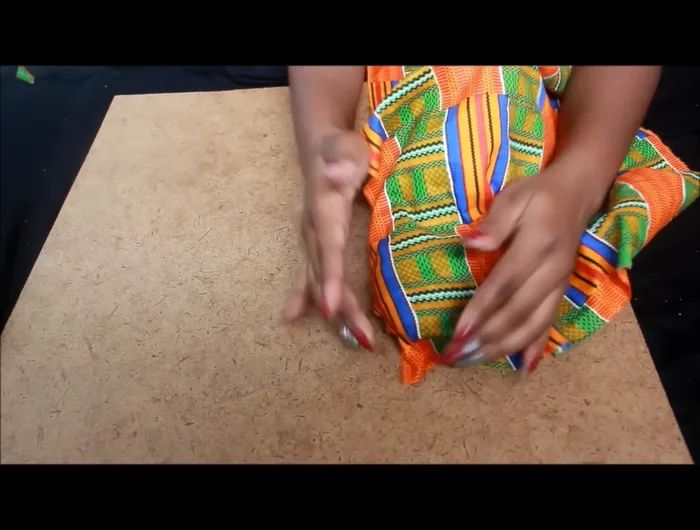
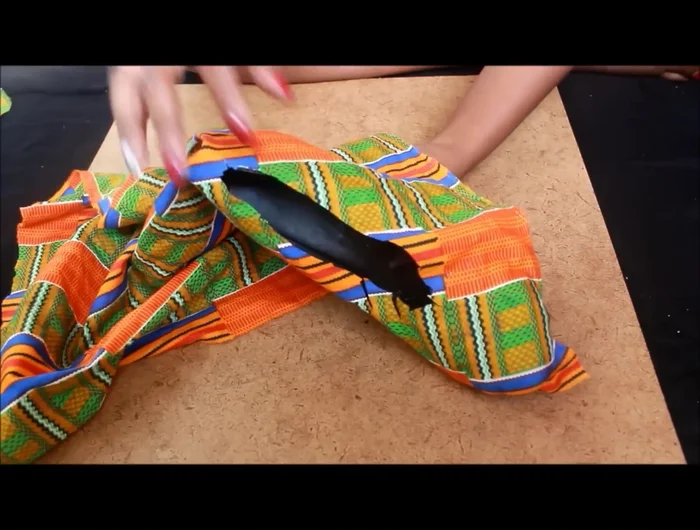
Prepare Fabric for Shoe Body Cover the Shoe Body (Side 1)
- Lay the fabric over the shoe, leaving about an inch of allowance on each side. Make a small slit in the opening, then enlarge it to allow each side to lay flat.
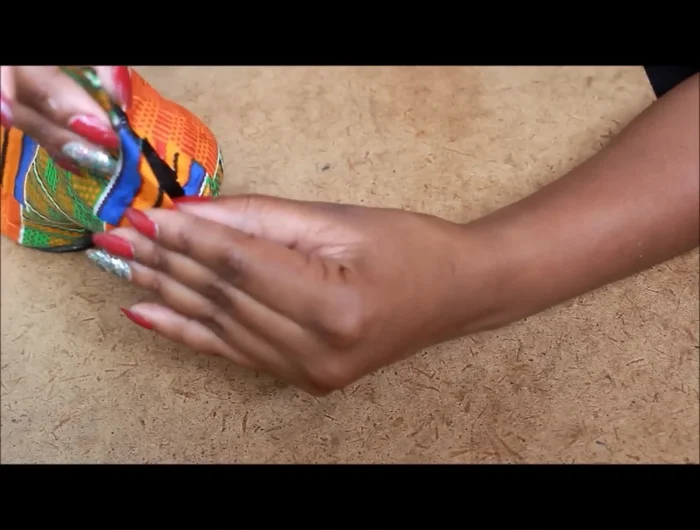
- Apply Mod Podge glue to one side of the shoe and smooth the fabric over it.
Cover the Shoe Body (Side 1) Cover the Shoe Body (Side 2)
- Repeat the gluing process for the other side of the shoe, making slits as needed to ensure a smooth, flat surface.
Cover the Shoe Body (Side 2) Finish and Secure Fabric
- Trim the excess fabric from the back of the shoe, leaving about a quarter of an inch.
- Glue down the excess fabric at the top of the shoe and around the edges.
Finish and Secure Fabric
Read more: DIY Reversible Baby Slippers: Easy Sewing Tutorial
Tips
- Use a relatively thick layer of Mod Podge for better adhesion.
- Make sure you have enough fabric to cover both sides of the shoe.
- Cut slits in the fabric as needed to prevent bunching and ensure a smooth finish.