Elevate your everyday style with this stunning DIY extravagant bow headband tutorial! Forget expensive, mass-produced accessories; this guide shows you how to create a breathtakingly beautiful headband featuring a large, dramatic bow that's guaranteed to turn heads. We'll transform simple materials into a chic and sophisticated statement piece, perfect for adding a touch of glamour to any outfit, from casual daytime looks to elegant evening events. Imagine the compliments you'll receive sporting this handcrafted masterpiece – a true testament to your creativity and skill.
This tutorial will empower you to create your own unique, extravagant bow headband, tailored to your personal style and color preferences. Using readily available supplies and easy-to-follow instructions, you'll be amazed at how effortlessly you can craft this luxurious-looking hair accessory. Ready to unleash your inner artisan and embark on this exciting crafting journey? Let's dive into the step-by-step process!
Preparation and Safety Guidelines
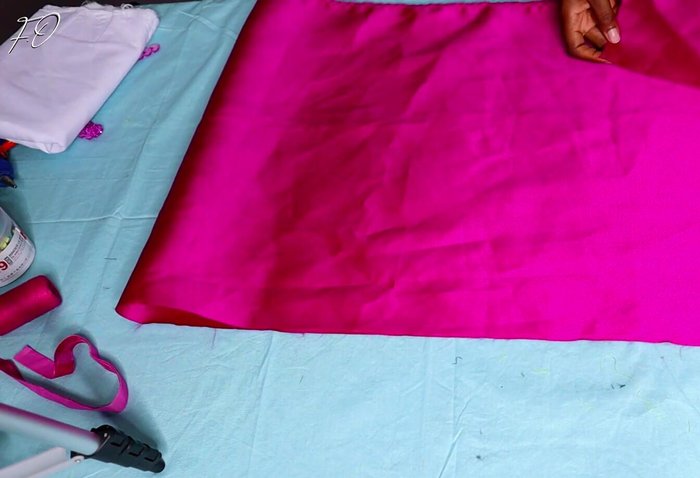
- Fabric (36 inches x 10 inches or less)
- Needle
- Thread
- Cuff Gum
- Headband
- Velvet Ribbon
- Appliqué/Trimming (optional)
- Always use sharp scissors and handle them with care to avoid cuts. Keep them away from children.
- Be mindful of hot glue and allow it to cool slightly before touching to prevent burns. Use a heat-resistant surface.
- If using wire or other potentially sharp materials, carefully cover any sharp edges with fabric or glue to prevent injury.
Step-by-Step Instructions
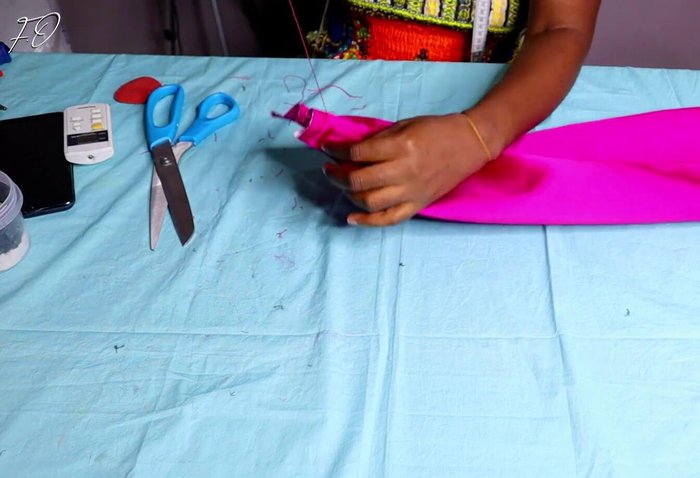
Prepare the Fabric
- Cut a piece of fabric to your desired size (36 inches x 10 inches or less).
- Press cuff gum onto the fabric and sew it together along the length.
- Turn the fabric inside out and move the stitch line to the center.

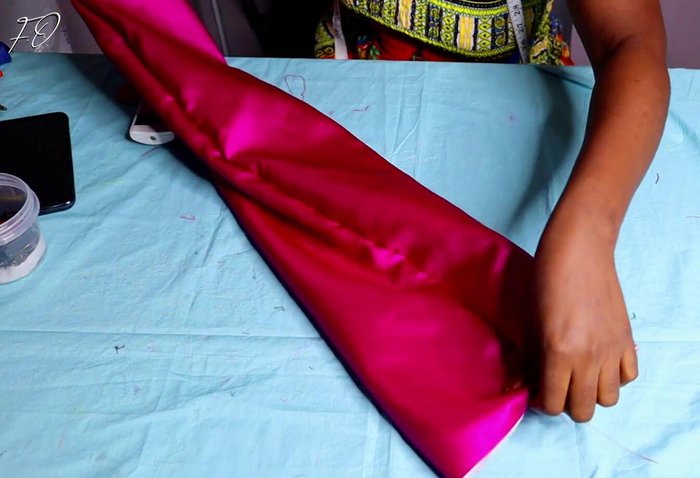
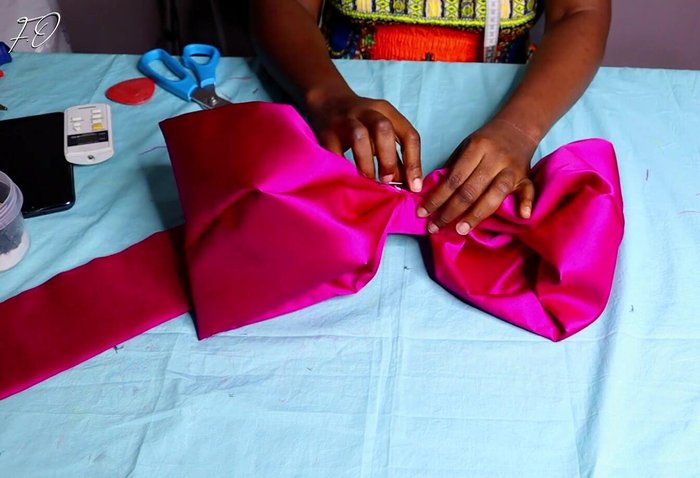
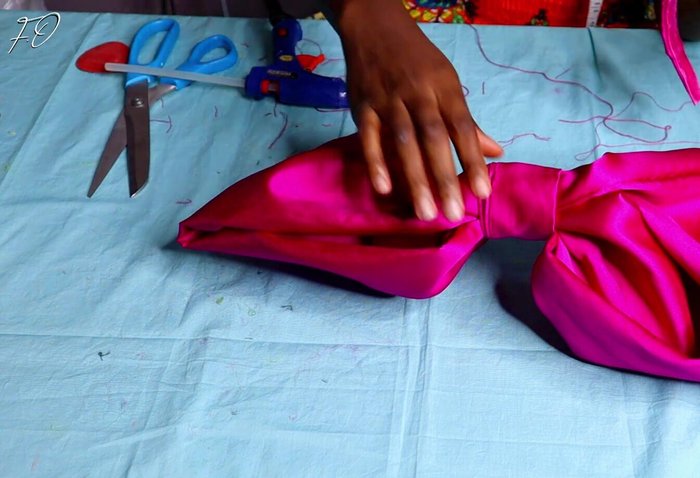
Prepare the Fabric Form the Bow
- Fold and slightly twist the fabric to create a bow shape.
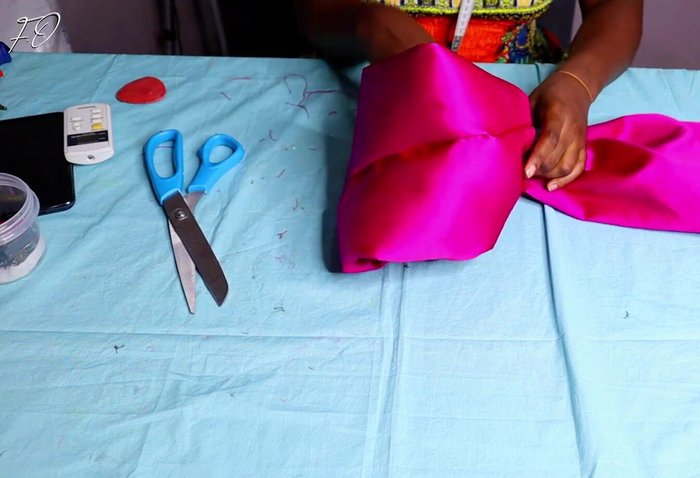
- Gather the edges of the fabric using a needle and thread, and then gather the center point, connecting it to the center.
- Repeat steps 5 on the other side of the fabric.
- Press the center of the folded fabric together and sew it securely for a clean look.
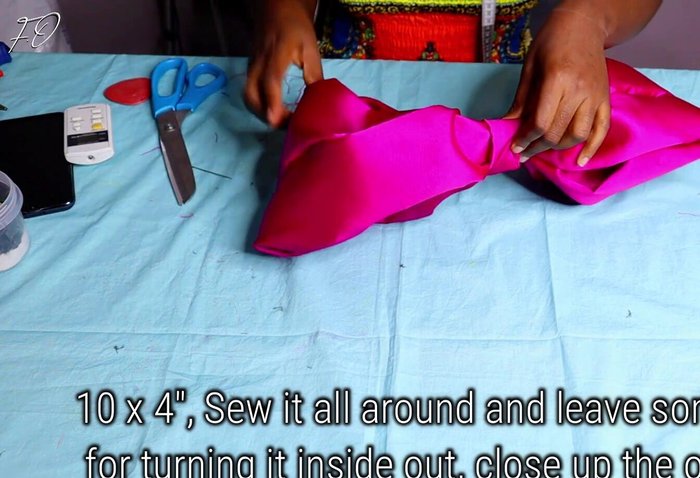
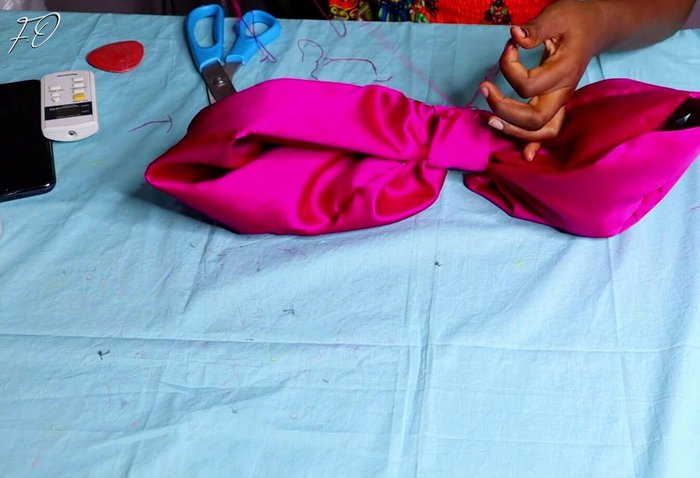
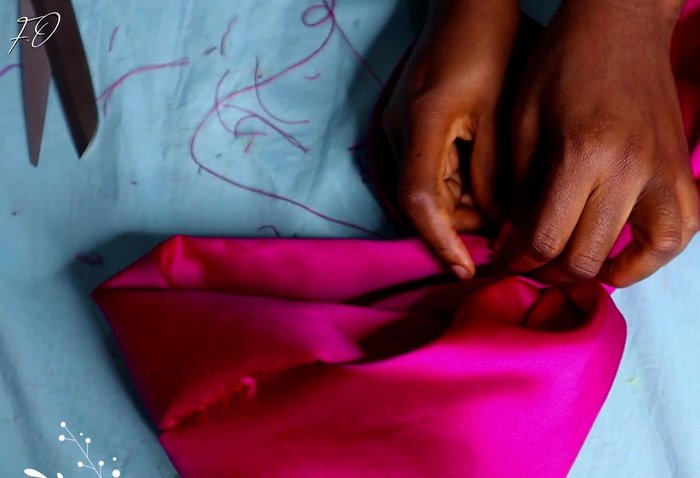
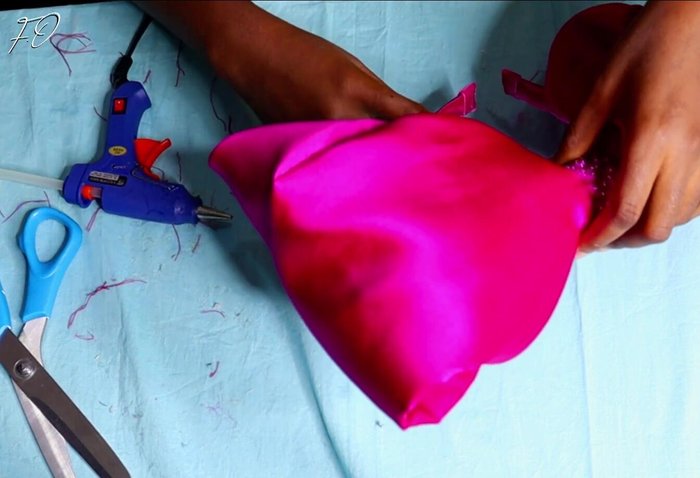
Form the Bow Refine the Bow
- Cut a small piece of fabric (approx. 10 inches x 4 inches), fold it in half, and sew it around the center of the bow to cover the stitching.
- Secure the fabric covering the bow’s center by sewing it down to the bow.
Refine the Bow Attach to Headband
- Sew the completed bow securely onto the prepared headband.
Attach to Headband Embellish and Finish (Optional)
- Add optional embellishments such as appliqué or trimming to enhance the headband.
- Cover the edges of the headband with velvet ribbon for a professional finish.
Embellish and Finish (Optional)
Read more: DIY Stretchy Fingerless Gloves: Easy Sewing Tutorial
Tips
- Use less fabric for a smaller bow.
- Secure your work with both glue and stitching for maximum durability.