Headbands are a timeless accessory, capable of elevating any outfit from casual to chic in an instant. But store-bought headbands can often be pricey, and finding the perfect style to complement your personal aesthetic can feel like searching for a needle in a haystack. Why not take matters into your own hands and create a stunning, elegant headband that perfectly reflects your unique style? This DIY project offers a simple yet sophisticated solution, allowing you to craft a beautiful accessory tailored to your preferences without breaking the bank. Forget sifting through endless options – you’ll be surprised at how easy it is to design and create a custom headband you’ll adore.
This tutorial provides a clear and concise step-by-step guide, equipping you with the knowledge and confidence to create your very own elegant headband. From selecting the perfect materials to adding those final, exquisite touches, we'll walk you through each stage of the process, ensuring even beginners can achieve professional-looking results. Let's get started and transform your vision into a beautiful, handcrafted accessory!
Preparation and Safety Guidelines
- Half inch elastic band
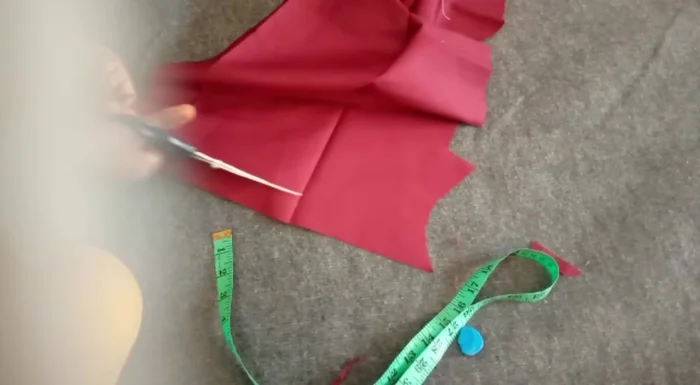
- Scissors
- Tape measure
- Plain fabric or Ankara fabric
- Ruler
- Pins
- Tailor's chalk
- Always use sharp scissors and handle them with care to avoid cuts and injuries. Keep them away from children.
- If using glue, ensure good ventilation and avoid contact with skin or eyes. Follow the manufacturer's instructions carefully.
- Be mindful of the headband's tightness. Too tight can cause headaches, while too loose may make it uncomfortable or fall off.
Step-by-Step Instructions
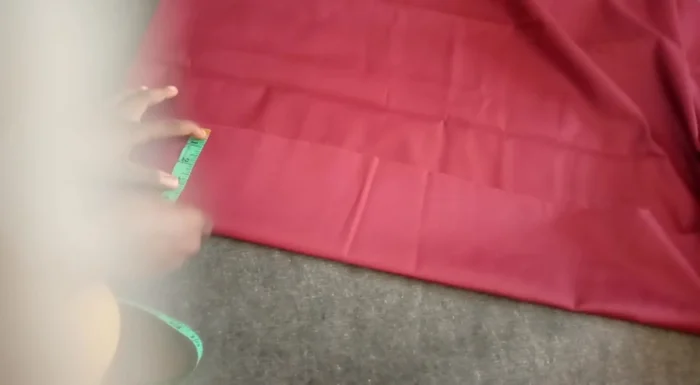
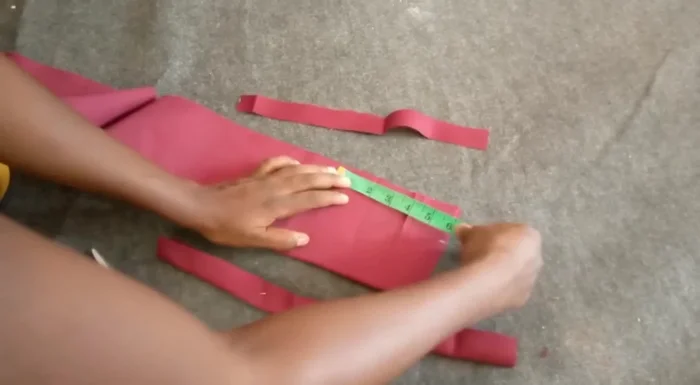
Prepare the Main Fabric
- Fold the main fabric, measure 5.5 inches (5 inches + 0.5 inch allowance) for width and cut.
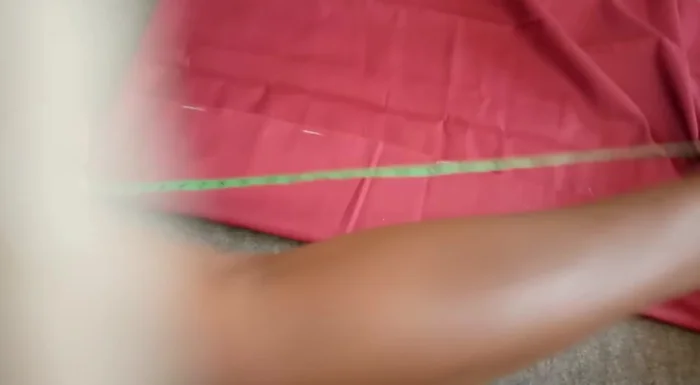
- Measure and cut 30 inches for the length, adding 0.5 inch allowance on both sides.

Prepare the Main Fabric Prepare the Elastic Casing and Helper Fabric
- 15 inches long and 1 inch wide (0.5 inch + 0.5 inch allowance).
- Cut another piece of fabric (13 inches long) to help with resetting the headband.
Prepare the Elastic Casing and Helper Fabric Shape the Headband
- 7 inches long and 2 inches wide on each side.
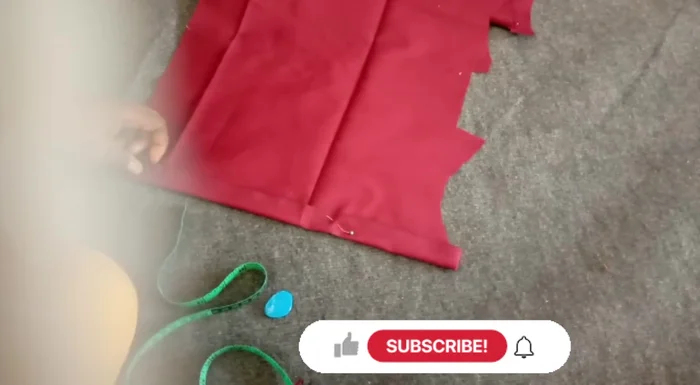
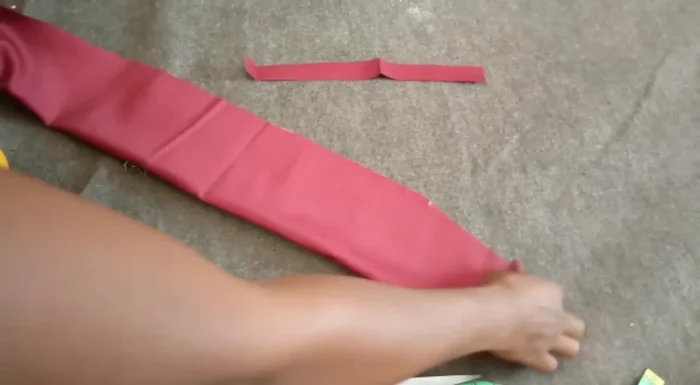
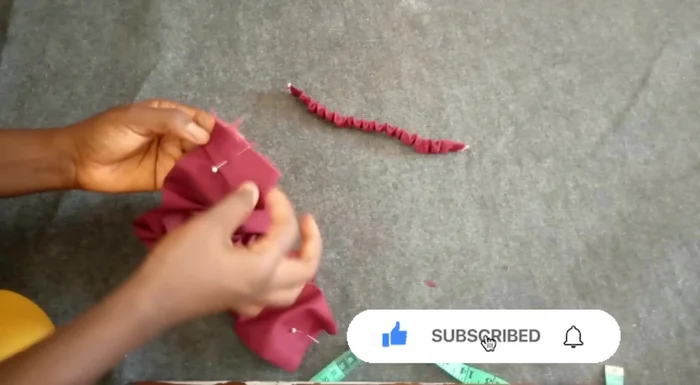
Shape the Headband Stitch and Turn
- Stitch the open area of the main headband piece and the elastic casing (0.5 inch seam allowance).
- Turn both the main headband and elastic casing to the right side, press them.
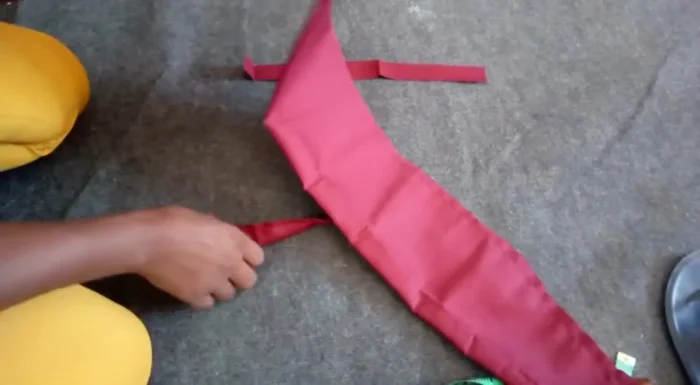
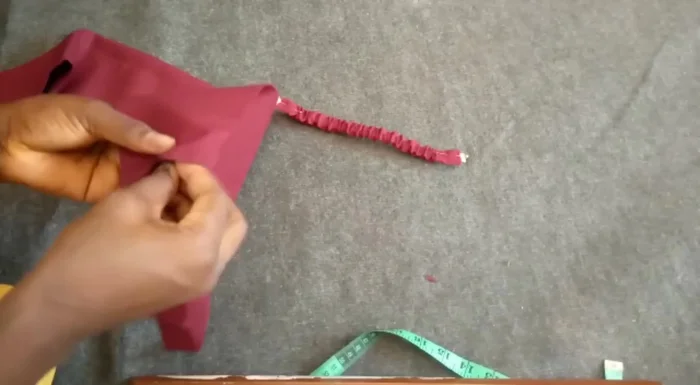
Stitch and Turn Insert Elastic
- Insert the elastic band through the elastic casing using a safety pin. Secure the ends.
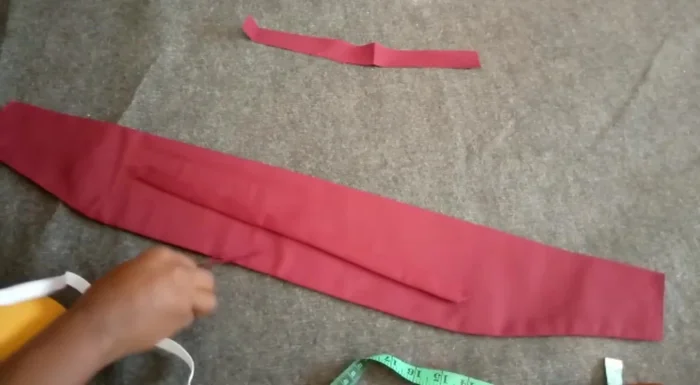
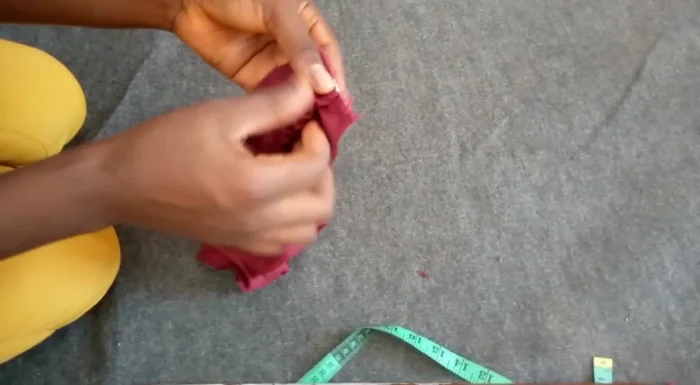
Insert Elastic Attach Helper Fabric
- Insert the smaller fabric piece into the main headband to create clean folds.
- Stitch the smaller fabric piece to the main headband (0.5 inch seam allowance).
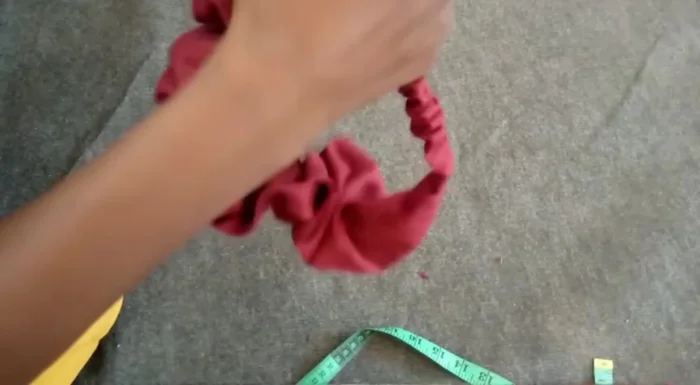
Attach Helper Fabric Attach Elastic Casing and Finish
- Place the elastic casing onto the main headband, overlap, and topstitch.
- Remove pins and trim excess fabric. Your headband is ready!
Attach Elastic Casing and Finish
Read more: DIY Stretchy Fingerless Gloves: Easy Sewing Tutorial
Tips
- Adding seam allowances ensures a professional finish.
- Using a safety pin makes inserting the elastic band easier.
- Pressing your seams creates a neat and polished look.