Ever dreamed of crafting adorable, miniature hiking boots without breaking the bank? Well, get ready to embark on a fun and surprisingly easy DIY project! This tutorial will guide you through creating charming gnome boots, perfect for adding a whimsical touch to your garden, shelves, or even a miniature fairy scene. Using only supplies from the Dollar Tree, you'll be amazed at how much you can achieve with a little creativity and resourcefulness. These tiny boots are incredibly versatile, allowing for personalization and customization to perfectly match your individual style and existing décor.
Forget expensive craft stores and complicated instructions; this project is all about simple elegance and budget-friendly crafting. We'll be transforming humble Dollar Tree items into these delightful gnome hiking boots, perfect for beginners and seasoned crafters alike. Ready to get your crafting on? Let's dive into the step-by-step instructions below and transform those everyday finds into miniature masterpieces!
Preparation and Safety Guidelines
- Dollar Tree booties
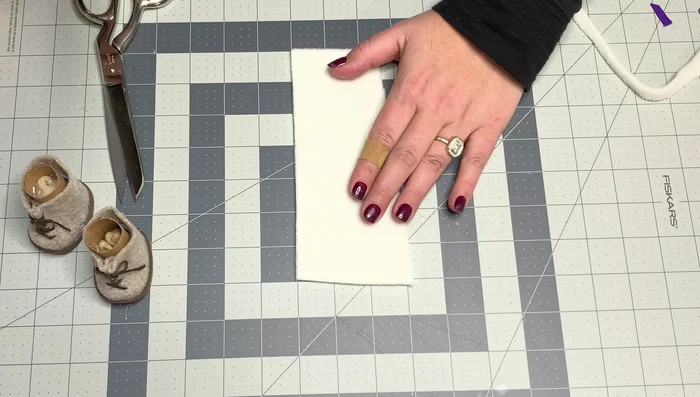
- Premium felt
- Foam (for midsole and sole)
- Craft paper
- Embroidery thread
- Material for cuff (optional)
- Hot glue gun
- Pinking shears or scissors
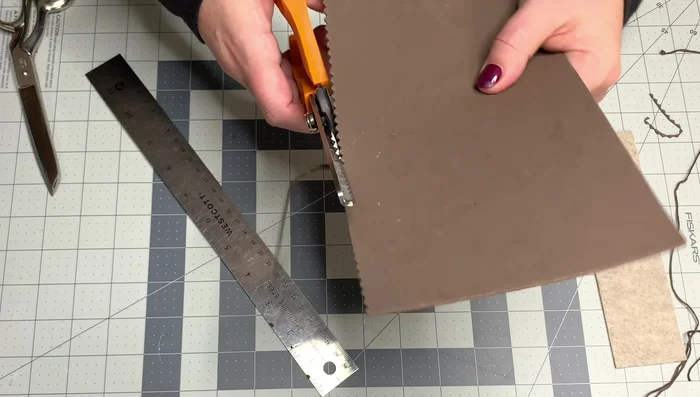
- X-Acto knife or rotary cutter
- Ruler
- Dollar Store items are not designed for rigorous hiking. These boots are for decorative purposes only and should not be used for actual hiking or outdoor activities where stability and protection are crucial.
- Use strong adhesive and allow ample drying time to ensure the boot's structural integrity. Improperly glued components could lead to injury if used incorrectly.
- Always supervise children during crafting and prevent them from handling sharp tools or small parts that could pose a choking hazard.
Step-by-Step Instructions
Prepare the Sole
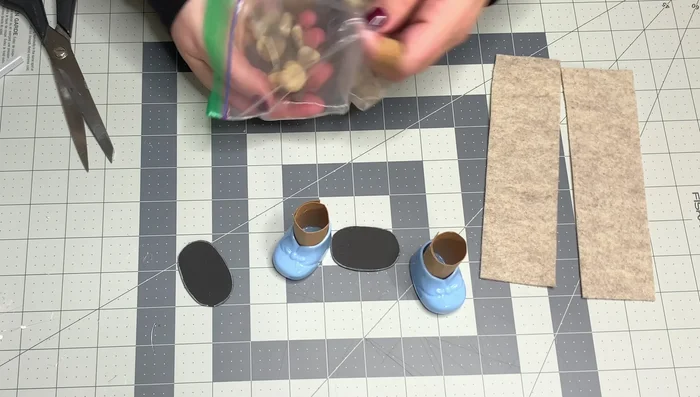
- Trace the bottom of the booty onto the black foam to create the sole.

Prepare the Sole Create the Boot Structure
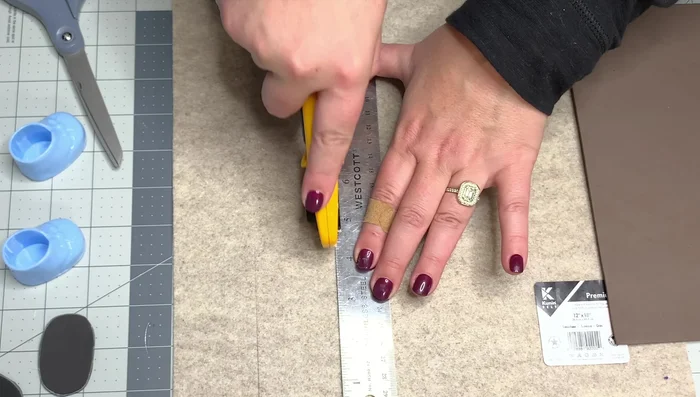
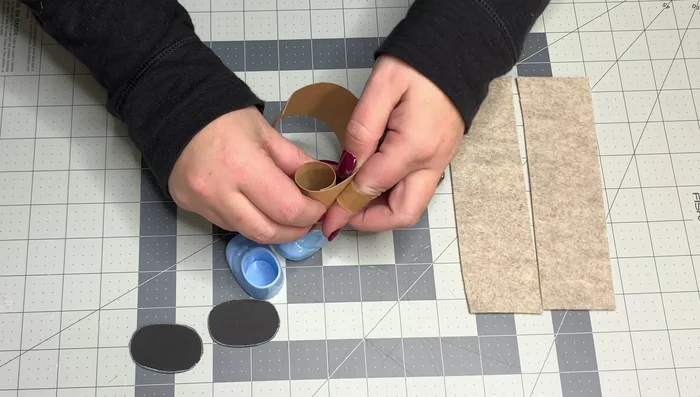
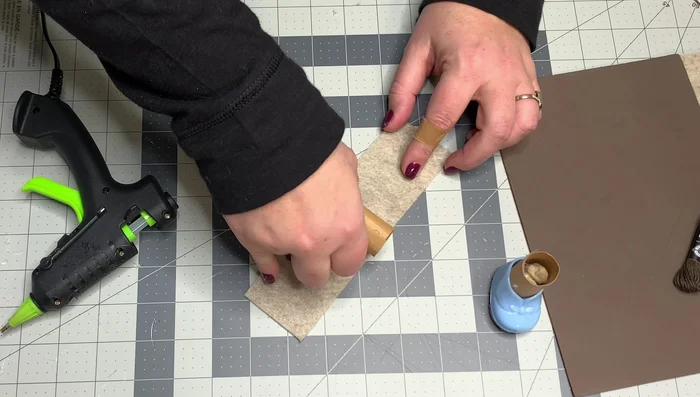
- Prepare 2-inch wide by 6-inch long felt strips. Wrap craft paper around a pen to create a stable inner structure for the boot.
- Wrap the craft paper around the inside of the booty, gluing it in place to provide stability. Glue the felt strips around the paper, overlapping by half an inch.
Create the Boot Structure Add Weight and Stability
- Fill the inside of the boot with Dollar Tree vase filler (rocks) to add weight and stability. Avoid using food products like beans or rice.
Add Weight and Stability Attach the Sole
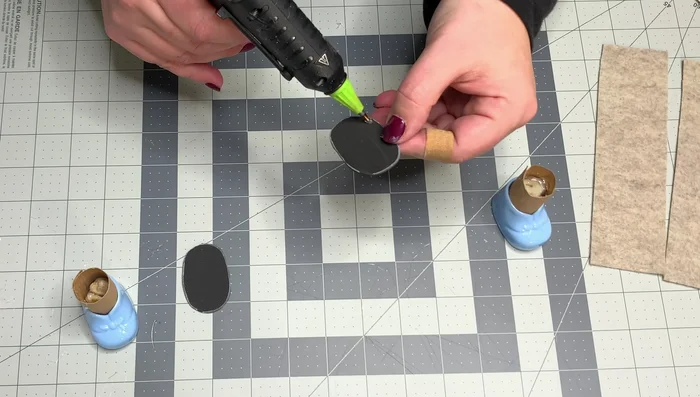
- Glue the pre-made foam sole to the bottom of the boot.
Attach the Sole Cover with Felt
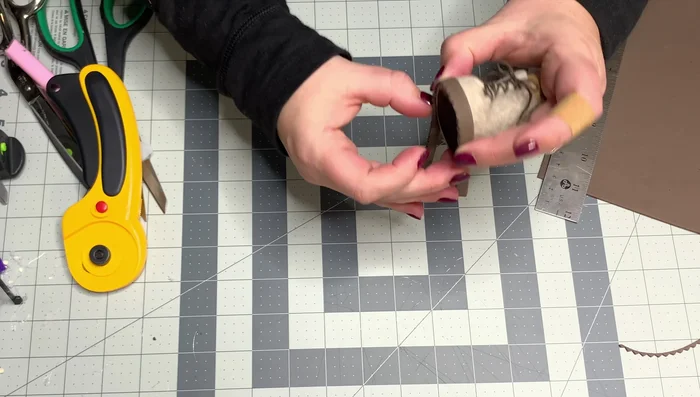
- Glue the bottom of the felt strip to the bottom front of the boot. Glue the felt around the sides, ensuring a tight fit.
- Glue the felt only to the bottom of the booty, not the top portion, to create a tight seam. Use embroidery thread to lace up the front of the boot.
Cover with Felt Prepare and Attach the Midsole
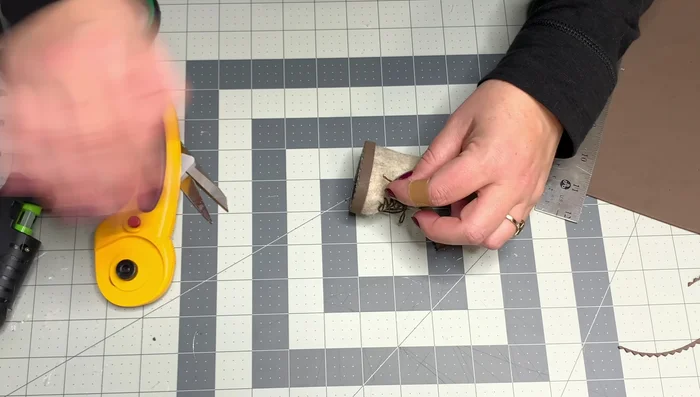
- Cut the foam for the midsole using pinking shears, creating triangles. Trim the tips of the triangles off with an X-Acto knife or rotary cutter. Cut a straight line across the foam.
- Glue the bumpy part of the midsole to the bottom of the felt.
Prepare and Attach the Midsole Attach Embroidery Thread Laces
- Glue the embroidery threads to the bottom to prevent fraying. Glue them to the boot.
Attach Embroidery Thread Laces Create and Attach the Cuff
- Cut a strip of fabric (felt, fleece, or rib knit) 1.5 inches tall and 6-7 inches wide for the cuff. Fold down the top edge and tuck it between the paper and felt inside the boot.
- Glue the cuff to the inside of the boot at the top edge.
Create and Attach the Cuff


Read more: DIY Reversible Baby Slippers: Easy Sewing Tutorial
Tips
- Use craft paper, paper towel rolls, or cardstock to add stability inside the boot.
- To prevent failure, reinforce the front of the boot if adding weight. Consider adding string or extra foam to areas with added weight.
- Glue the felt to the bottom of the booty only to get a tight seam, and don't cut the excess felt until the glue has fully set.
- Use a knotted piece of embroidery thread to lace up the boot.
- For a tight seam, press the two edges of the felt together after gluing.