Dior shoes, with their iconic designs and luxurious appeal, are a coveted item for many fashion enthusiasts. But what if you could elevate your pair, injecting your own unique style and personality, without sacrificing the pristine quality? This guide delves into the world of DIY Dior shoe customization, focusing on a clean, beginner-friendly approach that will transform your beloved footwear into truly bespoke pieces. We’ll explore techniques that are gentle on the delicate materials, ensuring your shoes retain their elegance and value. Forget messy paints and irreversible mistakes; we’re focusing on precision and reversibility.
This tutorial provides a meticulous, step-by-step method for customizing your Dior shoes, minimizing the risk of damage and maximizing the impact of your creative vision. Ready to unleash your inner designer and create a pair of uniquely stunning Dior shoes? Let's get started!
Preparation and Safety Guidelines
- All-white shoes
- Laces
- Newspaper or similar material for stuffing
- Contractor grade masking tape
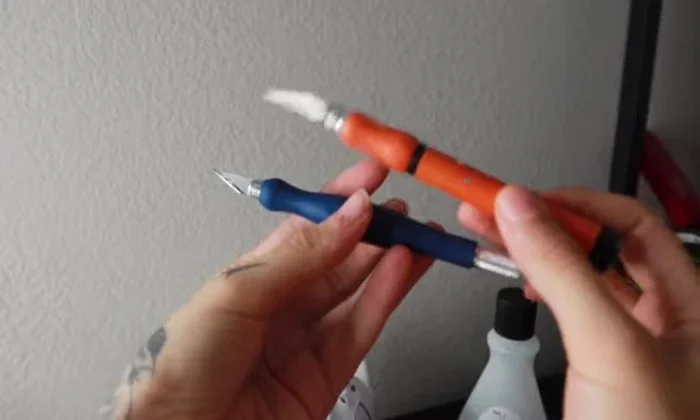
- X-acto knife with a sharp blade
- Fabric
- Glue
- Small paintbrush
- Lighter
- Always test your chosen paint, glue, or other materials on a hidden area of the shoe first to ensure they don't damage or discolor the original material. This prevents irreversible mistakes.
- Work in a well-ventilated area, especially when using paints or sprays. Inhaling fumes can be harmful to your health.
- Use only high-quality, specifically designed materials for shoe customization. Using unsuitable materials can cause damage or lead to a poor finish.
Step-by-Step Instructions
Preparation
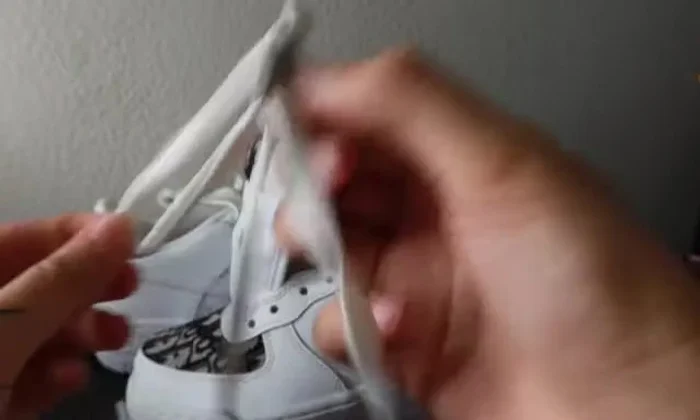
- Remove laces from both shoes.
- Stuff shoes with newspaper or similar material to maintain shape.
Creating a Template
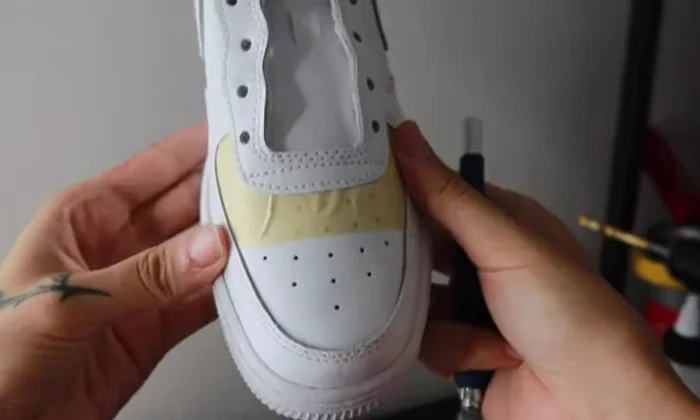
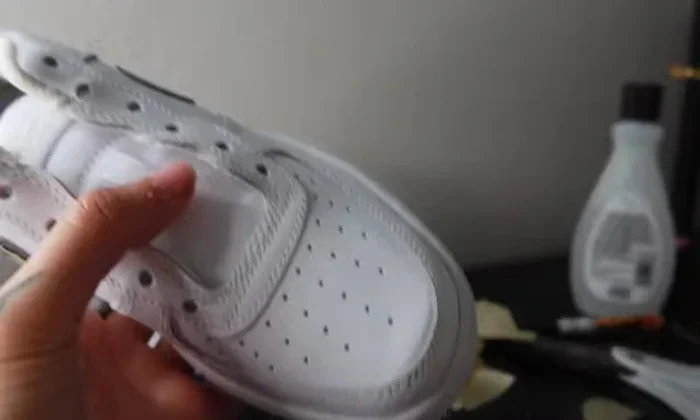
- Apply masking tape to the shoe, slightly overlapping the toe box on both sides. Use contractor-grade tape for best results.
- Carefully cut the masking tape to the shape of the shoe using the x-acto knife. One piece of tape at a time is recommended for beginners.
- Repeat step 3 and 4 for the other side of the shoe, the back, and any other areas needing a template.

Creating a Template Fabric Cutting & Application
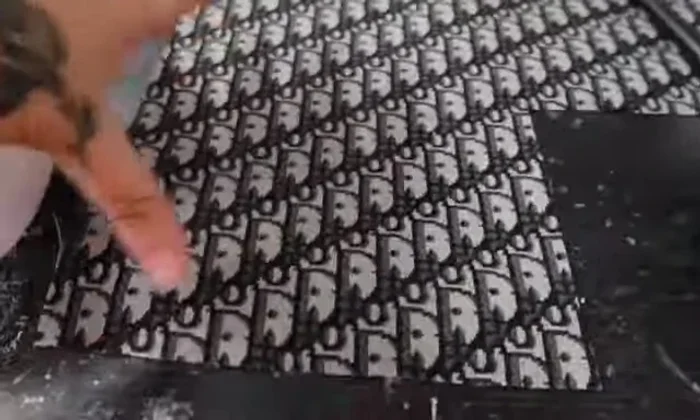
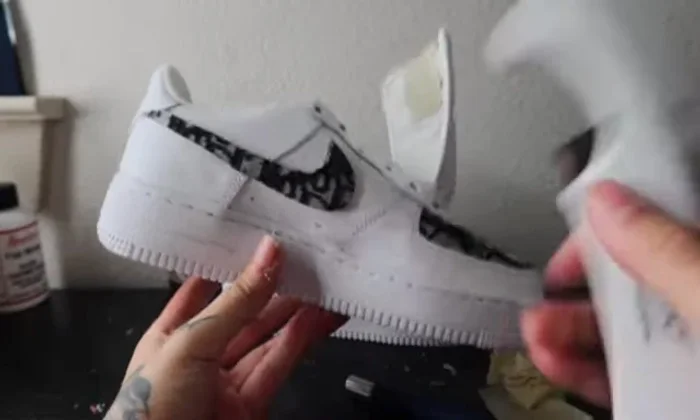
- Cut fabric pieces along the masking tape lines to ensure a precise fit.
- Apply glue to the shoe and carefully place fabric over the taped area. Press firmly to ensure adhesion. For thicker fabrics, remove the Nike check mark before applying fabric.
Fabric Cutting & Application Finishing Touches
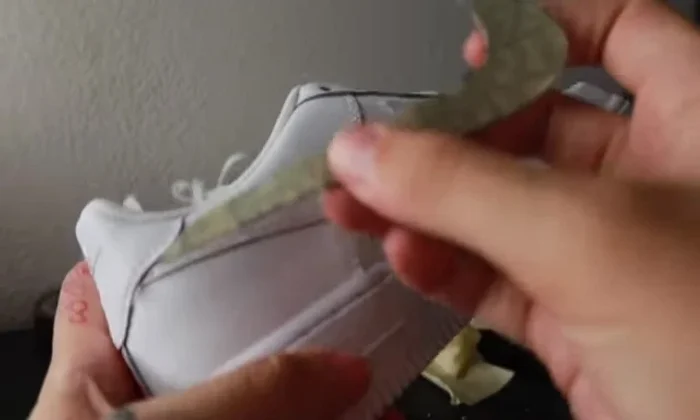
- Remove masking tape after allowing the glue to slightly dry. Use a fingernail or x-acto knife to press down any lifting edges.
- Use a lighter to gently melt and remove any loose threads, being careful not to burn the shoe. Press down on the fabric as the glue dries to remove air bubbles.
- Replace laces. Optionally, replace silver aglets with black ones for a cleaner look.
Finishing Touches
Read more: DIY Reversible Baby Slippers: Easy Sewing Tutorial
Tips
- Use contractor-grade masking tape for a secure hold.
- Use a sharp x-acto knife for clean cuts.
- Apply tape in sections for easier cutting and alignment. Avoid large wrinkles.
- Use a small paintbrush for precise glue application.
- Use a lighter carefully to remove excess threads; avoid holding the flame in one place for too long to prevent burning the shoe.