Tired of the hefty price tag and break-in period of professional dance shoes? Do your feet yearn for the comfort of your everyday kicks while still providing the grip and support needed for spins, leaps, and intricate footwork? Then get ready to ditch the dance shoe debt and embrace the thrill of DIY! This guide will show you how to transform your favorite, already broken-in shoes into spin-ready dance shoes, saving you money and giving you complete control over the customization process. Imagine the possibilities: transforming your trusty sneakers into elegant dance flats, or converting your favorite boots into sturdy character shoes!
Forget expensive dance shops and frustrating fittings. This project is surprisingly accessible, requiring only a few readily available materials and some basic crafting skills. We'll take you through a step-by-step process, providing clear instructions and helpful tips to ensure a successful conversion. Ready to unleash your creativity and transform your footwear? Let's get started!
Preparation and Safety Guidelines
- Comfortable shoes
- Leather sheet
- All-purpose cleaner
- Rag
- Scissors
- Pen
- Use only strong, durable adhesives designed for footwear. Improper glue can fail under the stress of dancing, leading to injury.
- Ensure the added sole material is thin and flexible to maintain the natural feel and movement of your shoes. Thick soles can negatively impact your balance and technique.
- Thoroughly test your modified shoes on a safe, smooth surface before wearing them for a dance. Identify any potential issues with balance or comfort before performing.
Step-by-Step Instructions
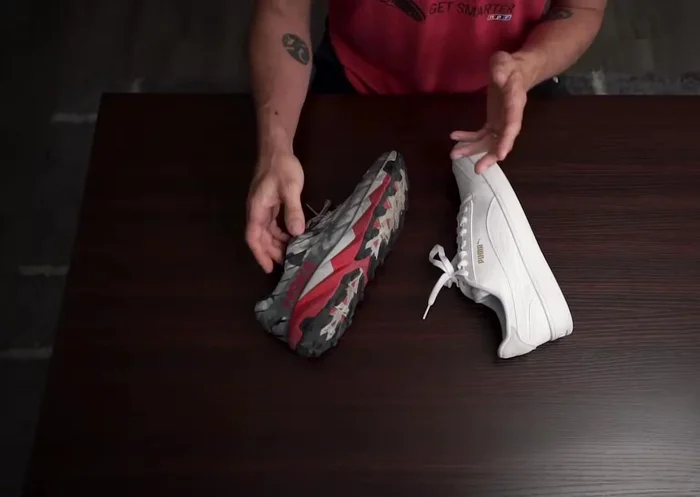
Shoe Selection
- Choose a smooth, flat, flexible, and lightweight shoe without deep grooves or wedges to ensure the adhesive sticks well.

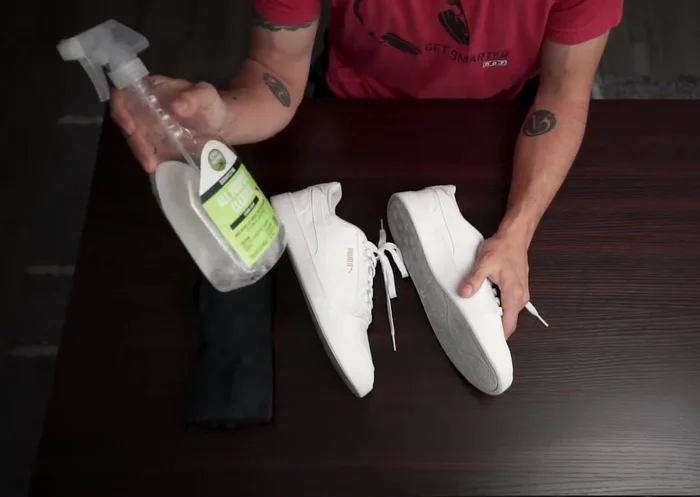
Shoe Selection Shoe Preparation
- Clean the soles of your shoes using an all-purpose cleaner and a rag to remove any dirt or residue that may interfere with the adhesive.
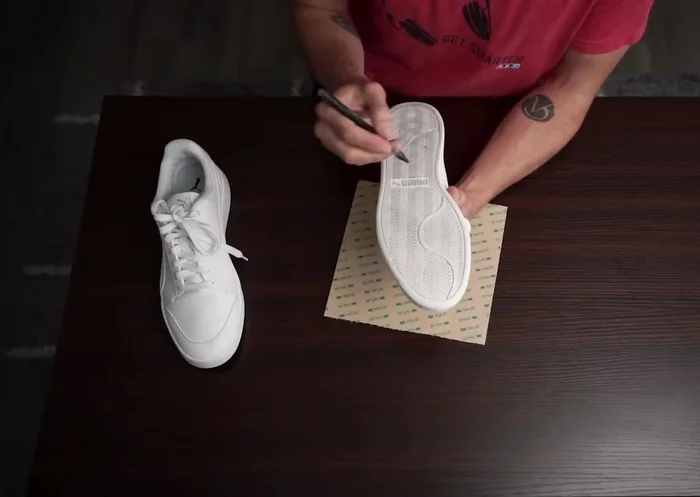
Shoe Preparation Leather Sole Template Creation
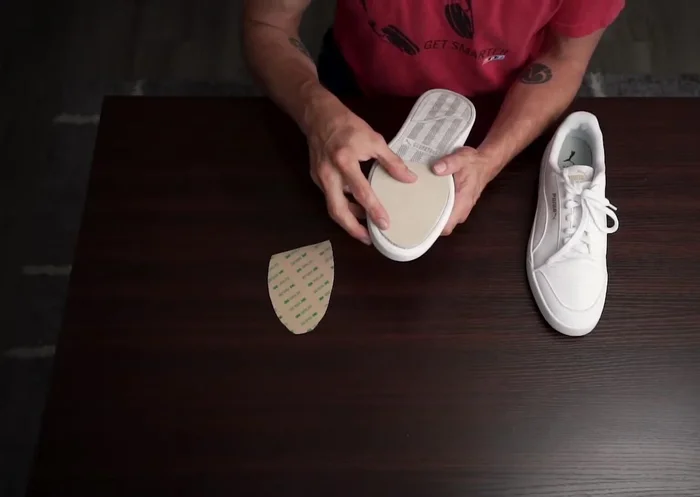
- Trace the sole of your shoe onto the leather sheet, leaving about an ⅛ inch border. Use a sharp pen to create a clear trace, especially around the edges.
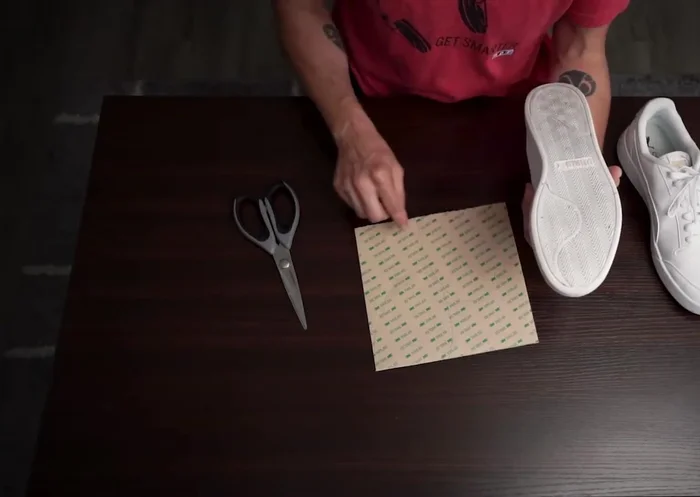
- Cut the leather stencils, ensuring you stay within the ⅛ inch border you left to allow for accurate placement and prevent short edges.
Leather Sole Template Creation Leather Sole Application
- Carefully peel and apply the leather stencils to the soles of your shoes, pressing firmly and slowly to avoid air bubbles. Focus on adhering the middle first, then working outwards.
Leather Sole Application Adhesive Bonding
- Once the leather is applied, walk on your new dance shoes to ensure the adhesive fully bonds and to remove any air bubbles. This step is crucial to prevent peeling.
Read more: DIY Reversible Baby Slippers: Easy Sewing Tutorial
Tips
- Avoid shoes with intricate designs or deep grooves as the adhesive may not stick properly.
- Choose a lightweight shoe for greater comfort and maneuverability.
- Use a sharp pen to create clean lines on the slippery leather sheet.
- Take your time applying the leather soles to prevent air bubbles and ensure proper adhesion.
- Treat the leather soles like regular leather after application to maintain their condition and spinning ability.