Elevate your wardrobe with a stunning, handcrafted accessory that's both stylish and surprisingly easy to make: a DIY covered belt. Forget expensive designer belts; this project allows you to create a unique piece perfectly tailored to your personal style and existing wardrobe. Choose from a vast array of fabrics, buckles, and embellishments to design a belt that reflects your individual taste, whether it's a sleek and sophisticated leather look, a vibrant bohemian print, or a subtly textured canvas. This DIY project isn't just about saving money; it's about embracing creativity and the satisfaction of crafting something beautiful with your own hands.
This guide provides a step-by-step tutorial, guiding you through each stage of the process, from selecting your materials to finishing touches. Whether you're a seasoned crafter or a complete beginner, you'll find this project manageable and incredibly rewarding. Prepare to be amazed at how effortlessly you can transform simple materials into a professional-looking belt that will become a staple in your accessory collection. Let's get started!
Preparation and Safety Guidelines
- Tape measure
- Yard stick or long ruler
- Sewing gauge
- See-through ruler or L-square
- Pattern making paper
- Markers
- Pencil
- Eraser
- Disappearing marker or heat-erasable pins
- Cutting tools
- Pattern weights/clips
- Binder clips
- Pins
- Lightweight interfacing (optional)
- Fabric glue (optional)
- Fabric
- Matching thread
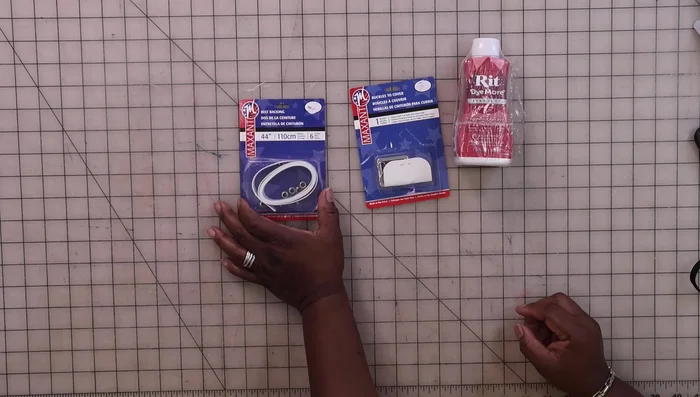
- Belt backing kit
- Buckles to cover kit
- Hole puncher
- Eyelet tool
- Rubber gloves
- RIT Dye (optional)
- Always use sharp, well-maintained scissors or rotary cutter to prevent slips and injuries when cutting fabric.
- Be cautious when working with hot glue or other adhesives. Allow ample time for cooling to prevent burns. Use a heat-resistant surface.
- If using a sewing machine, ensure it's properly threaded and adjusted to avoid needle breakage or accidental injury.
Step-by-Step Instructions
Measurements and Planning
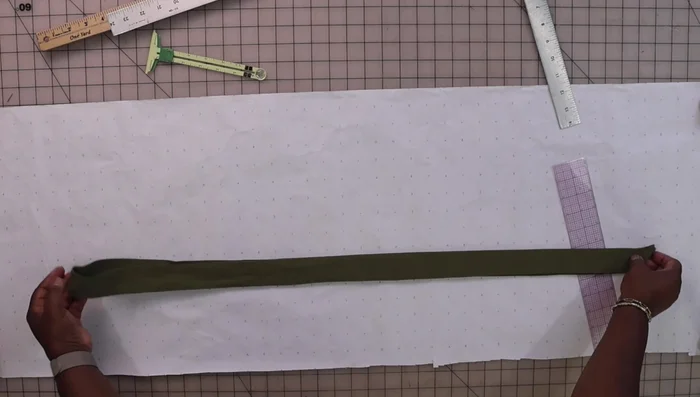
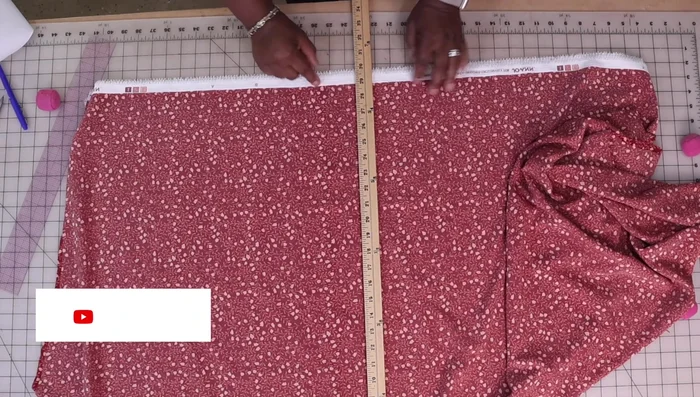
- Measure your waist and determine the desired length and width of your belt.

Measurements and Planning Pattern Creation
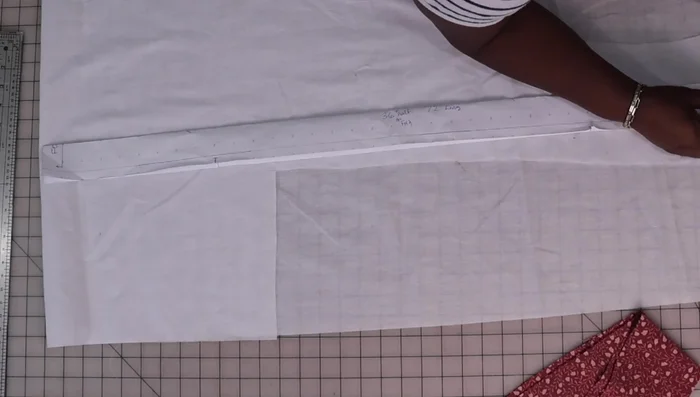
- a long rectangle with seam allowance (double the desired width + 1 inch). Consider a pointed or straight end.
Pattern Creation Fabric Preparation
- Cut out your pattern pieces from your fashion fabric and interfacing (if using). You may need to unfold and refold your fabric to get the necessary length.
- Mark notches and fold lines on your fabric pieces.
Fabric Preparation Sewing the Belt
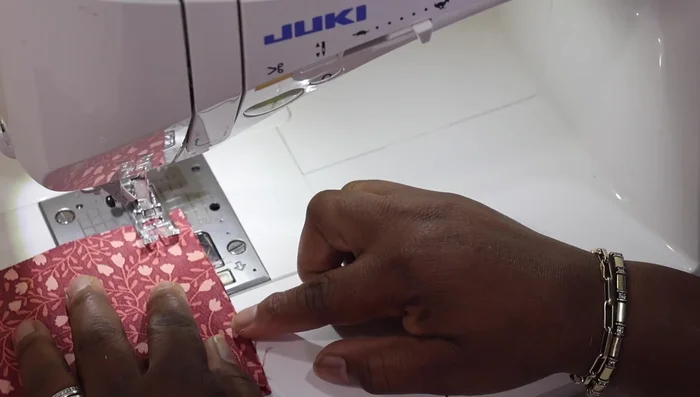
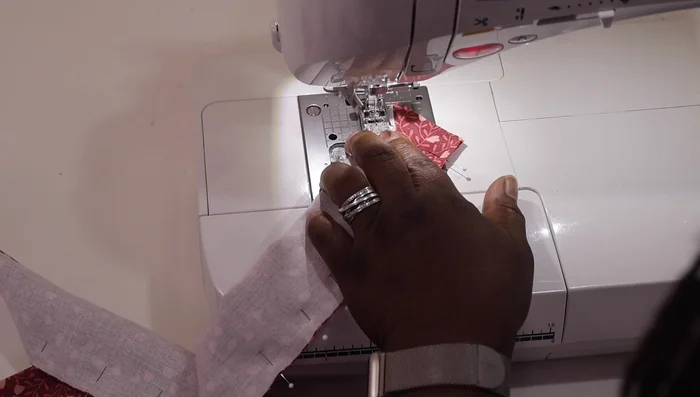
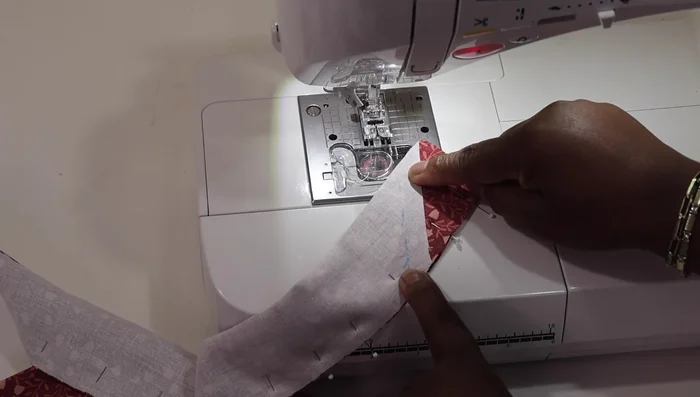
- Sew the two fabric pieces together along the short edge, leaving an opening for turning right side out. (3 inch opening is suggested)
- Sew the seam, carefully pivoting at the corner to create a sharp point. Backstitch at the beginning and end of each seam.
Sewing the Belt Interfacing and Pressing
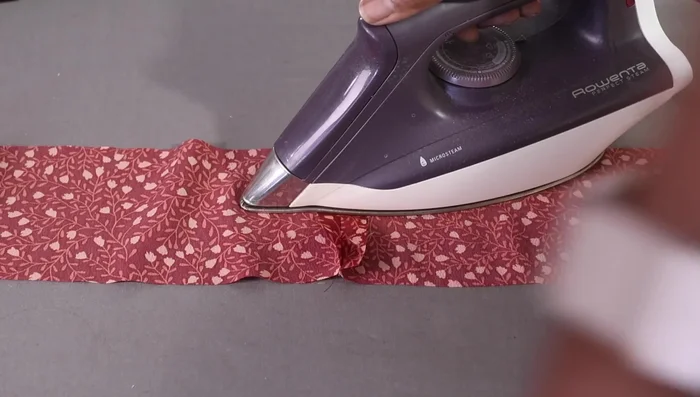
- Press the seam open. Fuse the interfacing to the wrong side of the fabric, matching notches and seam lines. Ensure the tip of the belt points towards the center.
- Use the Clapper technique to press the seams for a crisp finish.
Interfacing and Pressing Finishing the Edges
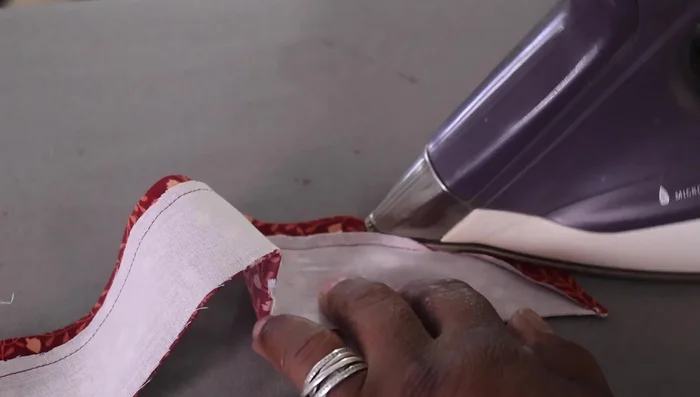
- Pin the fabric together, matching notches and center seam. Leave an opening (3 inches suggested).
- Trim the interfacing to create the pointed end (or leave it straight). Reinforce the corner by backstitching.
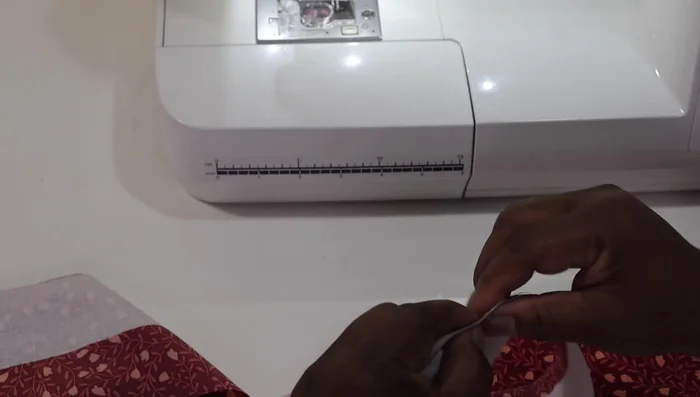
- Close the opening with a hand sewing needle.
Finishing the Edges Buckle Attachment
- Attach buckles using the belt backing kit and instructions.
Buckle Attachment

Read more: DIY Stretchy Fingerless Gloves: Easy Sewing Tutorial
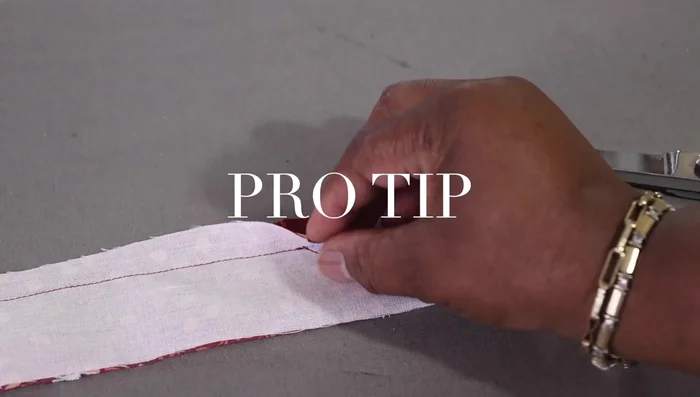
Tips
- Use a Clapper to press your seams after sewing for a perfectly crisp finish. This technique helps to set the seam and create a professional look.
- Layer your seam allowance, making the interfaced side shorter to reduce bulk and create a sharp corner when turning.
- Choose a belt backing and buckle kit that matches your desired width. Check measurements carefully before purchasing.