Cosplay is a fantastic hobby, allowing you to embody your favorite characters and bring them to life. But the cost of professionally made costumes, especially intricate details like gloves, can quickly add up. This often discourages aspiring cosplayers or limits their creativity. Fortunately, crafting amazing cosplay gloves doesn't require advanced sewing skills or a hefty budget! With a little bit of ingenuity and readily available materials, you can create impressive, character-specific gloves that perfectly complement your costume, saving both money and time.
This DIY tutorial will guide you through a simple and effective method for making cosplay gloves, perfect for beginners and those short on time. Whether you're aiming for simple elegance or intricate detailing, this guide provides a flexible framework that you can adapt to your specific character needs. Let's dive into the step-by-step process and bring your cosplay vision to life!
Preparation and Safety Guidelines
- Stretch fabric (lycra or spandex recommended)
- Paper
- Permanent marker
- Ruler
- Paper scissors
- Fabric scissors
- Pins
- Thread
- Sewing machine
- Fabric marker (optional)
- Always use sharp tools with caution. Adult supervision is recommended, especially for younger crafters.
- If using fabric dyes or paints, ensure proper ventilation and wear protective gloves to avoid skin irritation.
- Test any adhesives or paints on a small, inconspicuous area of your fabric first to check for colorfastness and compatibility.
Step-by-Step Instructions
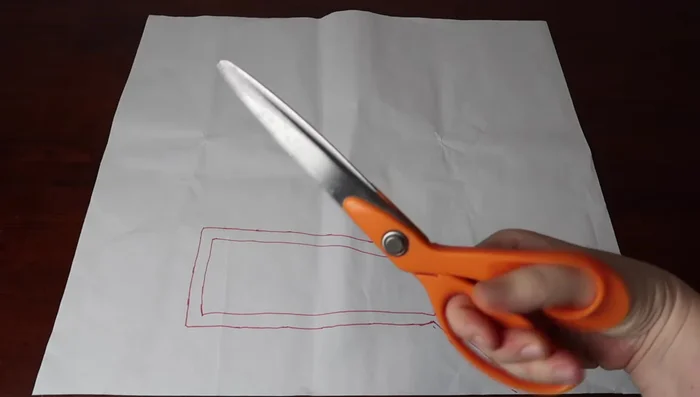
Create the Pattern
- Trace your hand and arm (or desired length) onto paper.
- Add 0.5cm to the top and 1cm around the hand/wrist to your pattern.
- Cut out your pattern piece.

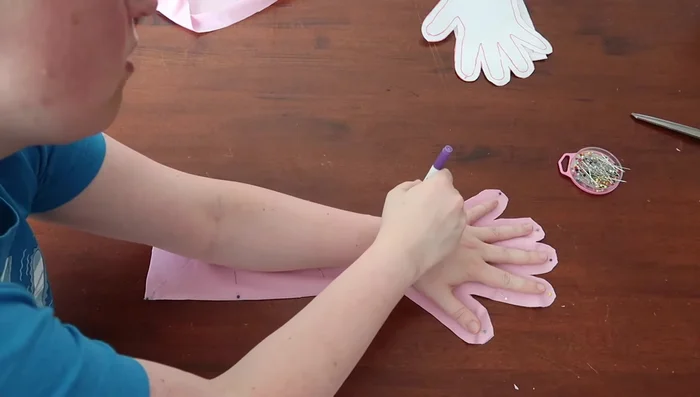
Create the Pattern Cut the Fabric
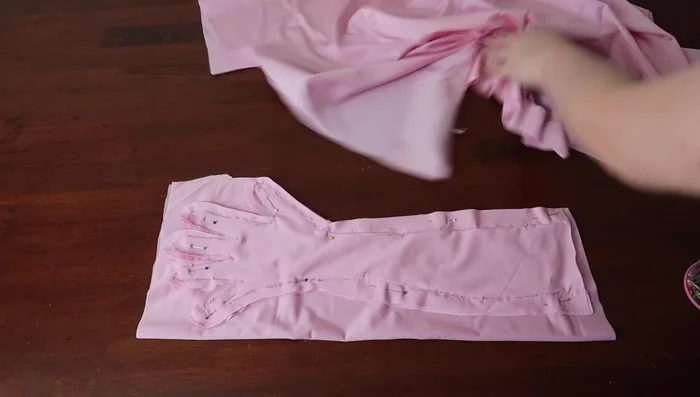
- Fold your fabric, pin down your pattern, and cut out the front and back pieces for one glove.
- Retrace your hand on the fabric piece for a better fit.
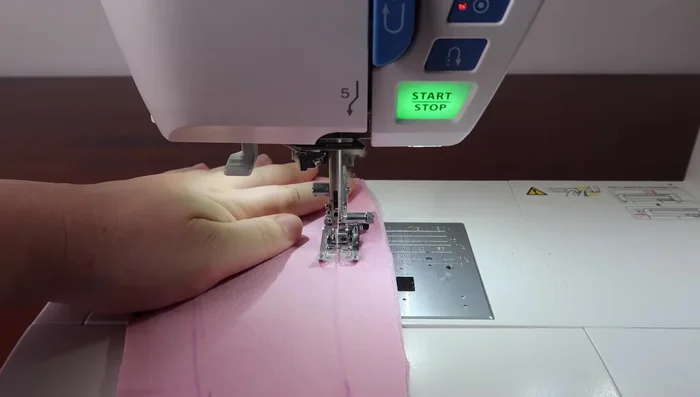
Cut the Fabric Sew the First Glove
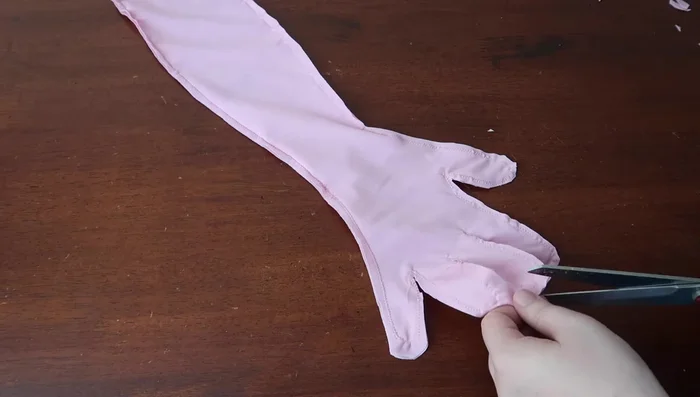
- Sew the front and back pieces together using a zigzag stitch, leaving space at the wrist.
- Try on the glove inside out and adjust the fit as needed.
- Cut the fabric between the fingers, close to the stitches, for mobility.
Sew the First Glove Create the Second Glove
- Using the first glove as a pattern, cut out the second glove.
- Repeat steps 6-8 for the second glove.
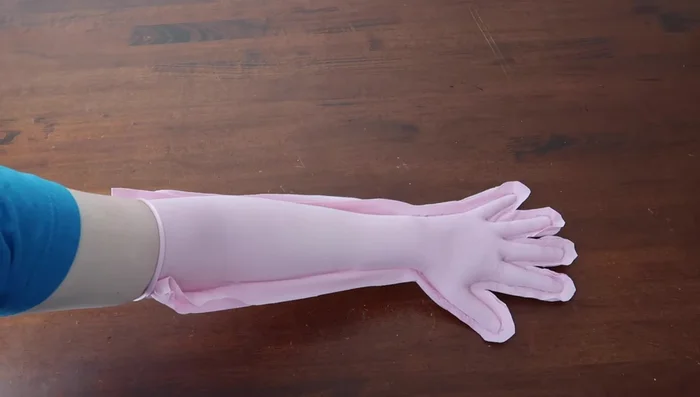
Create the Second Glove Finishing Touches
- Trim excess fabric from the seams.
- Create a small hem at the wrist opening and sew it down with a zigzag stitch.
Finishing Touches


Read more: DIY Stretchy Fingerless Gloves: Easy Sewing Tutorial
Tips
- Use lycra or spandex for the best results.
- Sew slightly outside the line for a better fit.
- Give yourself more space at the wrist than indicated by the line.
- Cut as close to the stitches as possible when cutting between fingers.
- Trim excess fabric from the seams closely for a clean finish.