Cosplay is a fantastic way to express your creativity and embody your favorite characters, and crafting your own costume pieces can be incredibly rewarding. Gloves, often overlooked, can significantly elevate a cosplay's authenticity, but finding the perfect pair can be a surprisingly difficult task. Store-bought options may not fit correctly, match your vision, or even be available for your specific character. This is where DIY comes in handy! Creating your own cosplay gloves allows for precise customization and a truly personalized touch.
This guide will walk you through an easy, effective method for crafting both cuffed and standard gloves using a simple hand-tracing technique. Forget fiddly measurements and complex patterns; this method relies on your own hands as the perfect template, ensuring a comfortable and accurate fit every time. Ready to get started and bring your cosplay vision to life? Let's dive into the step-by-step instructions!
Preparation and Safety Guidelines
- Fabric (stretch fabric, at least two-way stretch, four-way is easiest)
- Sketch paper
- Pen/Tailor's chalk/white pencil
- Sewing machine
- Pins
- Scissors
- Interfacing (optional, for cuff)
- Gold trim/buttons (for cuff)
- Thermoplastic (optional, for details)
- Mod Podge (optional, for details)
- Batting (optional, for cuff)
- Always use sharp scissors and handle them with care to avoid cuts and injuries.
- If using fabric glue or other adhesives, work in a well-ventilated area and follow the manufacturer's instructions carefully. Avoid contact with skin and eyes.
- When using a craft knife or other sharp tools, use a cutting mat to protect your work surface and prevent accidental damage.
Step-by-Step Instructions
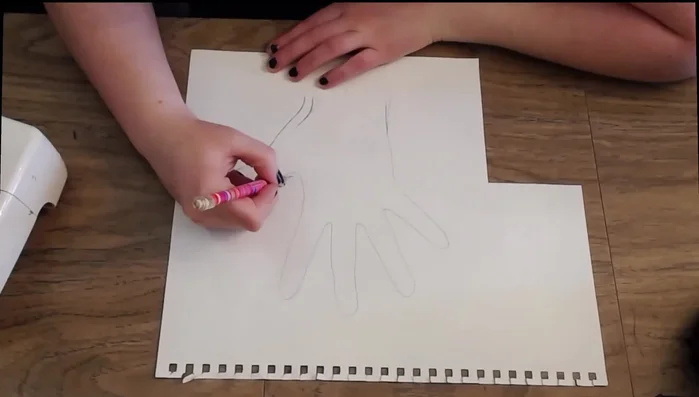
Create the Glove Pattern
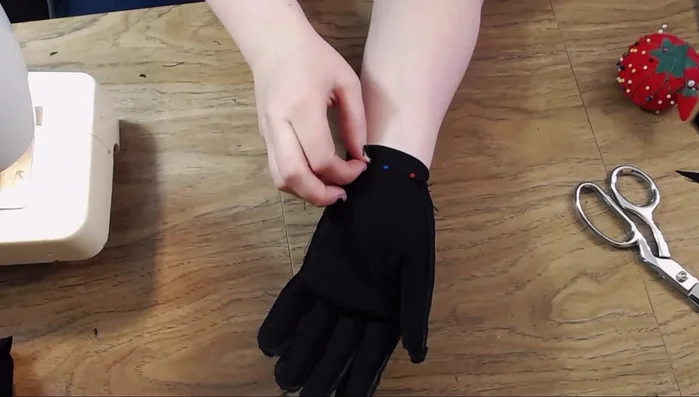
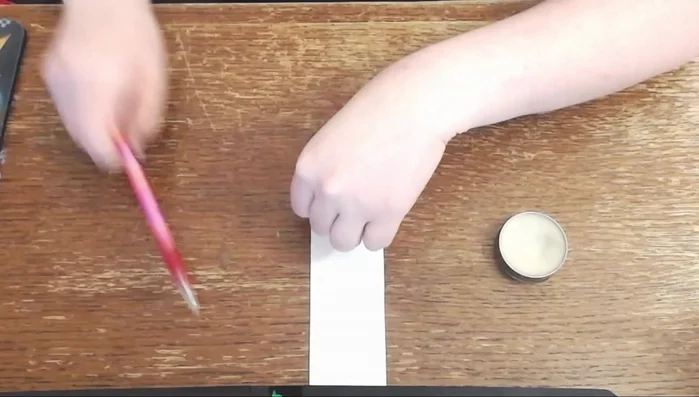
- Trace your hand onto sketch paper, adding seam allowance (1/8 - 1/4 inch).

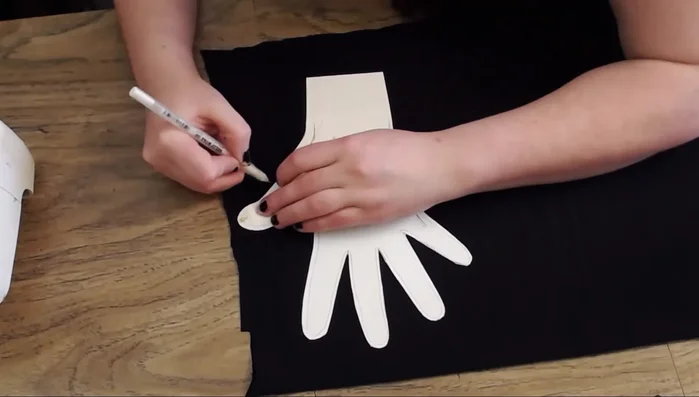
Create the Glove Pattern Transfer Pattern & Sew Glove
- Transfer the pattern onto your stretch fabric (with right sides together if fabric has a defined front/back), using a pen, chalk, or pencil.
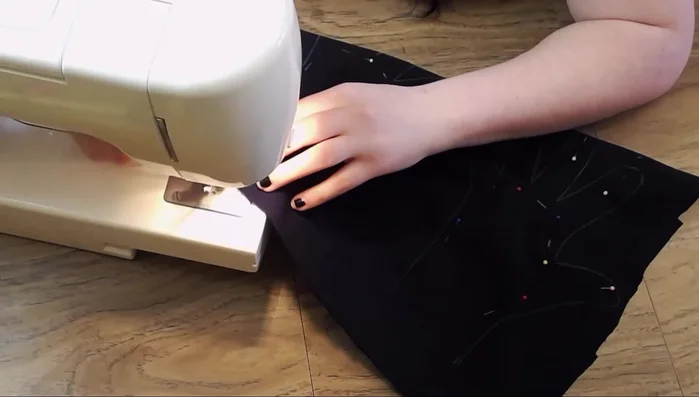
- Sew along the traced line using your sewing machine. Pin fabric to prevent slipping.
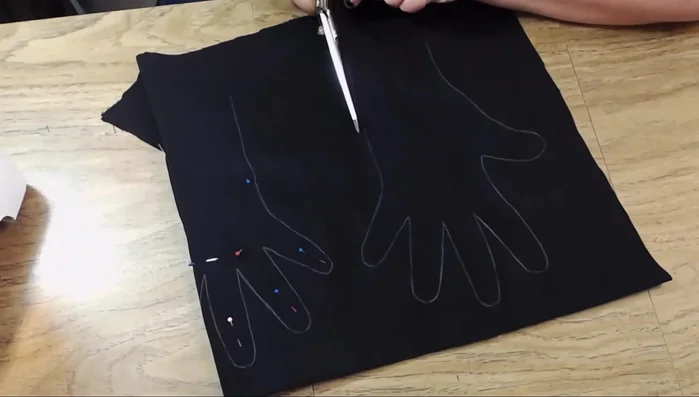
Transfer Pattern & Sew Glove Finish the Basic Glove
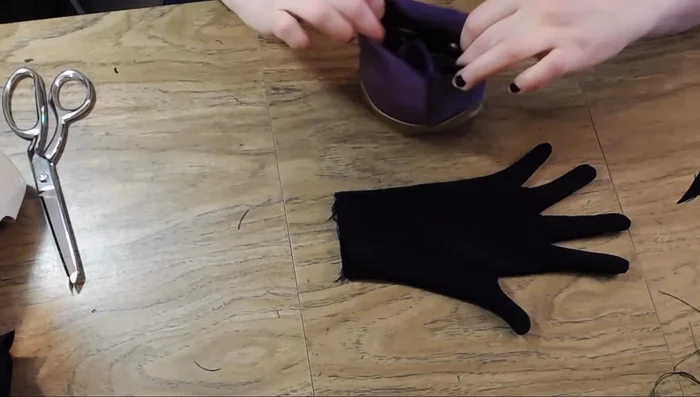
- Cut out the sewn glove, leaving less than 1/8 inch seam allowance. Test fit and adjust if necessary.
- Fold and stitch the wrist area to create a cuff for a standard glove.
Finish the Basic Glove Plan Detailed Cuff
- Measure your forearm and determine cuff length (add seam allowance). Measure around your wrist and forearm for width.
Plan Detailed Cuff Cut Cuff Pieces
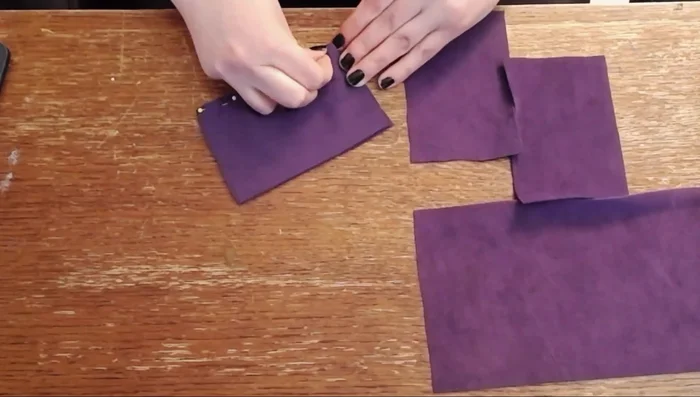
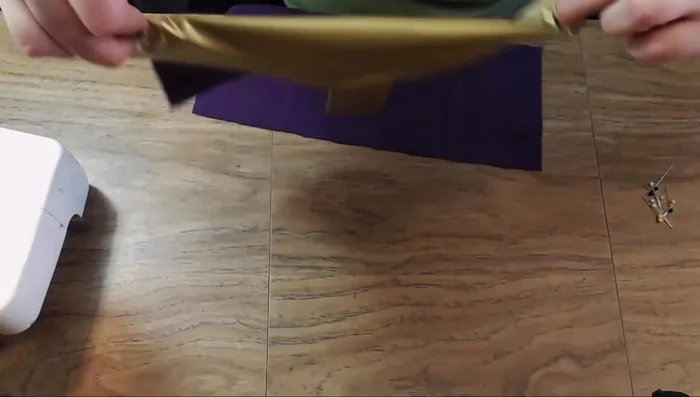
- Cut out the cuff pieces (main fabric, trim, straps).
Cut Cuff Pieces Construct Main Cuff
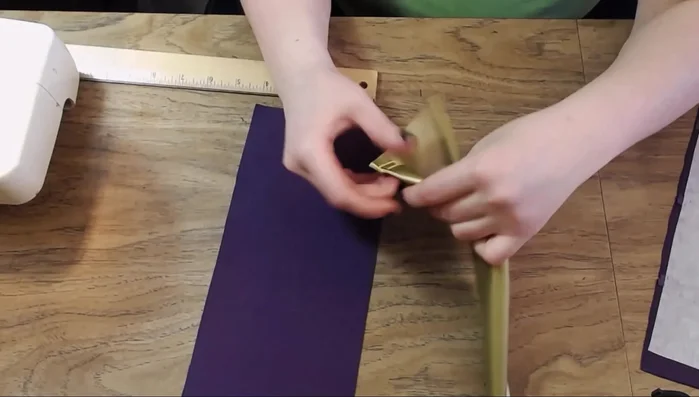
- Sew together the outside cuff pieces. Press seams flat. Iron on interfacing for structure.
Construct Main Cuff Construct Cuff Straps
- Cut and sew together the strap pieces using a four-way stretch fabric. Add vinyl for structure inside the straps.
Attach Straps to Cuff
- Position and sew the straps to the cuff, ensuring they sit correctly on both the front and back.
Attach Straps to Cuff Add Cuff Detailing
- Add batting for extra dimension to the cuff edges and sew with a zig-zag stitch.
Add Cuff Detailing Attach Cuff to Glove
- Attach the cuff to the glove (right sides together).
Attach Cuff to Glove
Read more: DIY Stretchy Fingerless Gloves: Easy Sewing Tutorial
Tips
- Use four-way stretch fabric for easiest glove making.
- Stitch slowly and carefully around curves, using the sewing machine wheel for precision.
- For the cuff, consider the puff outward at the wrist and adjust width accordingly.
- Use non-penetrating tools (paper clips) when working with vinyl to avoid holes.