Tired of the same old look? Canvas shoes, beloved for their versatility, can sometimes feel a bit… predictable. But what if you could effortlessly revitalize your favorite kicks, giving them a unique, personalized style? With the power of DIY shoe dyeing, transforming your canvas shoes is easier than you think. This isn't about messy, unpredictable results; with the right techniques and materials, you can achieve professional-looking results, from subtle pastels to bold, vibrant hues. Say goodbye to boring footwear and hello to a whole new wardrobe of possibilities, all without breaking the bank.
This guide will walk you through the entire process, from choosing the perfect dye to achieving a flawless finish. Get ready to unlock your creativity and learn how to revitalize your canvas shoes with a stunning, personalized makeover. Let's dive into the step-by-step process of DIY shoe dyeing and discover how you can easily transform your worn-out canvas shoes into stylish, one-of-a-kind footwear.
Preparation and Safety Guidelines
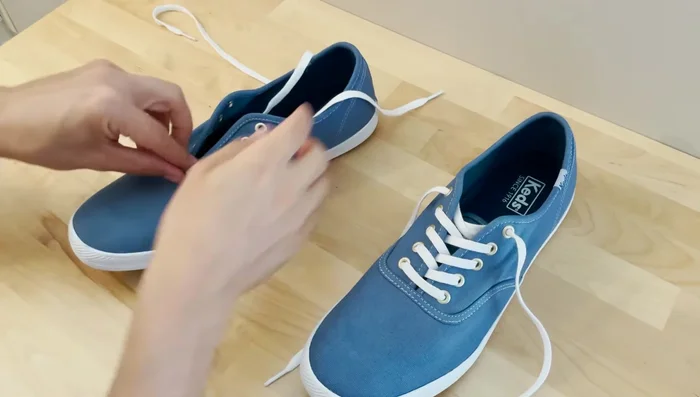
- Canvas shoes (white or bleached)
- Fabric dye
- Vaseline
- Hot water
- Dye fixative
- Dish soap
- Gloves
- Wet paper towels
- Mr. Clean Magic Eraser (optional)
- Acetone (optional)
- Always test the dye on a hidden area of the shoe first to ensure color consistency and check for any unwanted reactions.
- Wear gloves and eye protection throughout the dyeing process to prevent skin and eye irritation from the dye.
- Work in a well-ventilated area or outdoors to avoid inhaling dye fumes.
Step-by-Step Instructions
Preparation
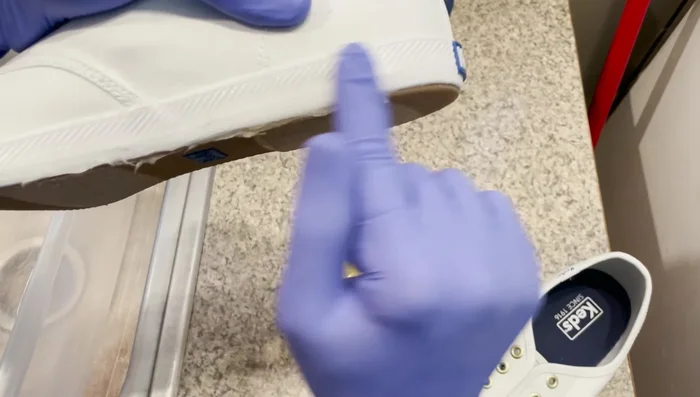
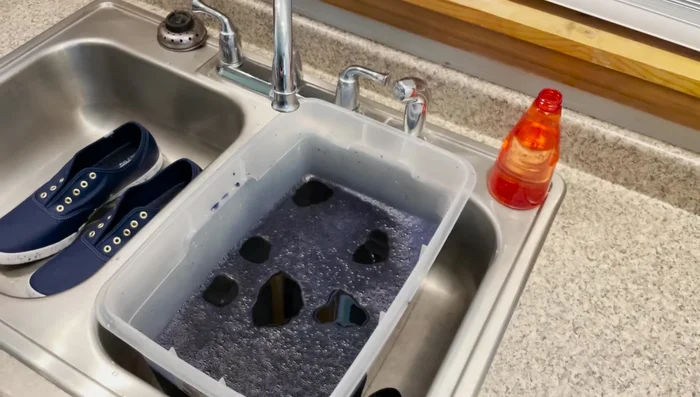
- Cover all rubber parts of the shoes with a thin layer of Vaseline. This prevents the dye from staining the rubber.
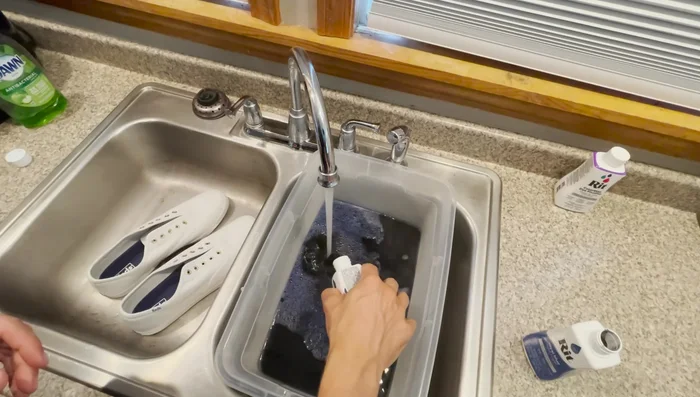
- Mix fabric dye according to instructions. The video uses one-half bottle each of two colors for approximately one and a half gallons of water. Add a small amount of dish soap.

Preparation Dyeing Process
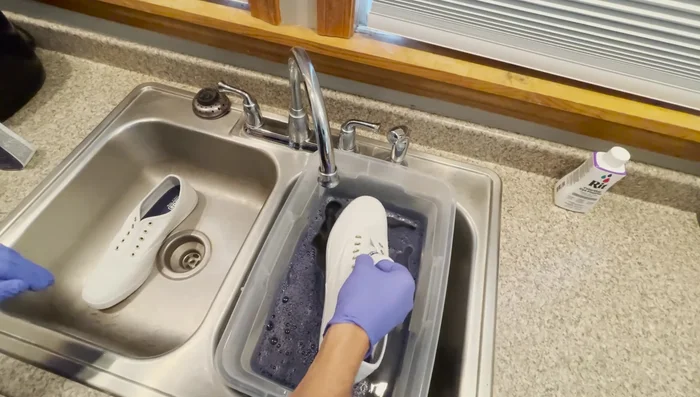
- Submerge the shoes completely in the dye bath. Ensure the shoes are fully saturated.
Dyeing Process Color Setting
- After dyeing, apply a dye fixative. The video demonstrates spraying it on, ensuring all surfaces are saturated. This step helps set the color.
- Allow the shoes to sit with the fixative for 20 minutes.
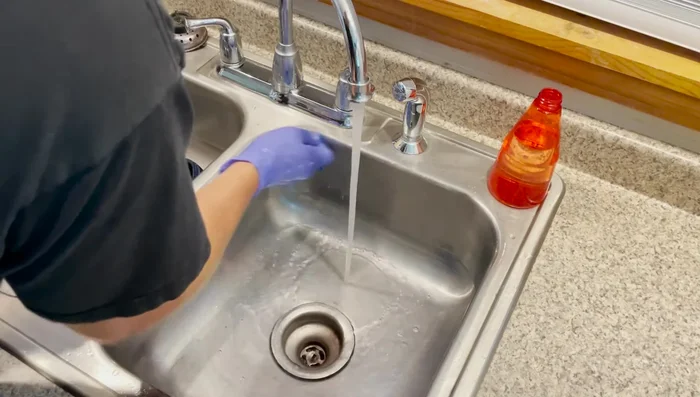
Color Setting Cleaning and Rinse
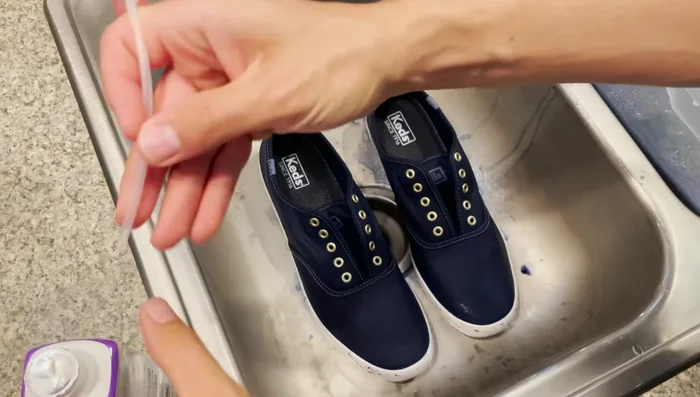
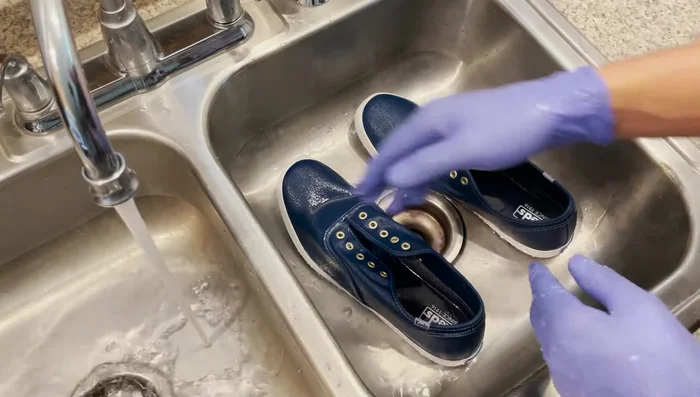
- Rinse the shoes thoroughly with warm water, optionally adding salt and a small amount of soap to help remove excess dye.
- Wipe off the Vaseline using wet paper towels. Use a Mr. Clean Magic Eraser with acetone to remove any dye accidentally transferred to rubber areas.
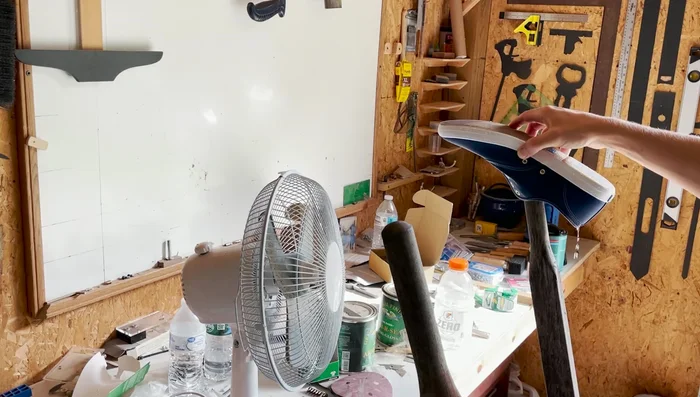
Cleaning and Rinse Drying and Finishing
- Allow the shoes to air dry completely, placing them in a way that allows water to drain freely. This takes approximately overnight.
- Lace up & enjoy!
Drying and Finishing
Read more: DIY Reversible Baby Slippers: Easy Sewing Tutorial
Tips
- Use Vaseline, not electrical tape, to protect rubber.
- Make the dye darker while it is wet than your desired final color.
- Wear gloves to avoid staining your skin.
- Bleach white canvas shoes for better dye results.