Give your old boots a brand-new lease on life with a vibrant DIY makeover! Tired of those worn-out leather boots gathering dust in the corner? Don't toss them just yet! With a little creativity and some readily available fabric, you can transform them into unique, stylish footwear that reflects your personality. This project is perfect for upcycling, adding a personal touch to your wardrobe, and saving money on buying new boots. Whether you're aiming for a bohemian vibe, a sleek modern look, or something completely quirky, the possibilities are endless.
This exciting project requires minimal sewing skills and affordable materials, making it accessible to crafters of all levels. Ready to breathe new life into your beloved boots? Let's dive into the step-by-step process and learn how to effortlessly transform your old footwear with fabric.
Preparation and Safety Guidelines
- Boots (with zippers recommended)
- Large crafting paper
- Pen
- Scissors or Rotary Cutter
- Stretch fabric
- Sequin fabric (or other desired fabric)
- Clear thread
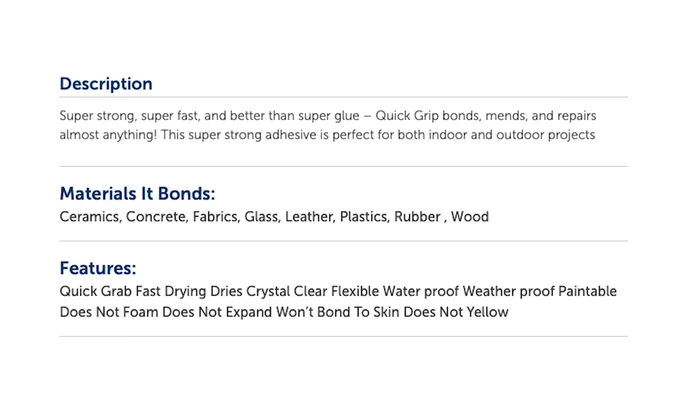
- Quick Grip glue (or E6000)
- Soft elastic
- Exacto knife (optional)
- Always work in a well-ventilated area, as some fabrics and adhesives release fumes.
- Use fabric glue or adhesive specifically designed for leather or other boot materials to ensure a strong and lasting bond. Test in an inconspicuous area first.
- Allow ample drying time for the adhesive before wearing the boots to prevent the fabric from peeling or the adhesive from damaging the boot's leather.
Step-by-Step Instructions
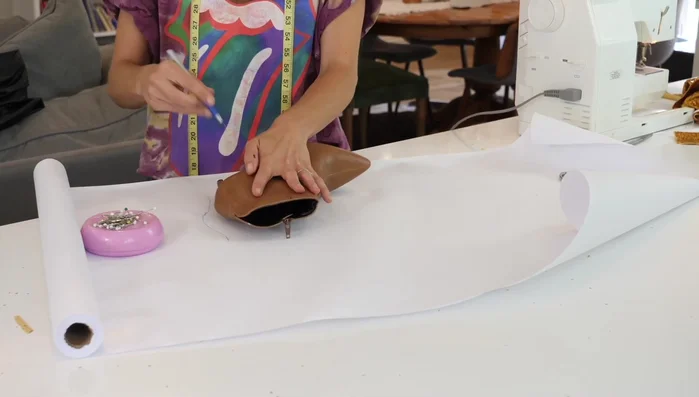
Create the Boot Pattern
- Trace boot onto crafting paper, adding 1-inch seam allowance except for the sole.
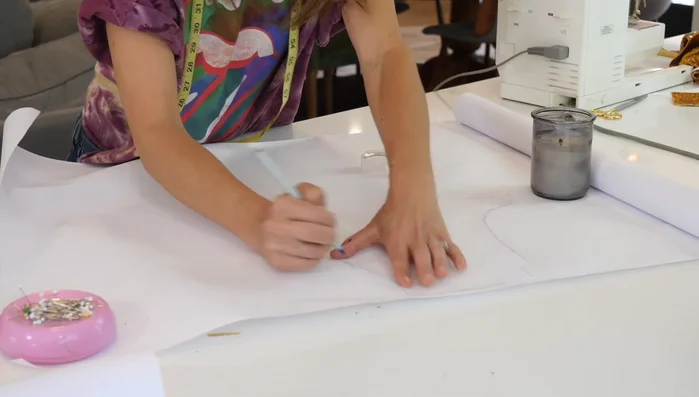
- Create a mirror image of the pattern to make a full boot pattern.
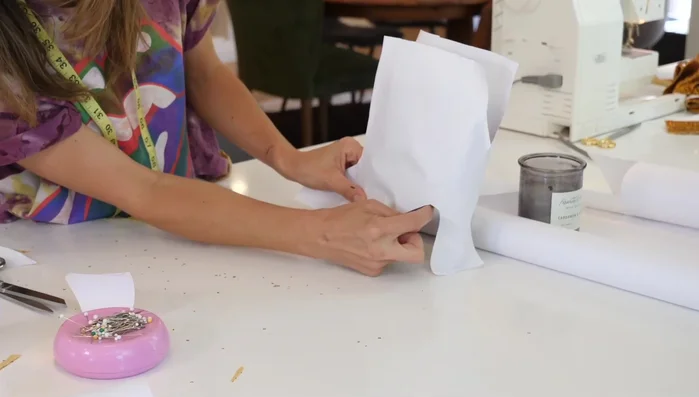
- Cut out the pattern, creating an opening for the zipper.

Create the Boot Pattern Test and Cut Fabric Pattern
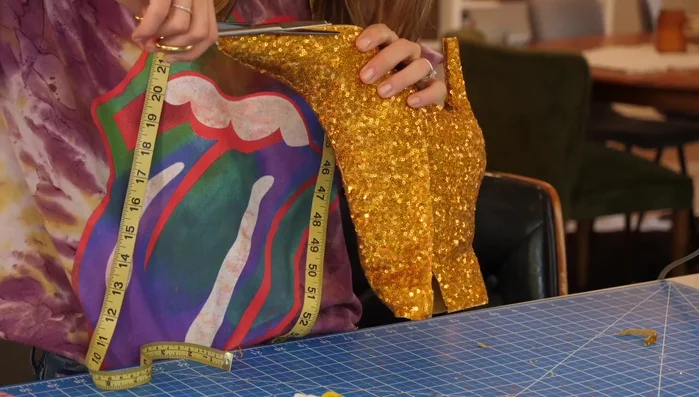
- Cut the pattern out from stretch fabric to test the fit, adjust as needed.
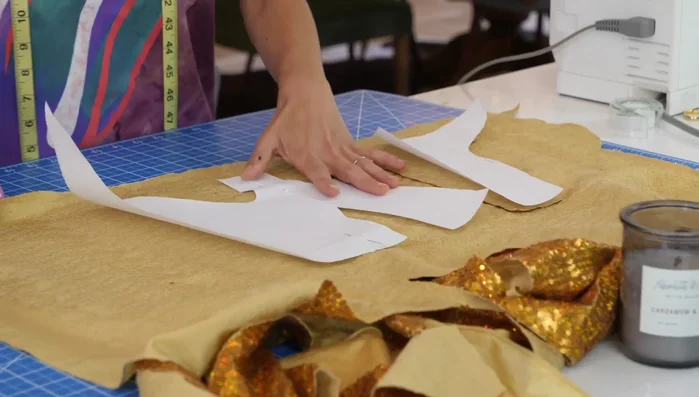
- Cut the pattern from your chosen fabric (inside out), ensuring mirror image for the other boot.
- Create an overlap to cover the zipper.
Test and Cut Fabric Pattern Sew Fabric Pieces
- Sew the center front seam and back ankle seam.
Sew Fabric Pieces Fit and Trim Fabric
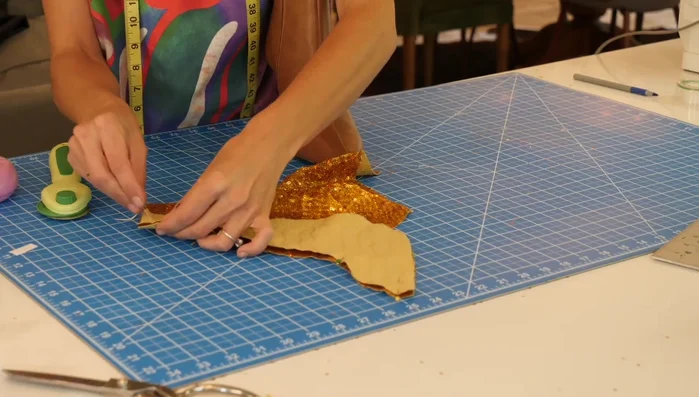
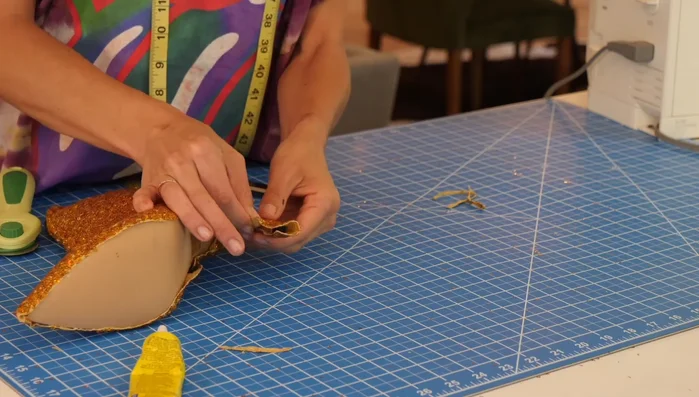
- Try on the fabric boot and trim excess to a tight seam allowance.
Glue: Center Front Seam
- Apply Quick Grip glue to the center front seam on both fabric and boot, aligning and pressing firmly.
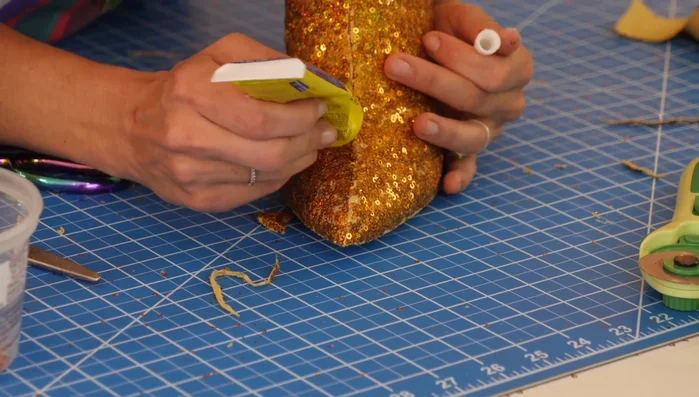
Glue: Center Front Seam Glue: Sole
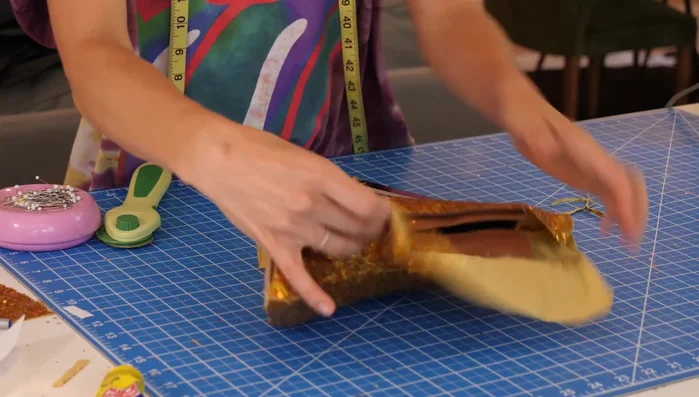
- Apply glue to the sole of the boot and attach the fabric, pulling excess fabric upwards towards the ankle instead of pushing it down.
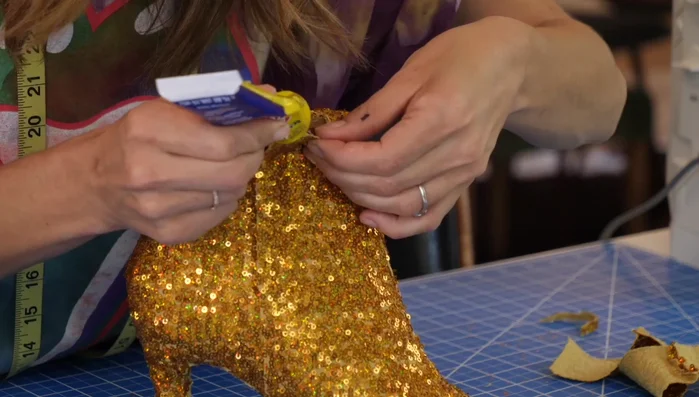
Glue: Zipper
- Apply glue to the zipper edge and attach, ensuring no glue gets inside the zipper.
Glue: Zipper Glue: Back Seam
- Apply glue to the back seam and attach.
Glue: Back Seam Prepare Heel and Trim
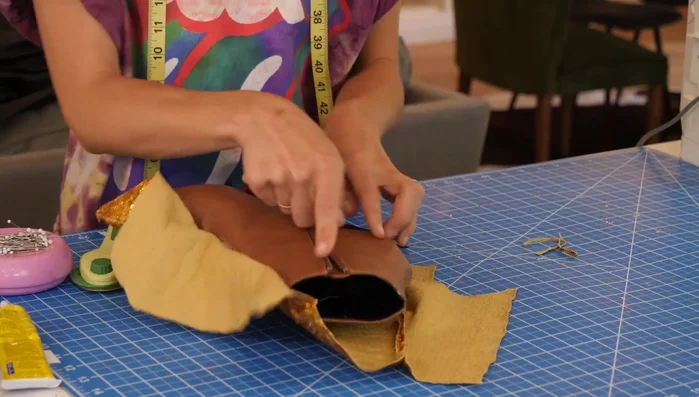
- Wrap the heel with fabric and trim excess.
- Trim all edges using small, precise scissors. (If you properly lined up the fabric edges with the boot sole in Step 9, this step can be minimized.)
Prepare Heel and Trim Secure and Finish
- Use quick grip glue to secure any loose areas and trim excess glue with an exacto knife.
- Add glue to the top edge of the fabric and stretch it down into the boot interior.
- Fill in any bald spots with leftover sequins.
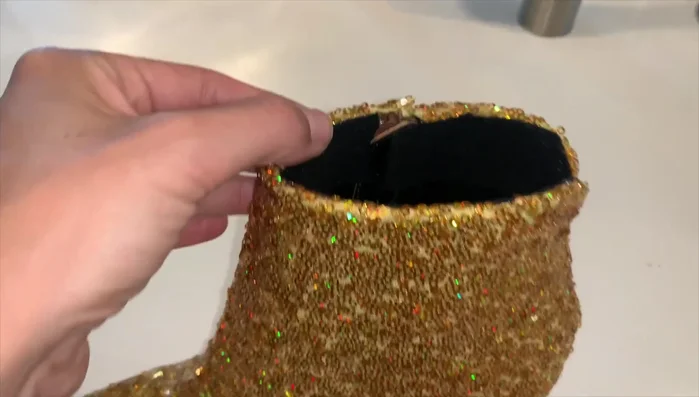
- Wrap soft elastic around the inside for comfort and a clean finish.
Secure and Finish

Read more: DIY Reversible Baby Slippers: Easy Sewing Tutorial
Tips
- Use a boot with a zipper for easier application.
- Use a rotary cutter for cleaner fabric cuts.
- Use clear thread for sewing.
- Quick Grip glue sets faster than E6000, allowing for quicker work.
- Ensure no glue gets inside the zipper.