Making adorable baby shoes can feel like a daunting task, but it doesn't have to be! This DIY project is perfect for beginner sewers and crafters looking to create something truly special and unique for a little one. Forget expensive boutique baby shoes – with a little time and simple supplies, you can whip up a pair of charming booties that will be treasured for years to come. The best part? They're incredibly easy to make, even if you’re new to the world of sewing. Imagine the delight of presenting a handmade gift, crafted with love, that fits perfectly and showcases your personal touch.
Forget complicated patterns and frustrating instructions; this tutorial provides a straightforward, step-by-step guide to creating super cute baby shoes. We'll walk you through each stage, from choosing the right fabric to adding the final touches, ensuring a successful and enjoyable crafting experience. Ready to get started and create your own precious pair of handmade baby shoes? Let’s dive into the step-by-step process!
Preparation and Safety Guidelines
- Fabric (outer and lining)
- Elastic
- Fusible Fleece Interfacing (optional)
- Sewing Machine
- Safety Pin
- Scissors
- Iron (optional)
- Pattern Pieces (downloadable)
- Always supervise young children near sewing machines and needles. Keep them out of reach.
- Use fabrics specifically designed for baby items, ensuring they are soft, breathable, and non-toxic. Avoid anything with small embellishments that could pose a choking hazard.
- Before using the finished shoes, check thoroughly for any loose threads, sharp edges, or small parts that could be dangerous for a baby.
Step-by-Step Instructions
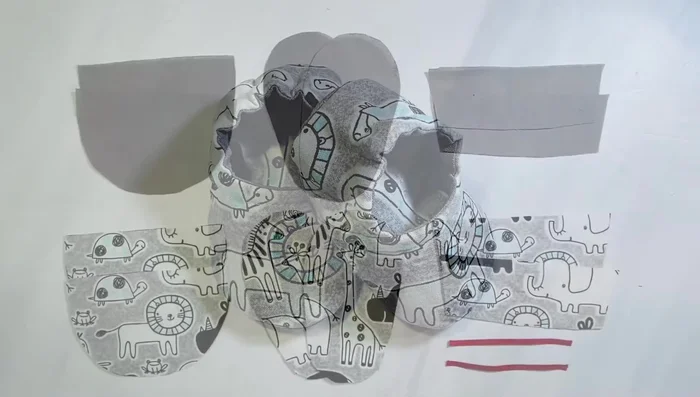
Prepare the Fabric
- two outer, two lining).

Prepare the Fabric Construct the Heel
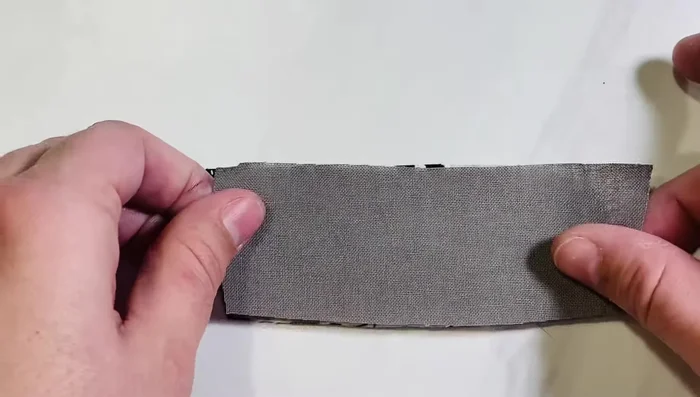
- Lay lining and outer fabric right sides together. Sew across the longest side (1/4 inch seam allowance). Open, fold with seam at top, and press if needed.
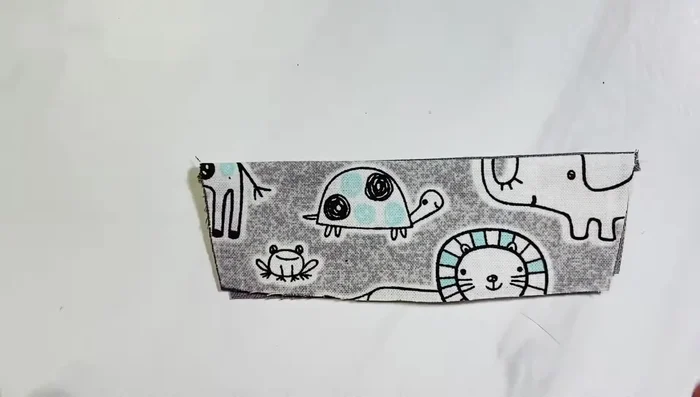
Construct the Heel Create the Elastic Casing
- Sew across the back top of the heel (3/8 inch seam allowance).
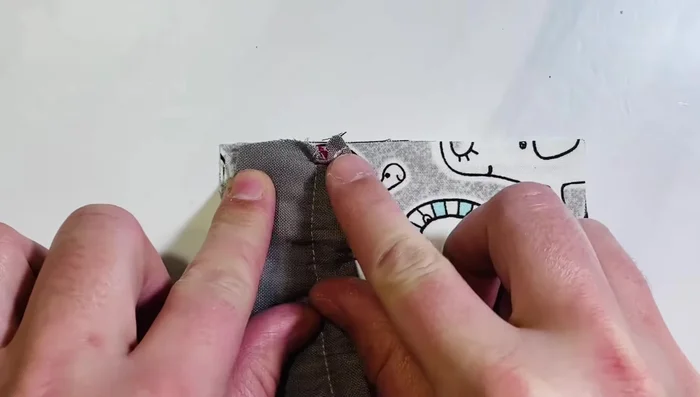
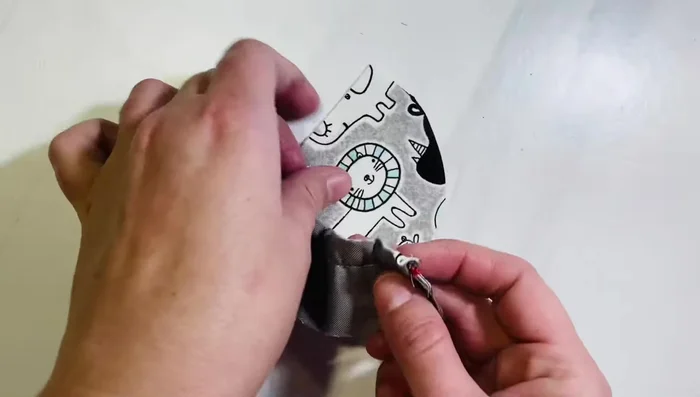
Create the Elastic Casing Insert and Secure Elastic
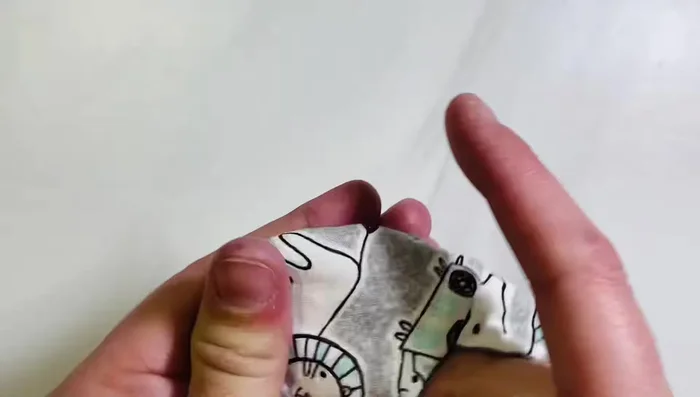
- Attach safety pin to elastic, feed through casing, and secure ends with basting stitches.
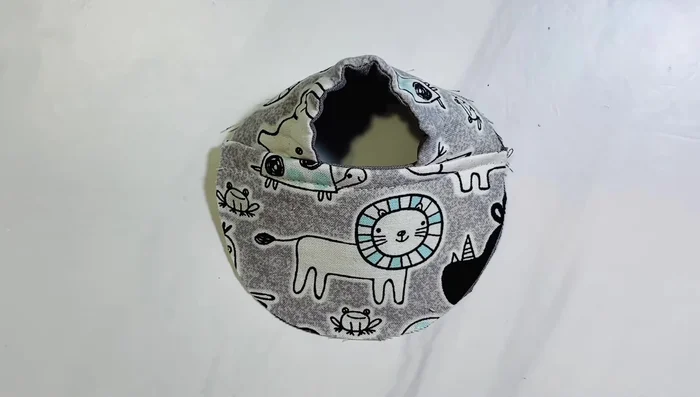
Attach Heel to Toe
- Lay heel (right side down) to the top left corner of the toe piece, matching edges. Sandwich with lining toe piece (right side down). Pin/clip all layers together. Repeat for the other side.
Attach Heel to Toe Sew the Toe
- Sew all the way across the top, enclosing the heel and toe pieces (1/4 inch seam allowance).
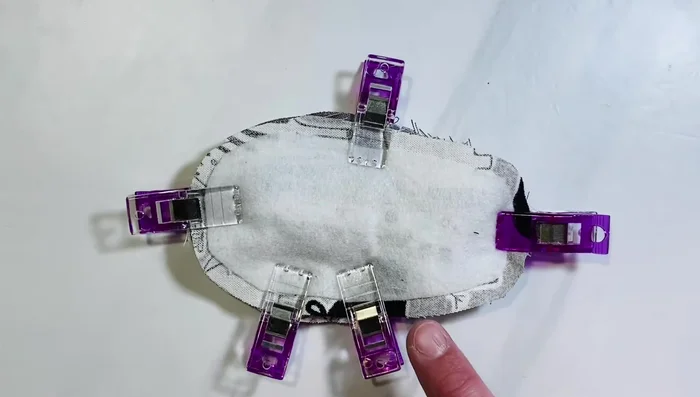
Sew the Toe Attach the Soles
- Make a small slit in the front of the top piece and the sole. Match slits, pin/clip together. Repeat for the back. Pin/clip the sole around the top piece's edge.
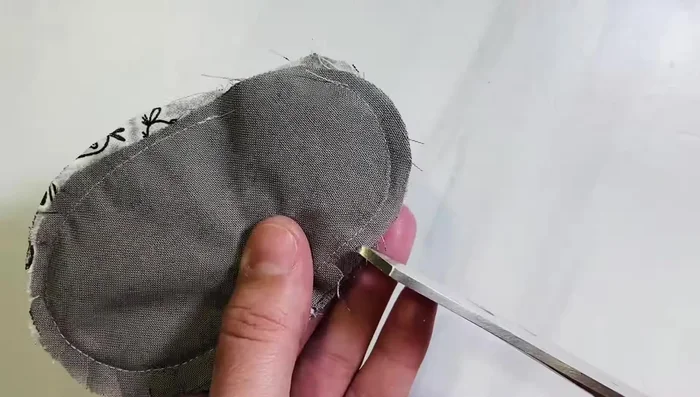
Attach the Soles Sew and Notch the Sole
- Sew all the way around the bottom, leaving a 1.5-inch gap on the inner left side. Clip notches around curves to prevent puckering when turning right side out.
Sew and Notch the Sole Turn and Close the Shoe
- Turn the shoe right side out through the gap, being careful to push out all the seams. Close the gap with a stitch, and secure with a zigzag stitch to prevent fraying.
Turn and Close the Shoe Finish and Repeat
- Steam and press out any wrinkles. Repeat for the second shoe.
Finish and Repeat
Read more: DIY Reversible Baby Slippers: Easy Sewing Tutorial
Tips
- Adding fusible fleece interfacing to the outer shoe pieces provides extra padding.
- Take your time when attaching the heel and toe pieces; it may take a few tries to get it right.
- Clipping notches around curves before turning the shoe right side out prevents puckering.