Ever wished you could create adorable, custom headbands for your little one without breaking the bank? Then you're in the right place! This DIY tutorial will guide you through creating charming jersey tie-back headbands, perfect for adding a touch of sweetness to your baby's outfit. Forget expensive boutique prices – we'll show you how to craft these delightful accessories using simple materials and easy-to-follow instructions, ensuring a perfectly snug and stylish fit for your precious baby. The soft, stretchy jersey fabric is gentle on delicate skin, making these headbands both comfortable and cute.
These adorable headbands are surprisingly simple to make, even for beginners! From choosing the perfect jersey fabric to mastering the simple tie-back knot, we'll cover everything you need to know. Prepare to be amazed at how quickly and effortlessly you can create personalized headbands that will become your baby's new favorite accessory. Ready to get started? Let's dive into the step-by-step process!
Preparation and Safety Guidelines
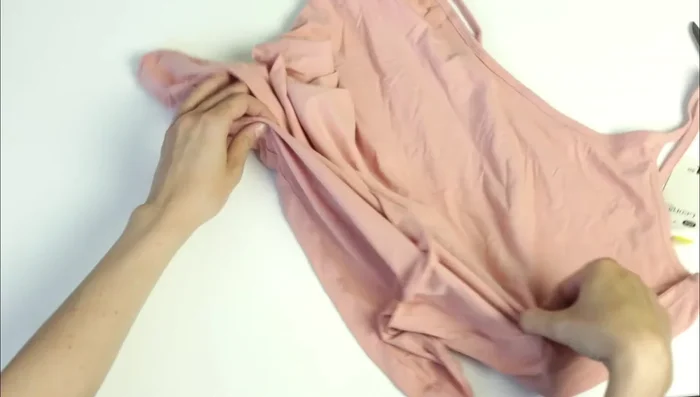
- Jersey knit material (tank tops)
- Chiffon or synthetic sheer fabric
- Dry flowers
- Small white flowers/cream-colored rosettes
- Ribbon
- Fabric scissors
- Pearls
- Crochet ribbon
- Small half pearl stickers
- Tea light candle
- Jar or glass
- Metal tweezers
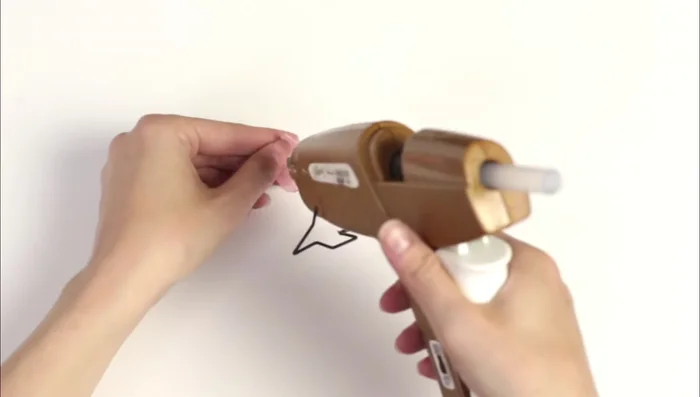
- Glue gun
- Cardstock (optional)
- Always supervise young children while wearing the headband to prevent choking hazards or entanglement.
- Use soft, stretchy jersey fabric and ensure all seams are securely stitched to avoid any loose threads that could pose a strangulation risk.
- Choose a headband size appropriate for the baby's head to prevent it from being too tight or too loose. A snug but comfortable fit is crucial.
Step-by-Step Instructions
Prepare Headband Base
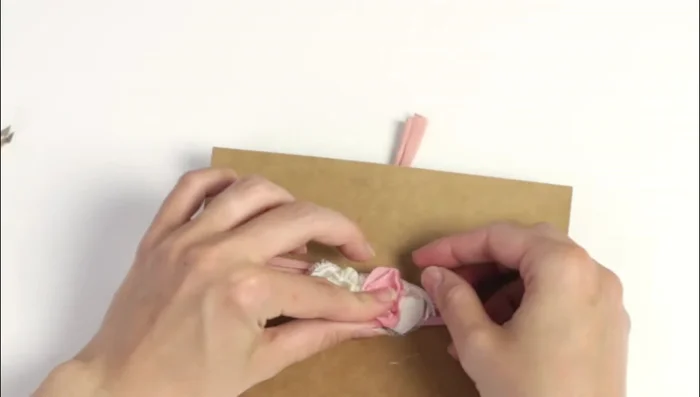
- Cut a 1-inch strip of jersey knit fabric for the headband.
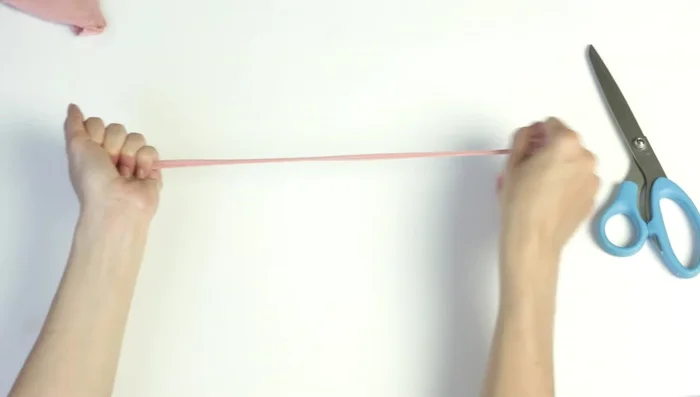
- Stretch the fabric strip to curl it inwards.
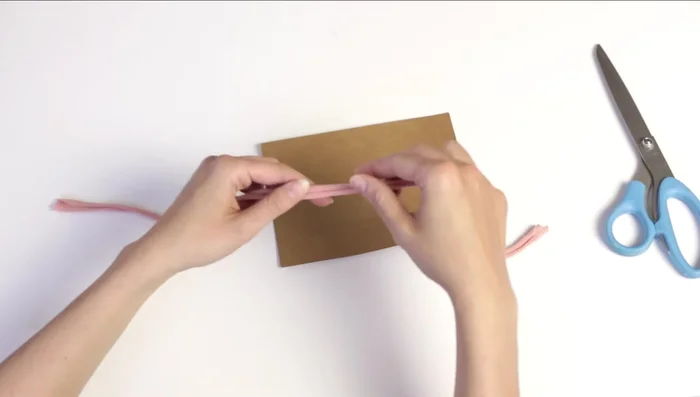
- Tie the headband to cardstock (optional) for easier handling.

Prepare Headband Base Create and Attach First Flower (White)
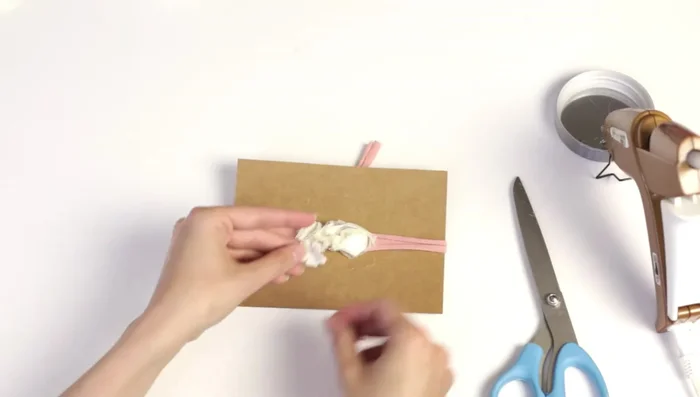
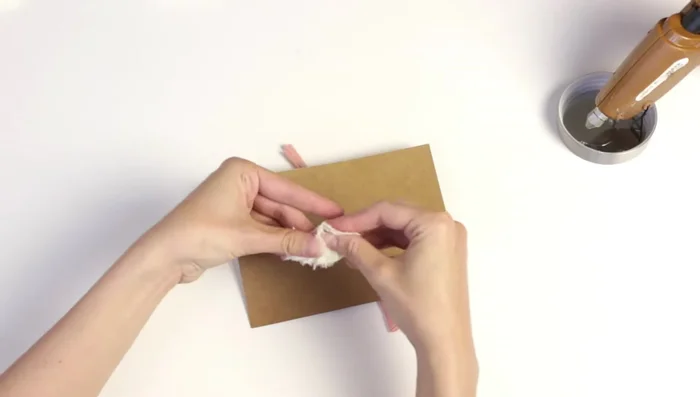
- Prepare small white flowers by gluing the two layers together and adding a pearl sticker to the center.
- Glue the prepared flower to the headband.
Create and Attach First Flower (White) Create and Attach Second Flower (Chiffon)
- Cut two chiffon circles of slightly different sizes and burn the edges using a tea light candle and tweezers.
- Glue the two chiffon circle layers together to create a flower.
- Cut a piece of crochet ribbon, distress it, and glue it to the center of the chiffon flower. Add a pearl.
- Glue the chiffon flower to the headband next to the white flower. Add pearls and dry flowers as desired.
Create and Attach Second Flower (Chiffon) Add Rosette and Final Touches
- Glue a 2-inch piece of chiffon rosette ribbon to the center of the headband.
Add Rosette and Final Touches Tie and Finish
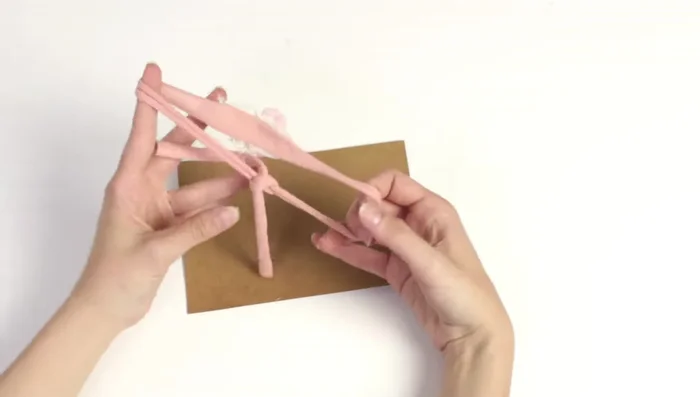
- Tie the headband – simple knot or slip knot for adjustability.
Tie and Finish


Read more: DIY Stretchy Fingerless Gloves: Easy Sewing Tutorial
Tips
- Use the largest size tank tops for more material.
- Use synthetic material for burning edges.
- Don't burn fabric directly in the flame; hold it above.
- Use tweezers to handle small pearls easily.
- Headbands are customizable; get creative!