Nike Air Force 1s: a timeless classic, a blank canvas for self-expression. Their enduring popularity stems not only from their comfortable design and iconic silhouette but also from the endless possibilities for customization. Want to elevate your sneaker game beyond simple paint jobs and achieve a truly professional, high-end look? This guide will show you how to seamlessly incorporate leather panels into your Air Force 1s, transforming them into unique, statement pieces reflecting your personal style. Forget generic designs; prepare to create a pair that’s uniquely yours.
This tutorial provides a comprehensive, step-by-step process for adding leather panels to your Nike Air Force 1s, from selecting the right materials to mastering the intricate stitching techniques. Whether you're a seasoned DIY enthusiast or a complete beginner, we'll guide you through each stage, ensuring you achieve a flawless finish worthy of a professional cobbler. Let's get started!
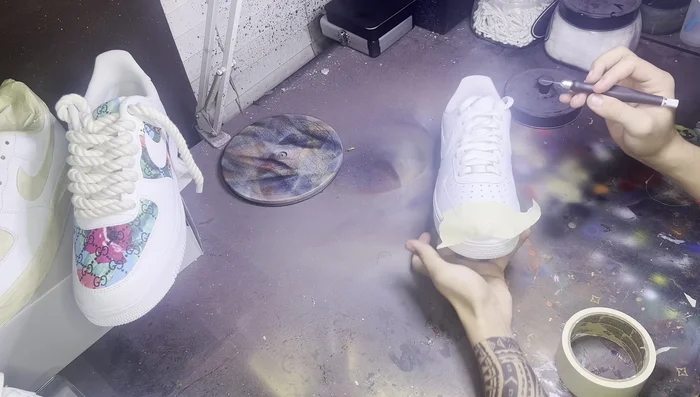
Preparation and Safety Guidelines
- Leather
- X-Acto Knife
- Tape
- Fabric Scissors
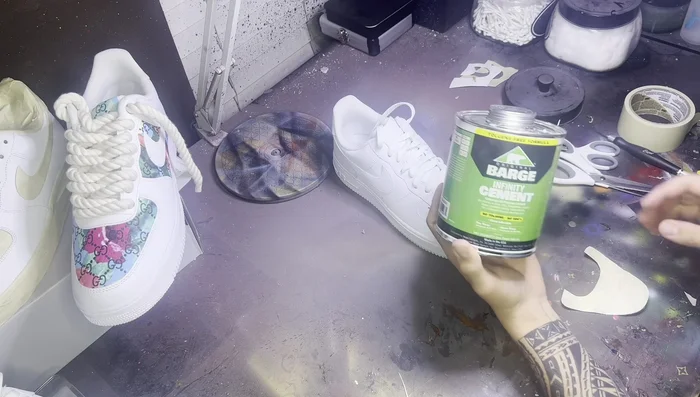
- Barge Infinity Cement
- Pick (for peeling tape)
- Q-tip or paintbrush
- Scraper tool
- Always use appropriate safety gear: Wear eye protection to prevent glue or paint splashes, and gloves to protect your hands from chemicals and dyes.
- Work in a well-ventilated area: Many adhesives and paints release fumes that can be harmful if inhaled. Consider working outdoors or in a space with good ventilation.
- Test your materials first: Before applying anything to your Air Force 1s, test your chosen leather, glue, and paint on a scrap piece of similar material to ensure compatibility and desired results. This prevents ruining your shoes.
Step-by-Step Instructions
Prepare the Shoe and Leather
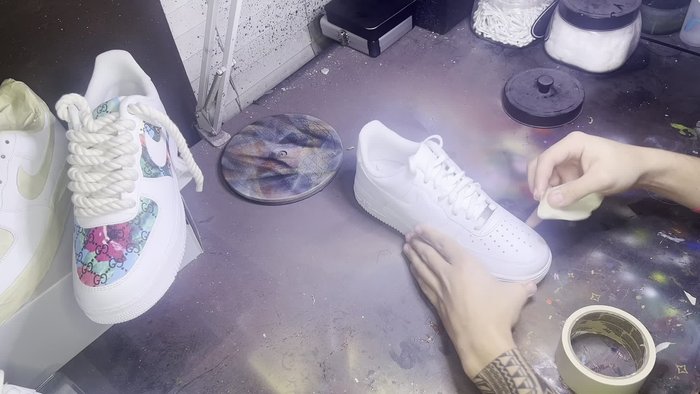
- Apply tape to the areas where you want to add leather (toe box and side panels in this example). Press the tape firmly into the panel grooves to ensure a smooth surface.
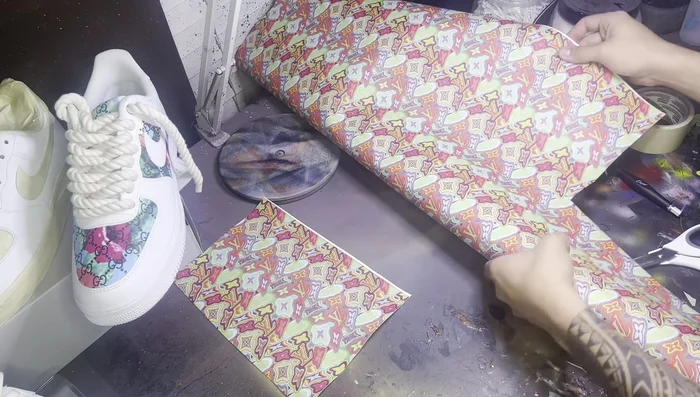
- Cut a piece of leather slightly larger than your taped area.

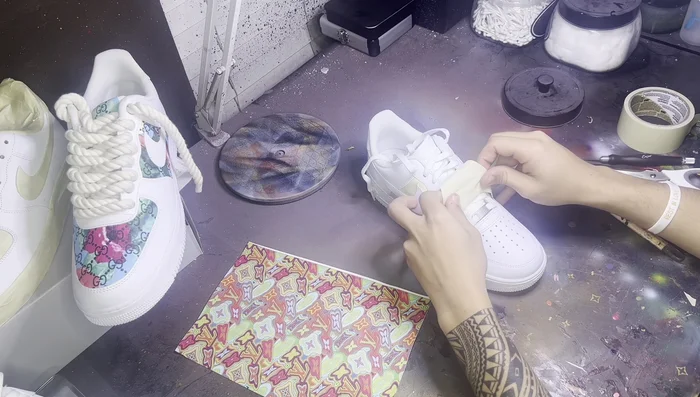
Prepare the Shoe and Leather Position and Secure Leather
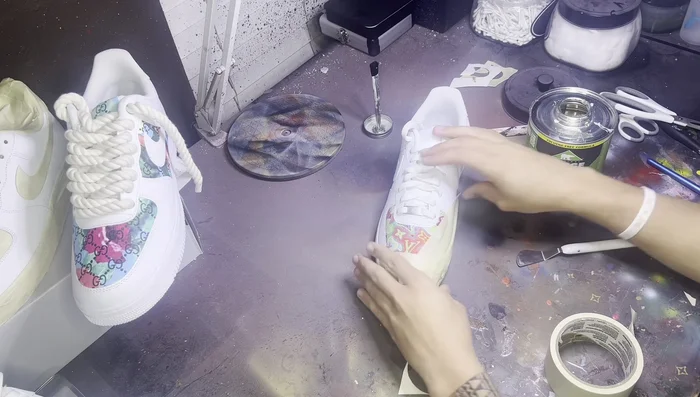
- Carefully peel the tape from one section and place the leather over the taped area, ensuring it is positioned correctly. Repeat for all sections.
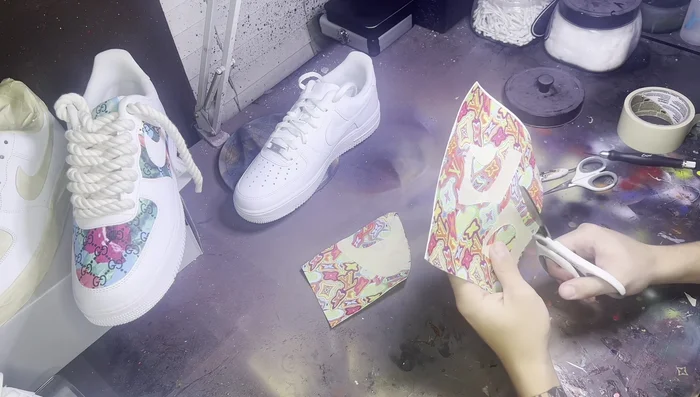
Position and Secure Leather Trim Excess Leather
- Using fabric scissors, trim the excess leather as close to the tape as possible. The tape acts as a guideline; do not cut the tape itself.
Trim Excess Leather Apply Adhesive and Attach Leather
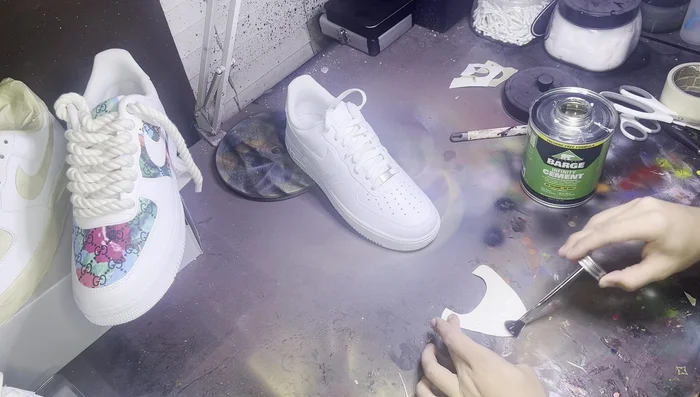
- Apply Barge Infinity Cement (or similar strong adhesive) to the back of the leather, avoiding the visible design part. Keep the tape on for this step.
- Carefully place the glued leather onto the shoe, aligning it precisely. Use a Q-tip or paintbrush (discard afterwards) to smooth out any wrinkles or air bubbles.
Apply Adhesive and Attach Leather Remove Tape and Secure
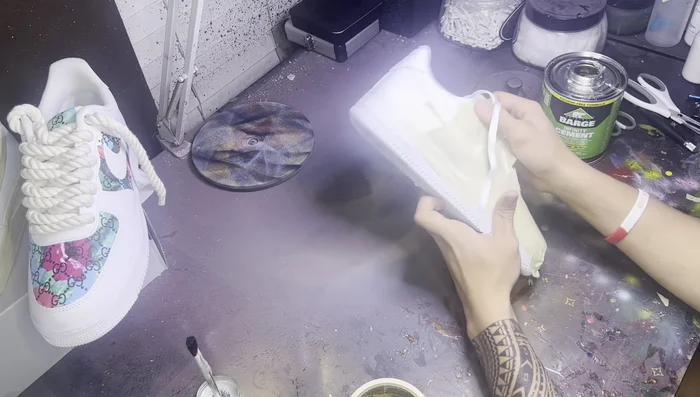
- Peel off the tape from the leather. Press down firmly on the leather to ensure adhesion and tuck the edges neatly under the existing panels, using a scraper tool to help.
- For better adhesion while the glue dries, apply additional tape over the leather, pressing firmly around the edges.
Remove Tape and Secure Final Touches
- After about 10 minutes, peel off the securing tape. Press down firmly on all edges for the final time.
Final Touches Precisely Cut the Tape Guide
- Use an X-Acto knife to cut along the edges of the panels, following the natural dips between the panels as a guide. Avoid cutting into the toe box or too far onto the adjacent panels.
Precisely Cut the Tape Guide

Read more: DIY Reversible Baby Slippers: Easy Sewing Tutorial
Tips
- Use a pick to peel tape carefully to avoid ripping.
- Press the leather down tightly to prevent peeling.
- Keep the tape on the fabric when applying glue to prevent accidental glue on the design.
- Use a Q-tip or a paintbrush (but discard the brush afterwards) to spread the glue and remove excess glue.
- Use a scraper tool to press the leather underneath the panels for a cleaner finish.