Crochet is a wonderfully versatile craft, allowing you to create cozy and stylish accessories with relative ease. Fingerless gloves are a perfect beginner project, offering a satisfying sense of accomplishment without being overly complex. These ribbed fingerless gloves are designed specifically for those new to crochet, utilizing simple stitches and a clear, easy-to-follow pattern. The ribbed texture adds a touch of elegance, making them perfect for adding a little warmth and style to any outfit, from casual everyday wear to a more dressed-up look. They’re also a fantastic gift idea for friends and family, demonstrating your newly acquired crafting skills.
This tutorial provides a comprehensive, step-by-step guide to creating your own pair of these charming ribbed fingerless gloves. Whether you’re a complete novice or just looking for a quick and satisfying project, you'll find this pattern accessible and enjoyable. So grab your yarn and hook, and let's get started! Ready to learn how to create your first pair of cozy crocheted fingerless gloves? Let's dive into the detailed instructions below.
Preparation and Safety Guidelines
- Red Heart With Love yarn (number 4)
- 5.5 mm (size I) crochet hook
- Yarn needle
- Scissors
- Stitch marker
- Tape measure (optional)
- Use sharp scissors to avoid injuring yourself while cutting yarn. Always point scissors away from your body.
- Be mindful of your hook size and yarn weight. Using an inappropriately sized hook can lead to loose or tight stitches, affecting the overall look and fit of your gloves.
- Take breaks to avoid hand fatigue, especially when working with thicker yarns or smaller hooks. Stop if you experience any pain.
Step-by-Step Instructions
Foundation Chain and First Row
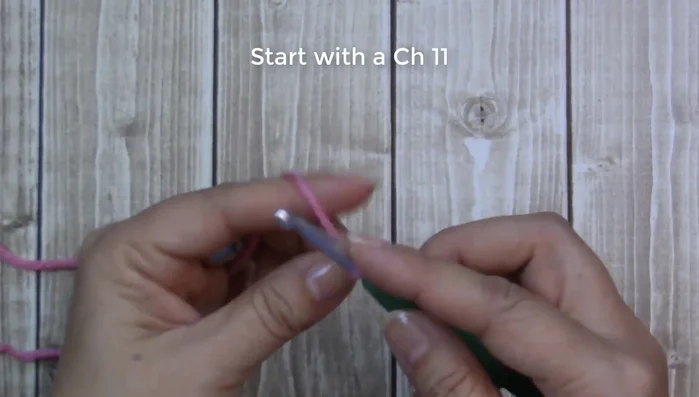
- Start with a slipknot and chain 11.
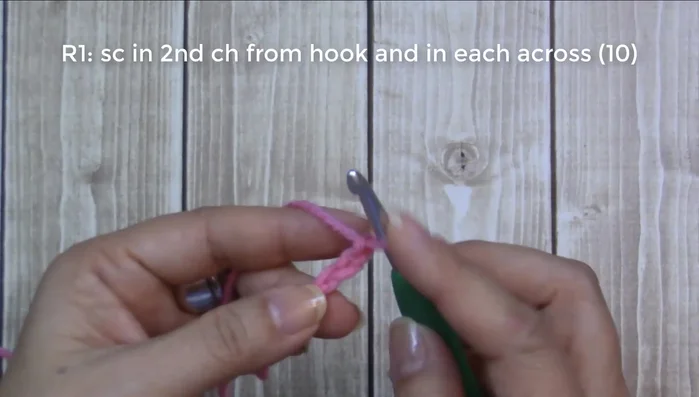
- Single crochet in the second chain from the hook (first chain doesn't count as a stitch).
- Single crochet in each remaining chain.
- Chain 1, turn your work.

Foundation Chain and First Row Wristband
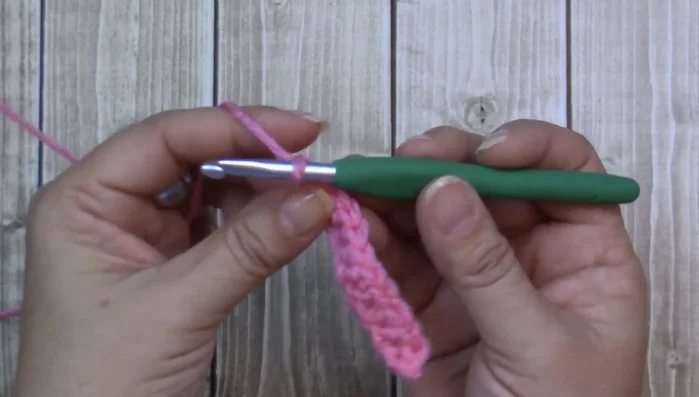
- Single crochet in each stitch (first and last stitches under both loops for a nice edge). For stitches in between, work in the back loop only.
- Chain 1, bring both ends together, slip stitch all the way down to join.
Wristband Hand Section: Initial Rounds
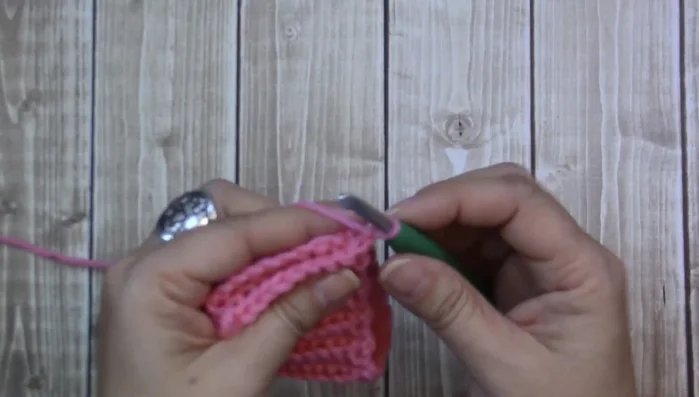
- Chain 1, single crochet 24 stitches around the wristband.
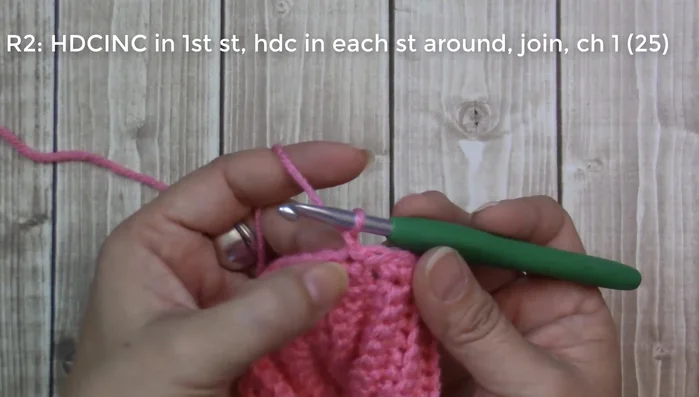
- Half double crochet increase (2 half double crochets in the first stitch), then one half double crochet in each remaining stitch.
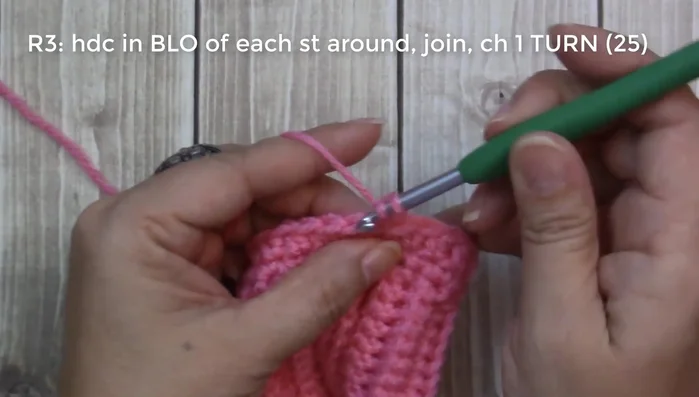
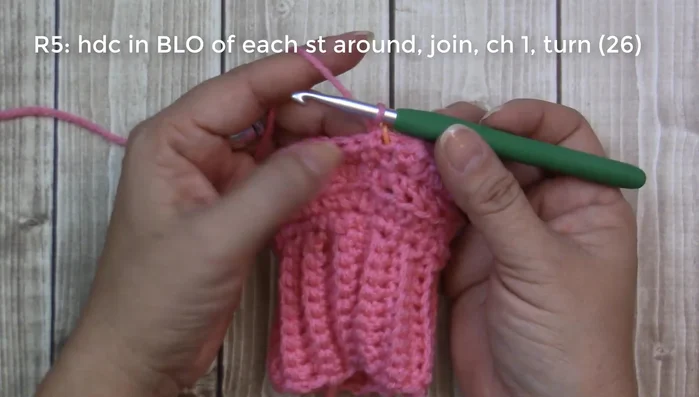
- Half double crochet in each stitch in the back loop only.
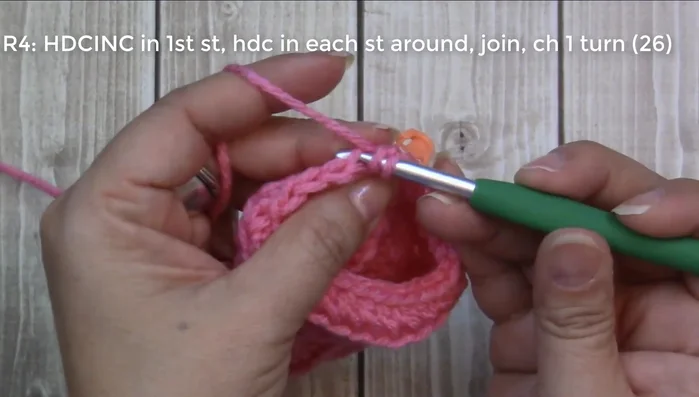
- Increase in the first stitch (2 half double crochets), then one half double crochet in each remaining stitch (back loop only).
Hand Section: Initial Rounds - One half double crochet in each stitch (back loop only).
Hand Section: Initial Rounds Hand Section: Increasing for Shaping
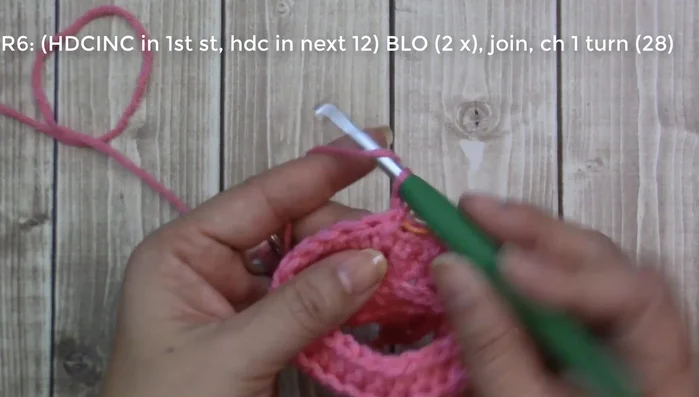
- Increase in the first stitch (2 half double crochets), one half double crochet in the next 12 stitches, increase in the next stitch (2 half double crochets), one half double crochet in the last 12 stitches (back loop only).
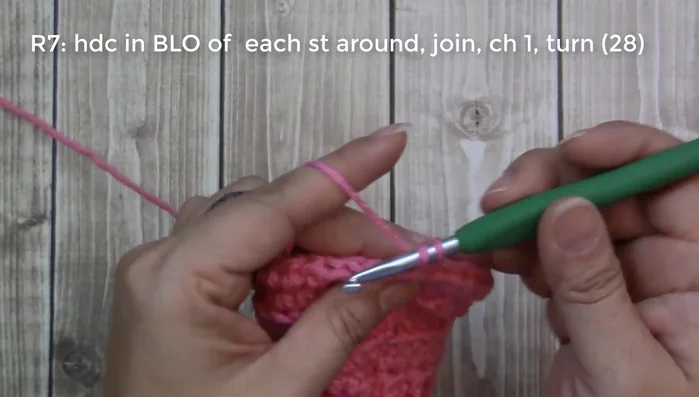
- One half double crochet in each stitch (back loop only).
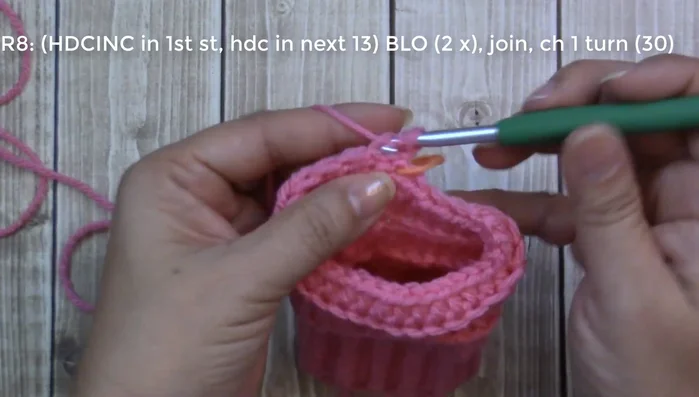
- Increase in the first stitch (2 half double crochets), one half double crochet in the next 13 stitches, increase in the next stitch (2 half double crochets), one half double crochet in the last 13 stitches (back loop only).
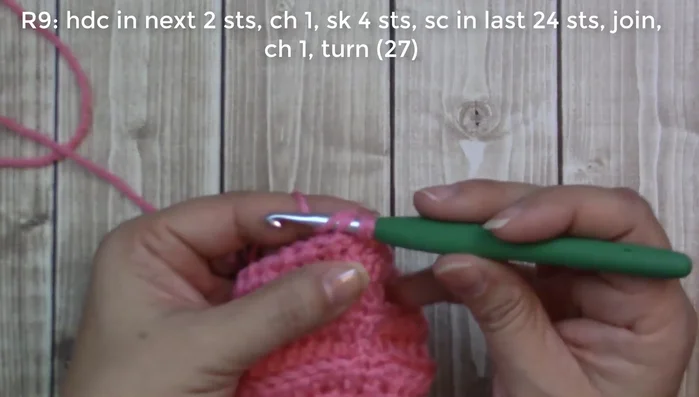
Hand Section: Increasing for Shaping Thumb Gusset
- Thumb part - 2 half double crochets in the first 2 stitches, chain 1, skip 4 stitches, half double crochet in the next stitch, then half double crochet in the remaining stitches.
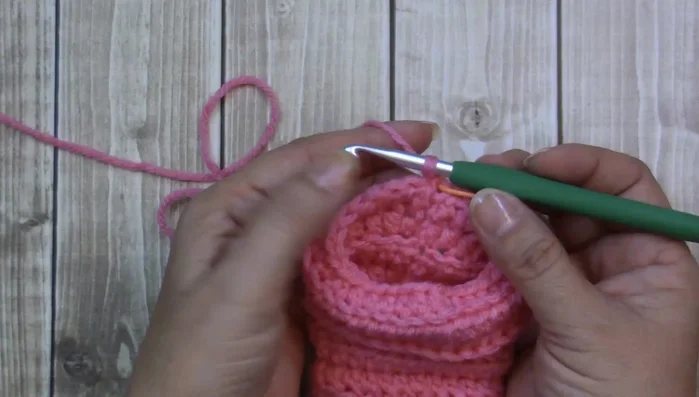
Thumb Gusset Thumb Gusset Completion
- One half double crochet in each stitch (back loop only). Try on and adjust height as needed.
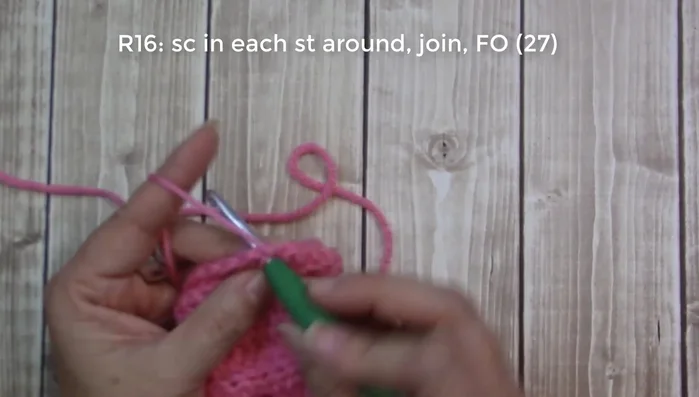
Thumb Gusset Completion Finishing
- One single crochet in each stitch (under both loops).
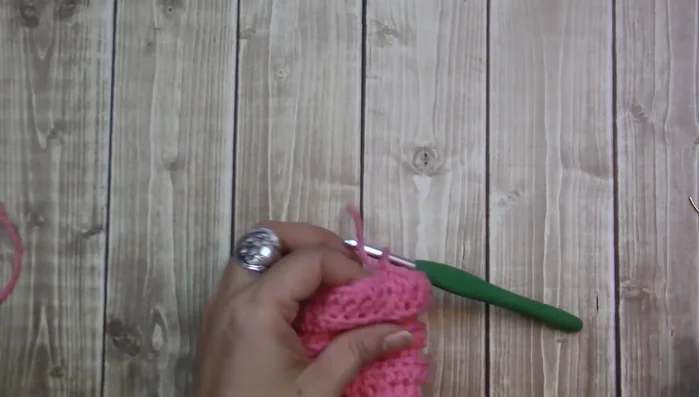
- Fasten off, weave in ends.
Finishing


Read more: DIY Stretchy Fingerless Gloves: Easy Sewing Tutorial
Tips
- Use a larger hook size if you crochet loosely.
- Use a stitch marker to keep track of your starting stitch, especially for beginners.
- If the top of the glove is too loose, decrease one or two stitches.