Tiny toes need tiny shoes, and what could be more charming than a pair of handmade crochet baby loafers? This pattern will guide you through creating adorable, snug-fitting loafers perfect for newborns and babies up to three months old. These delightful little shoes are not only incredibly cute but also surprisingly easy to make, even for beginner crocheters. Using simple stitches and readily available yarn, you'll be crafting these precious keepsakes in no time. Imagine the joy of gifting a handmade pair, or the satisfaction of adorning your little one's feet with your own handiwork.
These crocheted baby loafers are a perfect project for those seeking a quick and rewarding craft. The design is both practical and aesthetically pleasing, resulting in a pair of shoes that are as comfortable as they are stylish. From choosing the right yarn to mastering the final finishing touches, we'll walk you through every step of the process. Ready to get started? Let's dive into the detailed, step-by-step instructions below.
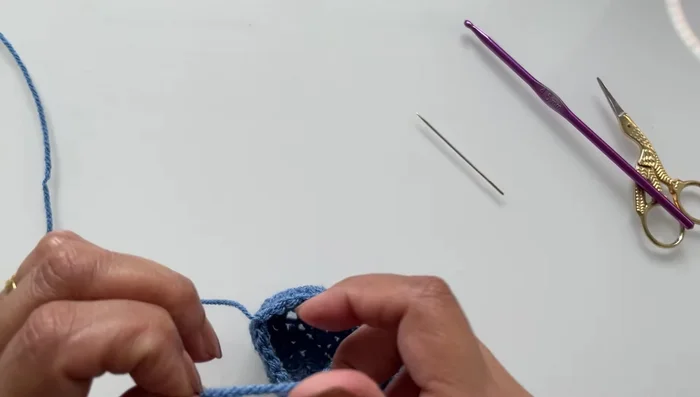
Preparation and Safety Guidelines
- 4.5 mm crochet hook (3.5 mm for newborns)
- DK yarn
- Scissors
- Yarn needle
- Always use soft, hypoallergenic yarn suitable for baby's delicate skin. Avoid anything scratchy or potentially irritating.
- Ensure all yarn ends are securely fastened to prevent choking hazards. Weave in ends tightly and trim them close to the fabric.
- Never leave a baby unattended while wearing crocheted items. Regularly check the fit to ensure they are not too tight or restricting.
Step-by-Step Instructions
Create the Loafer Top
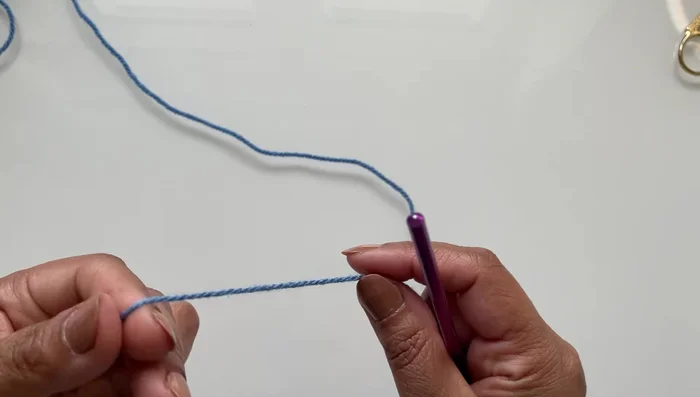
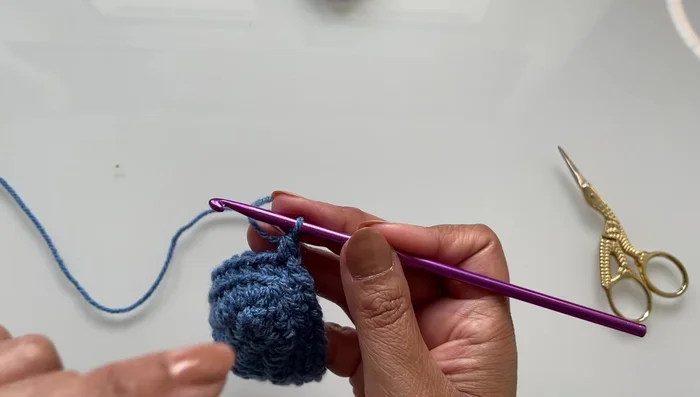
- Create the central piece of the loafer using a magic ring. Chain one to tighten the loop.
- Make seven single crochets into the magic ring.
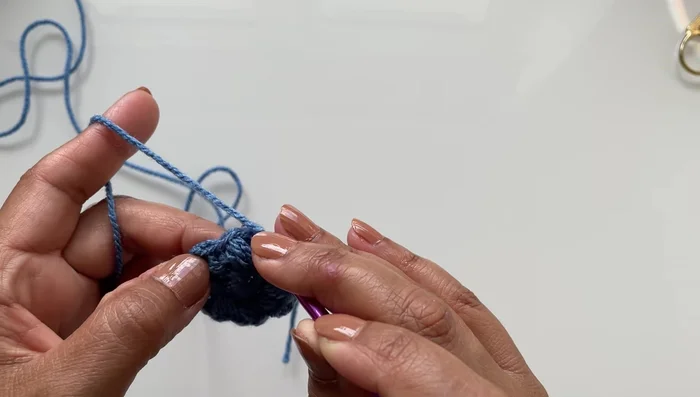
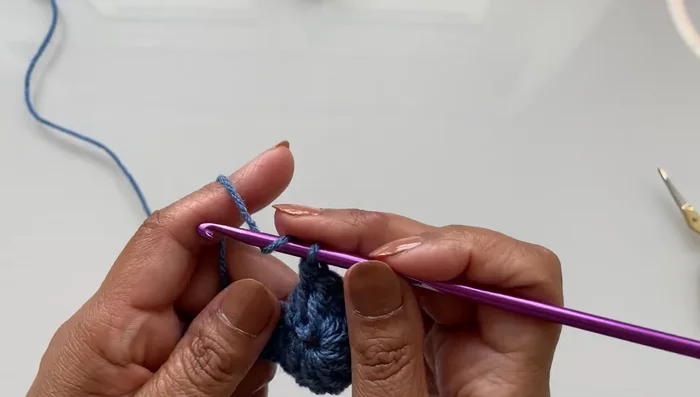
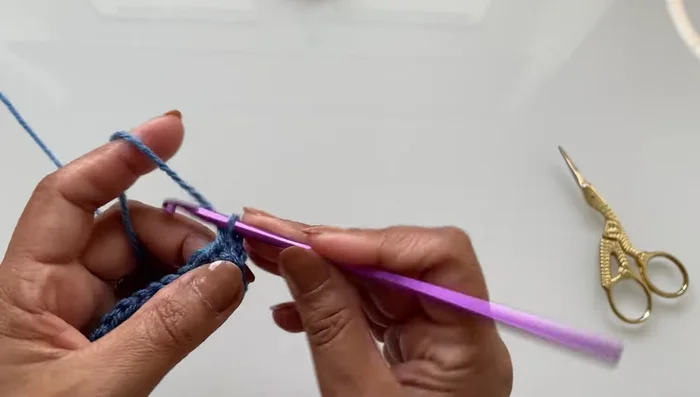
- Create eight puff bead stitches around the ring. (Yarn over, insert hook, pull through a loop, yarn over, insert hook, pull through, repeat until you have six loops. Pull yarn through all six loops.)
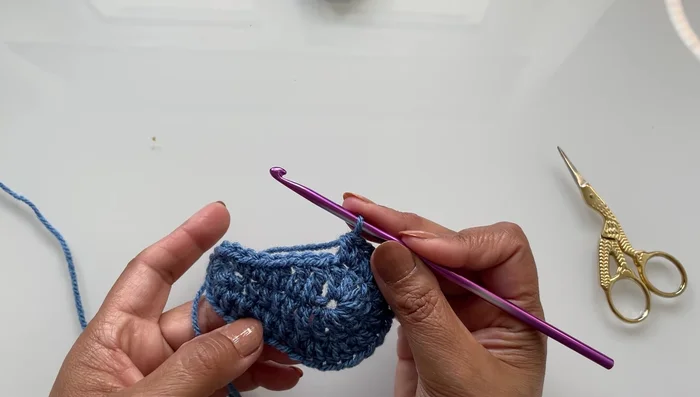
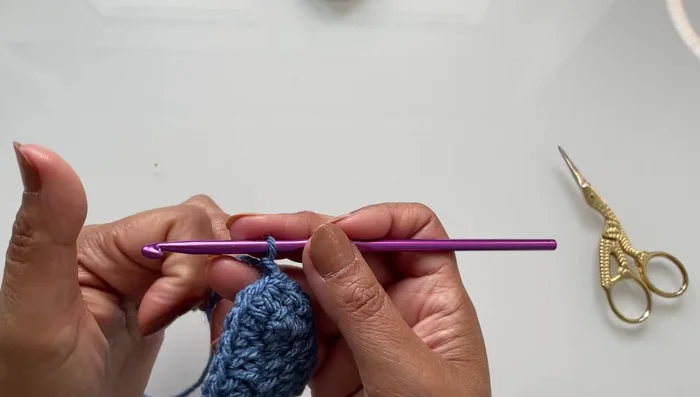
- Slip stitch to close the round. Make two of these pieces.

Create the Loafer Top Create the Loafer Sole
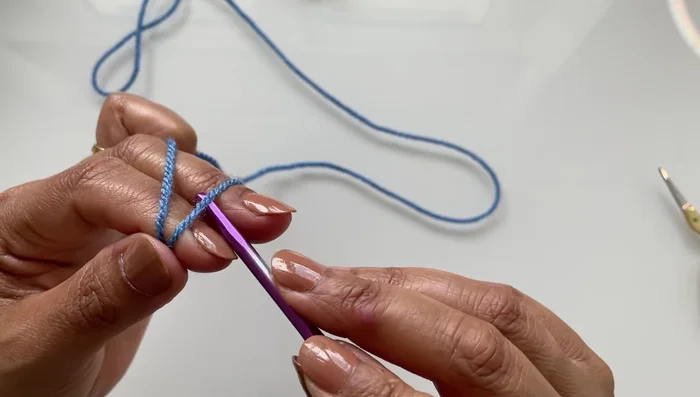
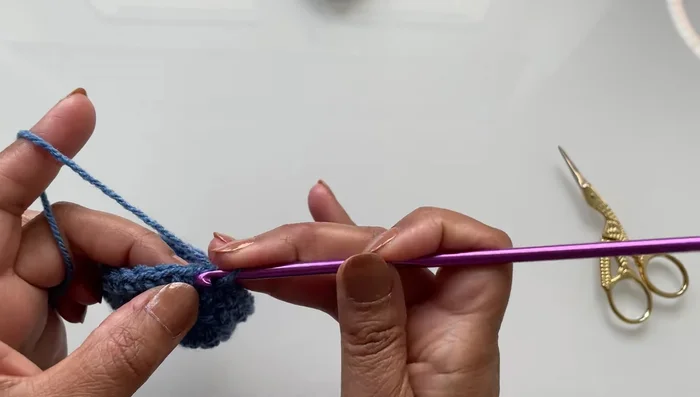
- Create the main part of the shoe with a slip knot and chain nine.
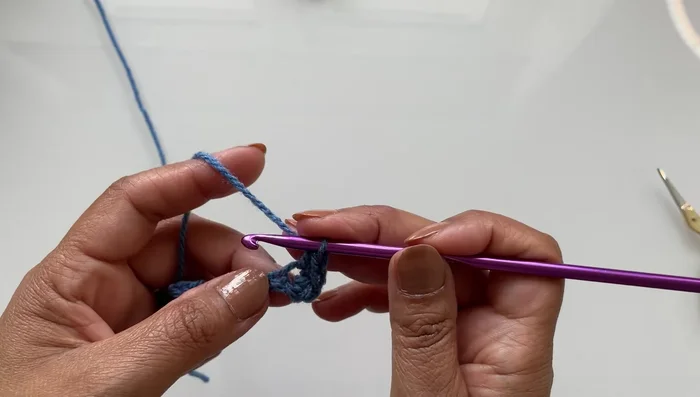
- Work three single crochets in the second chain from the hook, two single crochets in each of the next two chains, two half double crochets in the next chain, one double crochet in each of the next two chains, and seven double crochets in the last chain.
- Work the opposite side mirroring the previous round's stitches (seven double crochets, two half double crochets, two single crochets). Slip stitch to join.
- Chain one, then work two half double crochets, seven half double crochets, and two half double crochets in each of the seven double crochets from the previous round (total of 14 half double crochets).
Create the Loafer Sole - On the opposite side work nine half double crochets. Slip stitch to join.
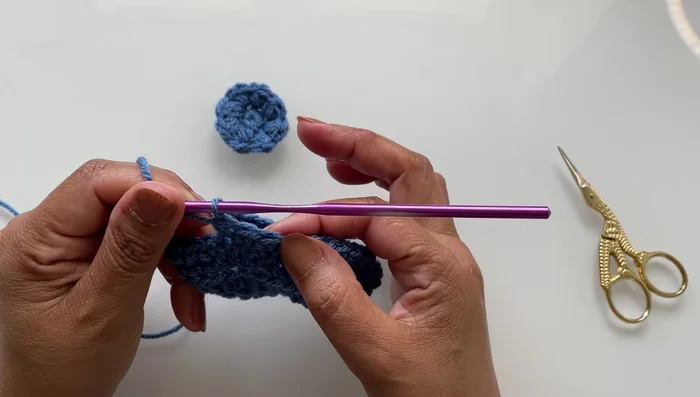
- Chain one, work 32 single crochets in the back loops only.
- Chain one, work 32 single crochets through both loops.
- Chain one, work nine single crochets.
Create the Loafer Sole Attach Top to Sole
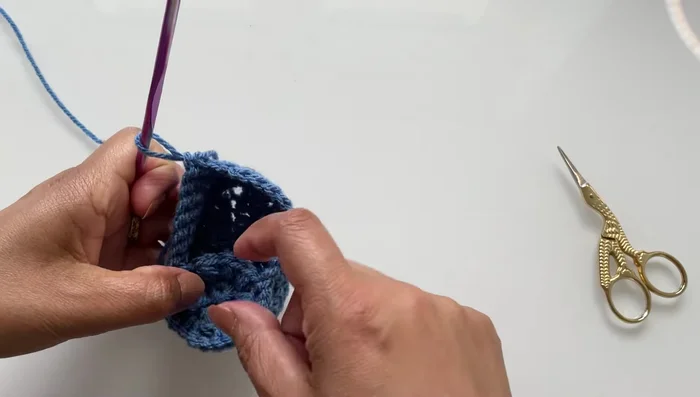
- Attach the top piece to the shoe with six joins, using single crochets to connect.
- Work seven single crochets across the opposite side of the shoe. Slip stitch to join.
Attach Top to Sole Create the Heel
- Work eight slip stitches along the edge, then one single crochet in the next stitch, three single crochets in the next two stitches, and one single crochet in the last stitch. Slip stitch to the top of the first single crochet.
Create the Heel Finishing Touches
- Fasten off and weave in ends.
Finishing Touches


Read more: DIY Reversible Baby Slippers: Easy Sewing Tutorial
Tips
- Don't pull your yarn too tight while working to maintain shape and prevent distortion.
- For newborns, use a 3.5 mm hook.
- Take your time and pause as needed, especially if you're a beginner.