Cloche hats, with their elegant, close-fitting style, have enjoyed a resurgence in popularity. But finding a cloche that’s both stylish and durable can be a challenge. Many commercially available options lack the sturdiness to withstand everyday wear, especially in colder climates. This is where the power of crochet comes in! This tutorial empowers you to create your own exquisitely crafted cloche hat, built to last and perfectly tailored to your taste. You’ll learn to craft a hat that’s not only visually appealing but also remarkably strong and resilient, ready to face even the harshest winter winds.
Forget flimsy, ill-fitting hats! This step-by-step guide will walk you through the entire process, from choosing the right yarn to mastering the final finishing touches. We'll cover essential techniques to ensure your cloche hat maintains its shape and retains its beauty wash after wash. Get ready to experience the satisfaction of creating a truly unique and long-lasting accessory.
Preparation and Safety Guidelines
- 3.5-4 mm crochet hook
- 5 mm crochet hook
- Light weight lace weight yarn (two strengths of the same yarn in different colors)
- Use a sturdy yarn and hook size appropriate for the yarn weight. Choosing the wrong combination can lead to a flimsy hat.
- Pay close attention to your tension throughout the project. Inconsistent tension will result in an uneven and potentially weak hat.
- Securely fasten off your yarn at the end of each round and when finishing the hat to prevent unraveling.
Step-by-Step Instructions
Creating the Crown
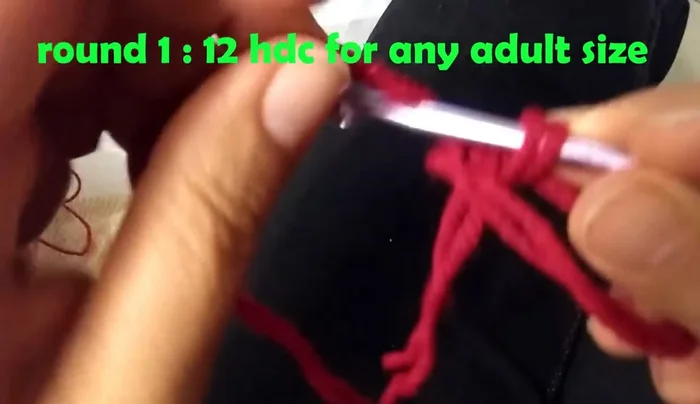
- Create a magic ring. Chain 1 and work 12 half double crochet into the ring.
- Chain 1, and work 2 half double crochet in each stitch around (24 half double crochet total). Slip stitch to join.
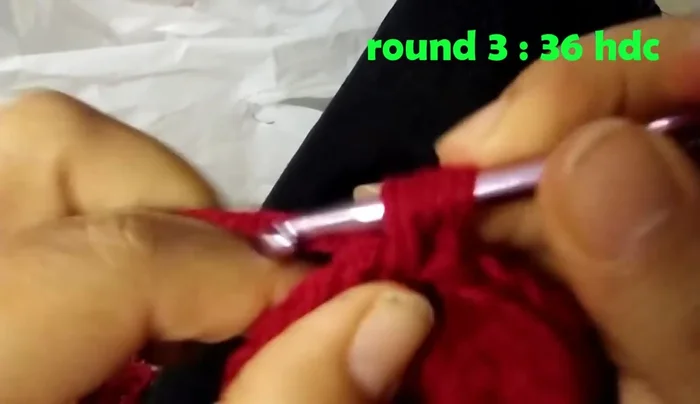
- Chain 1, *2 half double crochet in the next stitch, 1 half double crochet in the next stitch*. Repeat from * to * around (36 half double crochet total). Slip stitch to join.
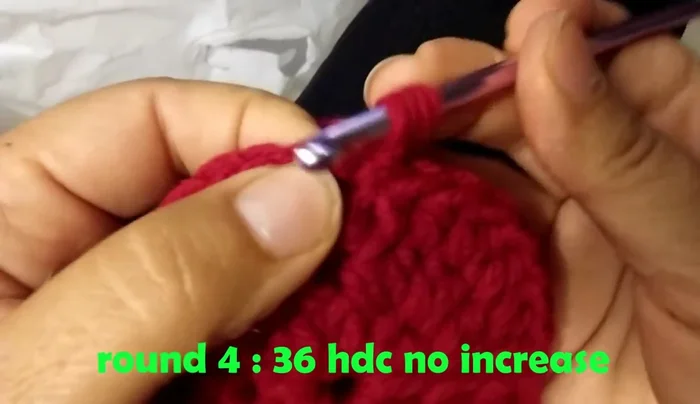
- Chain 1, 1 half double crochet in each stitch around (36 half double crochet total). Slip stitch to join.

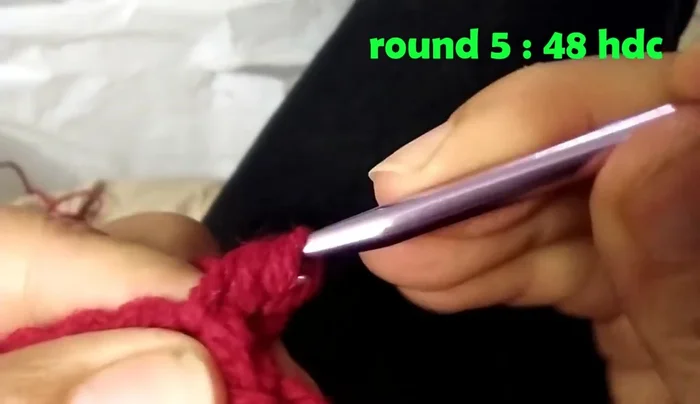
Creating the Crown - Chain 1, *(2 half double crochet in the next stitch, 1 half double crochet in each of the next two stitches)*. Repeat from * to * around (48 half double crochet total). Slip stitch to join.
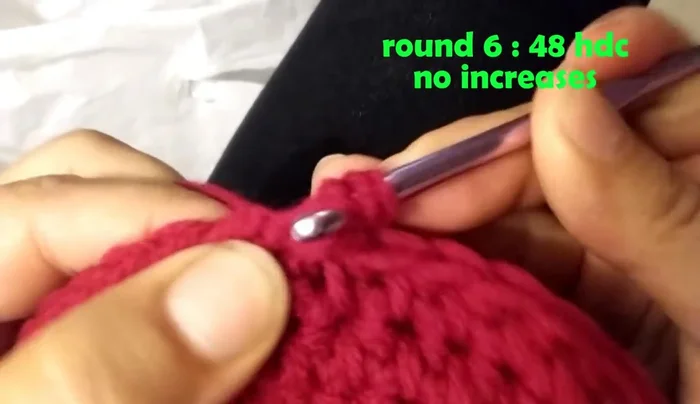
- Chain 1, 1 half double crochet in each stitch around (48 half double crochet total). Slip stitch to join.
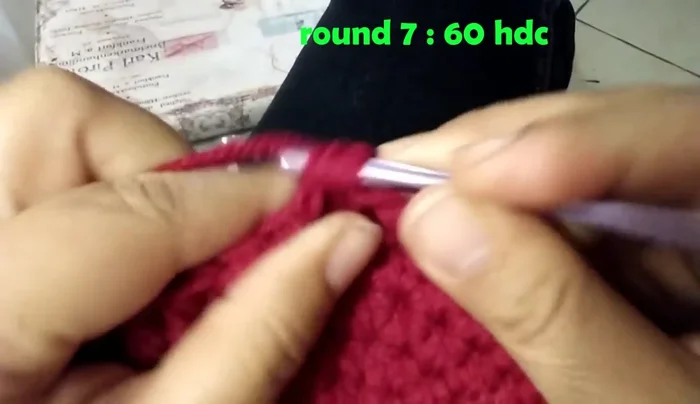
- Chain 1, *(2 half double crochet in the next stitch, 1 half double crochet in each of the next three stitches)*. Repeat from * to * around (60 half double crochet total). Slip stitch to join.
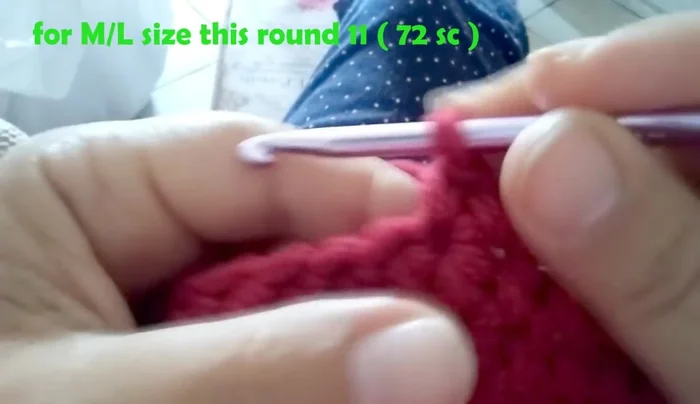
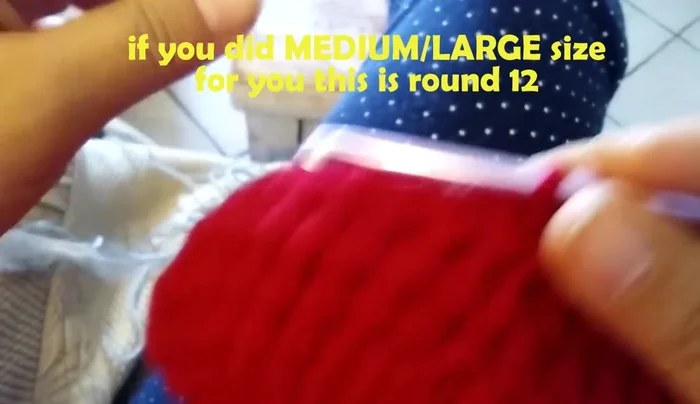
- Chain 1, 1 half double crochet in each stitch around (60 half double crochet total). Slip stitch to join. (Optional: Add another round of increases after every 4 stitches for a larger hat)
Creating the Crown Switching to Single Crochet
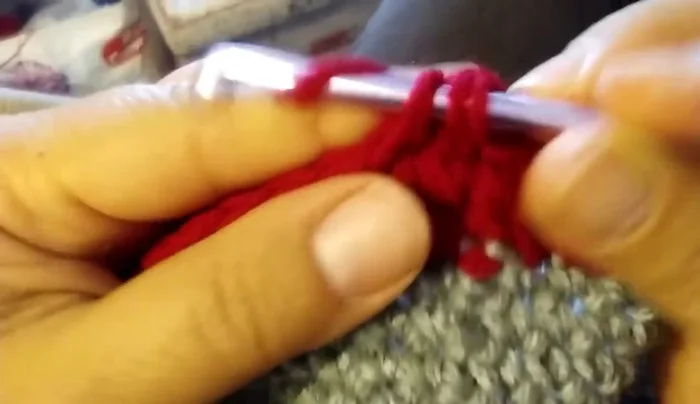
- Chain 1, 1 single crochet in each stitch around (60 single crochet total).
Switching to Single Crochet Working the Body of the Hat
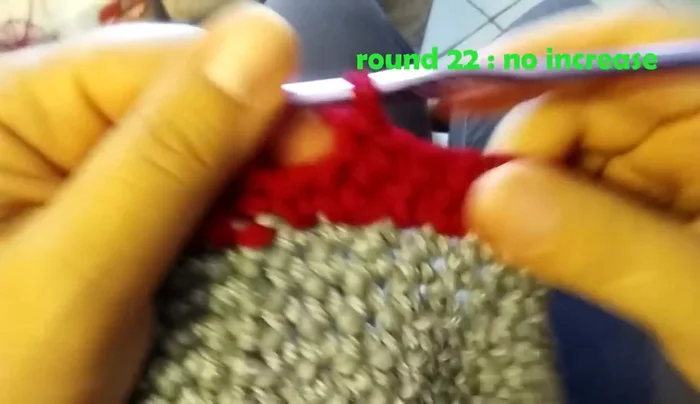
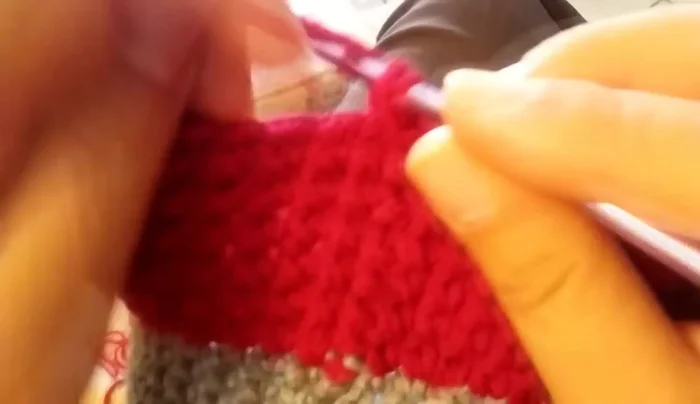
- Chain 1, 1 single crochet in each stitch around (60 single crochet total). Change yarn color.
Working the Body of the Hat First Decrease Round
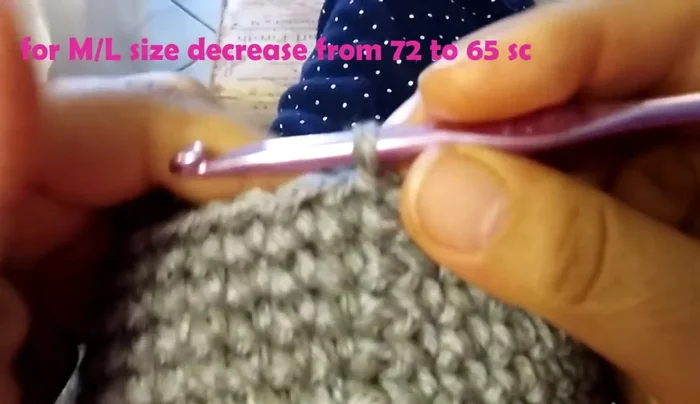
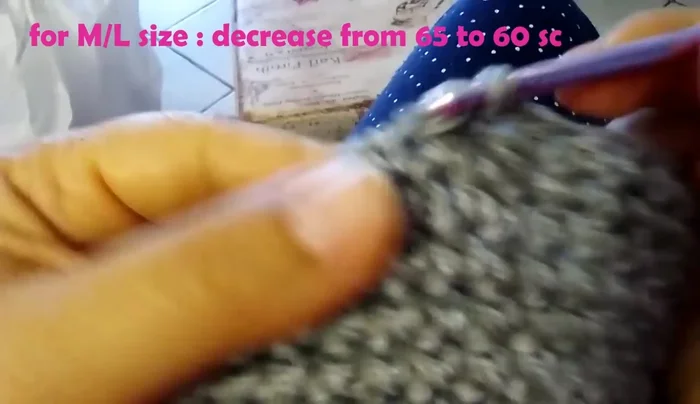
- Decrease every 9 stitches (decrease by working 2 single crochet together). (55 single crochet total).
First Decrease Round Continuing the Body
- Chain 1, 1 single crochet in each stitch around (55 single crochet total).
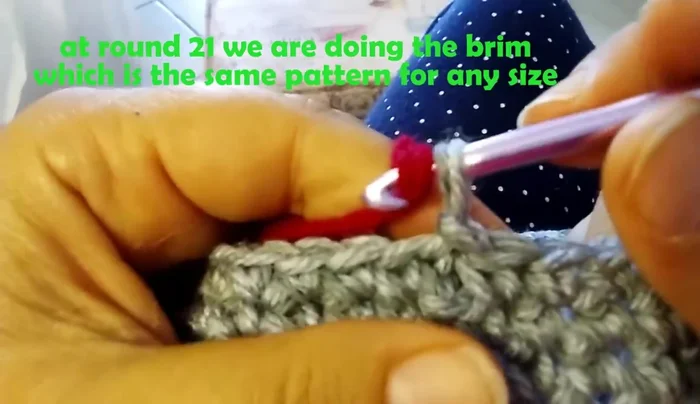
Continuing the Body Color Change and Shaping the Brim
- Change yarn color. Chain 1, *1 single crochet in each of the next 3 stitches, 2 single crochet in the next stitch*. Repeat from * to * around.
- Chain 1, 1 single crochet in each stitch around.
- Chain 1, *1 single crochet in each of the next 4 stitches, 2 single crochet in the next stitch*. Repeat from * to * around.
- Chain 1, 1 single crochet in each stitch around.
Color Change and Shaping the Brim - Chain 1, *1 single crochet in each of the next 8 stitches, 2 single crochet in the next stitch*. Repeat from * to * around.
- Chain 1, 1 single crochet in each stitch around.
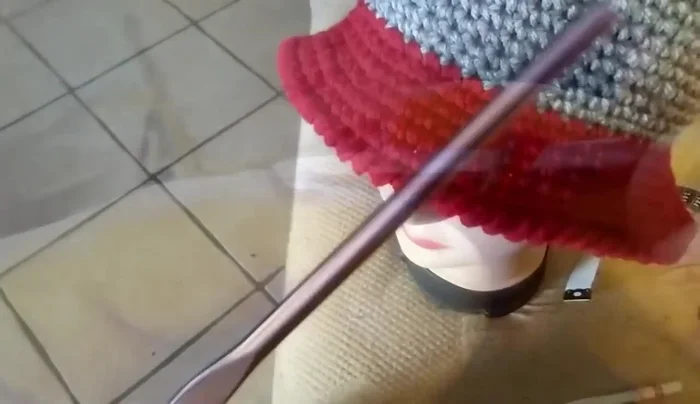
Color Change and Shaping the Brim Finishing the Brim
- Chain 1, reverse single crochet in each stitch around.
- Create a foundation chain for the brim (approx 65 chains), then single crochet around, increasing as desired to create brim depth. Finish off.
Finishing the Brim


Read more: DIY Stretchy Fingerless Gloves: Easy Sewing Tutorial
Tips
- Using two strengths of yarn creates a stronger, more rigid cloche hat.
- Slip stitch to join at the end of each round for a neat finish.
- Hide excess yarn ends neatly under stitches.