Looking for a quick and easy sewing project that's perfect for beginners? Then look no further! This tutorial will guide you through creating a stylish and comfortable cotton elastic headband, ideal for keeping your hair out of your face while adding a touch of personalized flair to your everyday look. Whether you’re a complete novice or just looking for a relaxing crafting activity, this project requires minimal materials and skills, making it the perfect introduction to the world of sewing. You'll be surprised how quickly you can whip up several headbands in different colors and patterns to match any outfit.
Forget complicated patterns and frustrating techniques; this DIY project is all about simplicity and achieving a beautifully crafted result with ease. We'll be using basic hand-sewing techniques, requiring just a needle, thread, fabric, and elastic. Ready to get started and create your own fashionable headband? Let's dive into the step-by-step process below!
Preparation and Safety Guidelines
- sewing machine
- fabric (cotton, fleece, or wool)
- fusible fleece (optional)
- elastic
- Always use sharp scissors to cut fabric and elastic. Dull scissors can cause the fabric to fray and make it difficult to sew.
- Supervise children if they are assisting with this project. Sewing machines and sharp objects can be dangerous.
- Ensure your sewing machine needle is the correct size for the fabric you are using. Using the wrong needle can cause breakage or damage to the fabric.
Step-by-Step Instructions
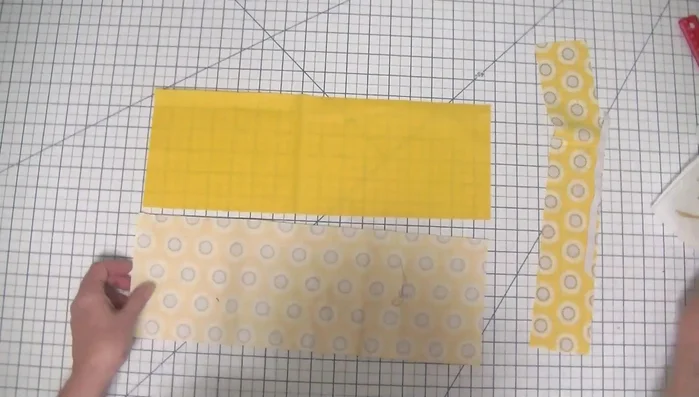
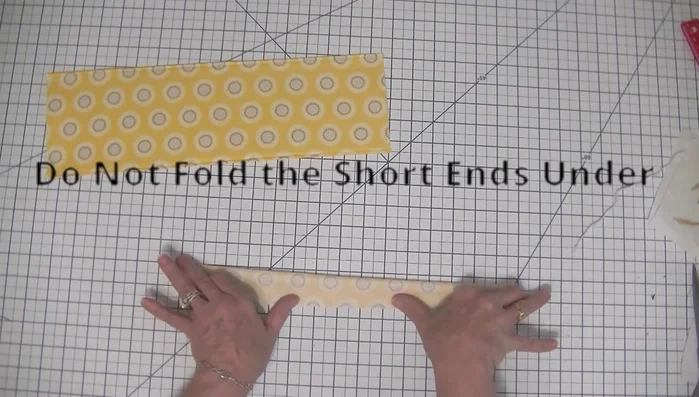
Prepare the Headband Fabric
- Fuse fusible fleece to the wrong side of the outer fabric piece.
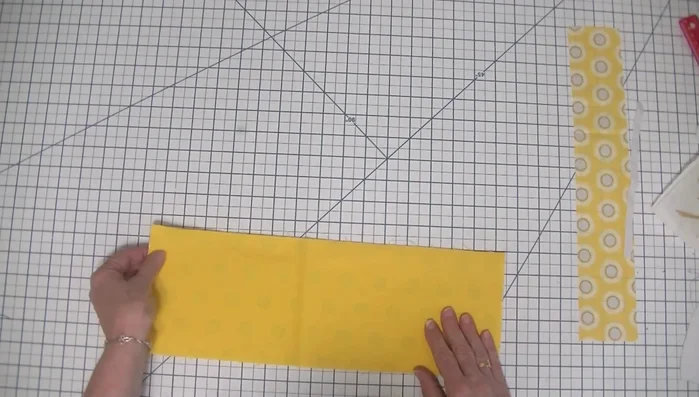
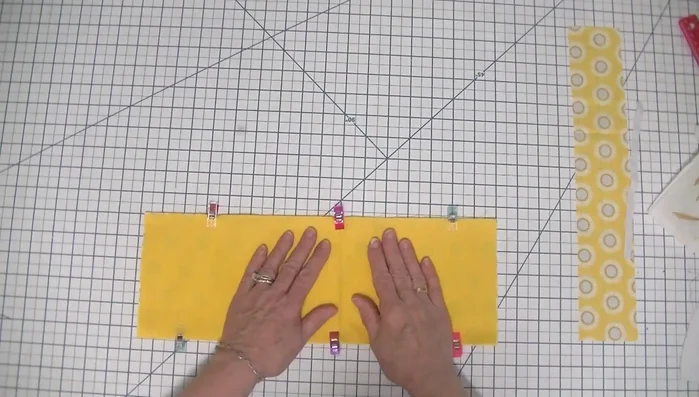
- Place the lining fabric and outer fabric (with fused fleece) right sides together. Clip or pin the layers.
- Stitch a 1/4 inch seam along both long edges of the fabric layers.
- Turn the headband right sides out and press. Top stitch along the seams with an 1/8 inch seam allowance.

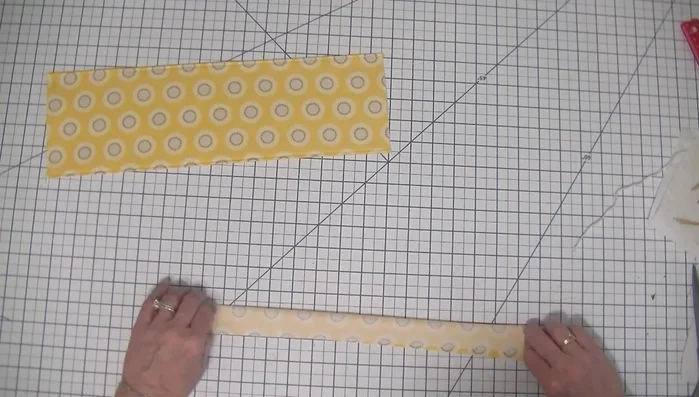
Prepare the Headband Fabric Create the Elastic Casing
- Fold the elastic casing fabric right sides together, press, and then press the short ends in by 3/8 of an inch.
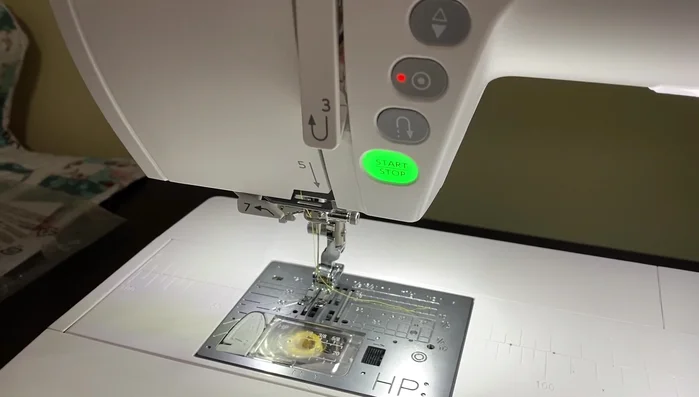
- Stitch a 1/4 inch seam along the long edge of the casing.
- Turn the casing right sides out and press.
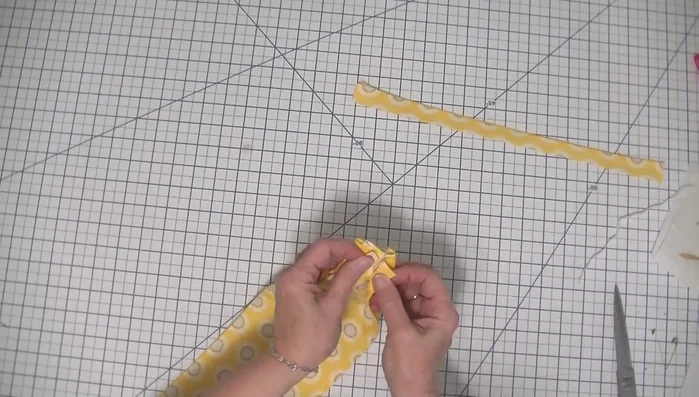
Create the Elastic Casing Attach Elastic to Headband
- Accordion fold the headband ends to create a narrow strip that fits into the casing.
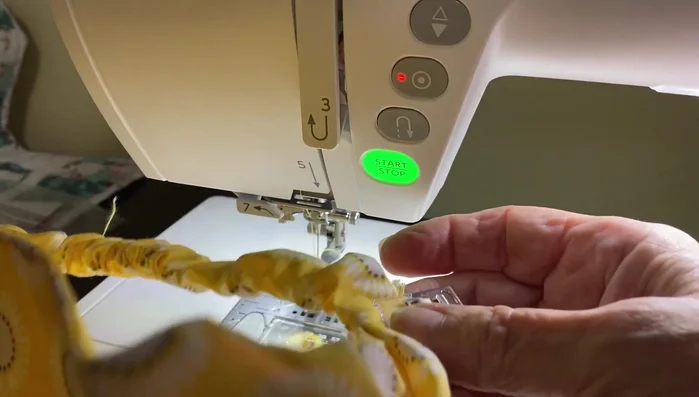
- Place one end of the elastic into the casing and stitch it to the accordion-folded end of the headband.
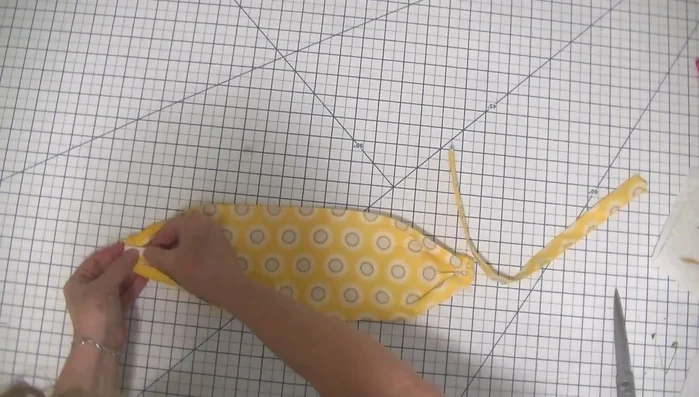
- Slide the casing over the elastic and accordion-folded end; Stitch to secure the elastic in place.
- Repeat steps 9 and 10 for the other end.
Attach Elastic to Headband - Stitch across the accordion ends again to fully secure and finish the project.
Attach Elastic to Headband


Read more: DIY Stretchy Fingerless Gloves: Easy Sewing Tutorial
Tips
- Use any fabric you like—cotton, fleece, or wool work well for this project.
- This headband is reversible, so feel free to use different fabrics for each side.
- The fusible fleece adds structure and a nice touch, but it's optional.