Are you ready to add a touch of adorable whimsy to your wardrobe? This tutorial will guide you through creating a super cute twisted headband using a circular knitting machine – a project so quick and easy, even beginners will find it a breeze! Forget fiddly needles and complex patterns; this headband utilizes the efficiency of your machine to produce a stylish and comfortable accessory in a fraction of the time it would take with hand knitting. Imagine the possibilities: perfectly matching headbands for your outfits, delightful gifts for friends, or even a fun weekend crafting project.
This charming twisted design adds a unique texture and visual interest, elevating a simple headband to a fashionable statement piece. We'll explore the simple steps involved, from casting on to binding off, ensuring you'll be proudly sporting your new creation in no time at all. Let's get started with the step-by-step instructions below!
Preparation and Safety Guidelines
- Aran weight yarn
- Waste yarn (scraps)
- Embroidery scissors
- Crochet hook
- Tapestry needles
- 40-pin circular knitting machine
- Always ensure your circular knitting machine is securely fastened and stable before operating. Loose or unstable machines can cause injury.
- Keep fingers and other body parts away from moving parts of the machine while it is in operation to avoid accidental injury.
- Use appropriate yarn weight and tension recommended for your specific knitting machine model to prevent breakage or damage to the machine.
Step-by-Step Instructions
Prepare for Knitting
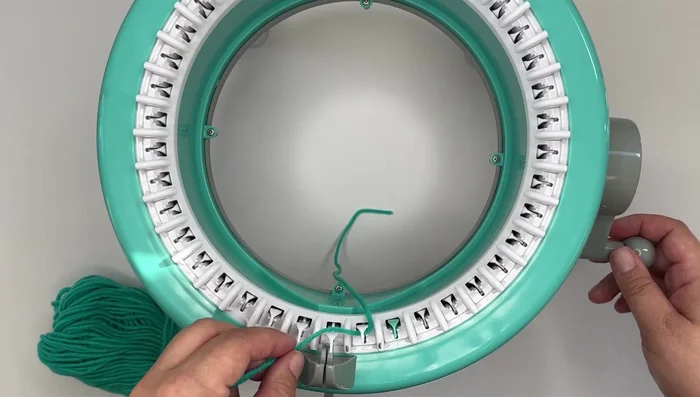
- Cast on with waste yarn and knit five rows.
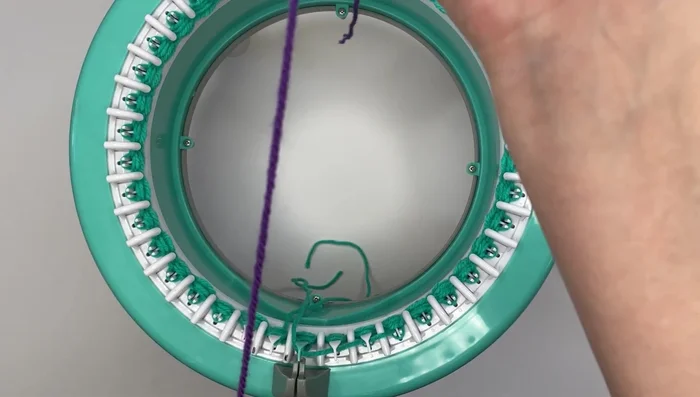
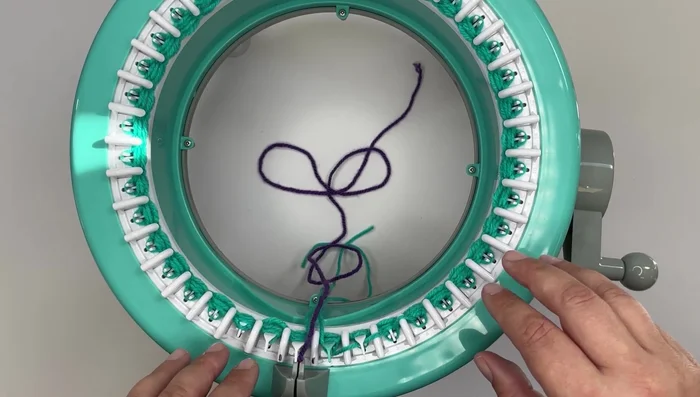
- Join main color yarn, leaving a long tail for sewing.

Prepare for Knitting Knit the Main Tube
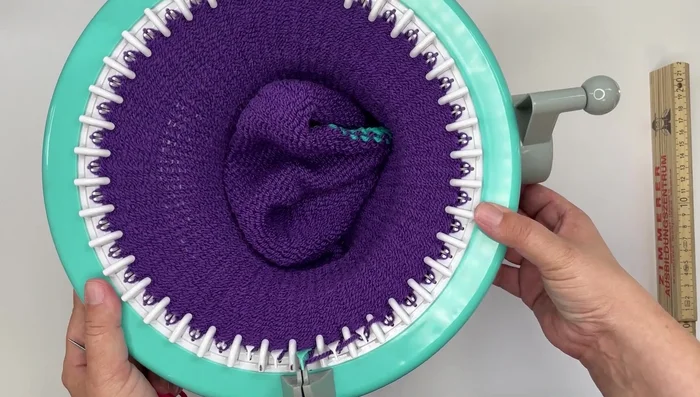
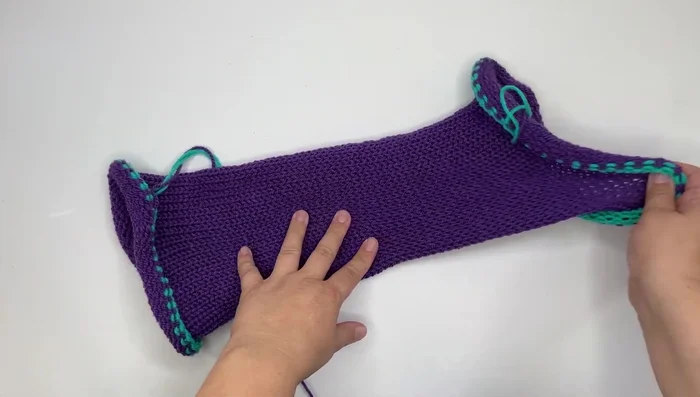
- Knit a tube approximately 42-45 centimeters (17-18 inches) long. (For this tutorial, 85 rows).
Knit the Main Tube Prepare for Seaming
- Cut main color yarn, leaving a long tail. Knit five rows of waste yarn.
- Cut waste yarn and remove from the machine.
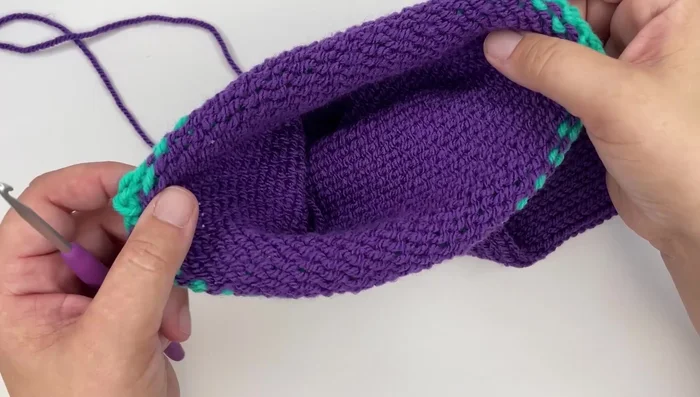
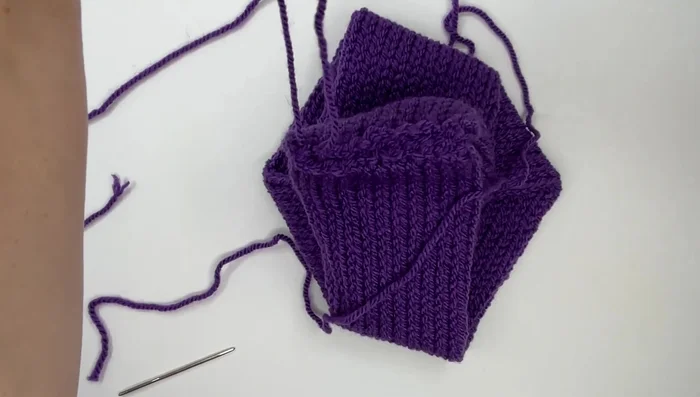
Prepare for Seaming Close the Tube
- Turn the tube right side out and gently stretch it.
- Using a crochet hook, slip stitch the two ends of the tube together to close it.
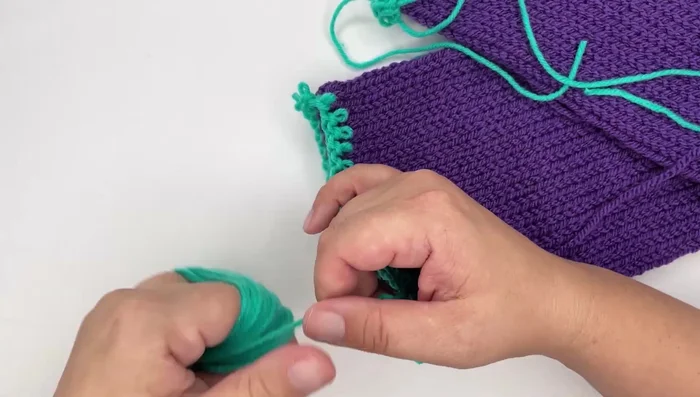
Close the Tube Remove Waste Yarn
- Remove the waste yarn from both ends. (The cast-on edge requires more careful removal by pulling the yarn through the initial row of stitches.)
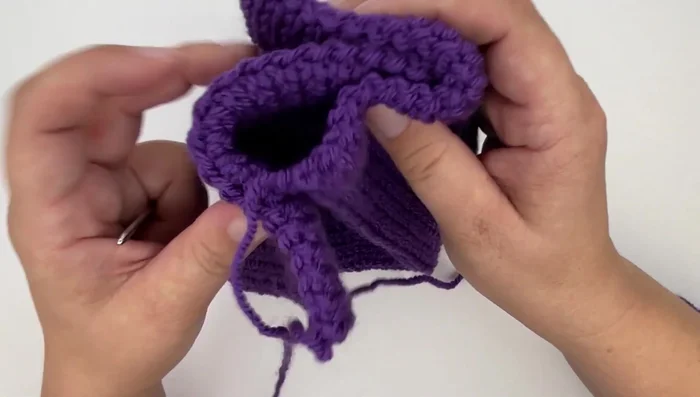
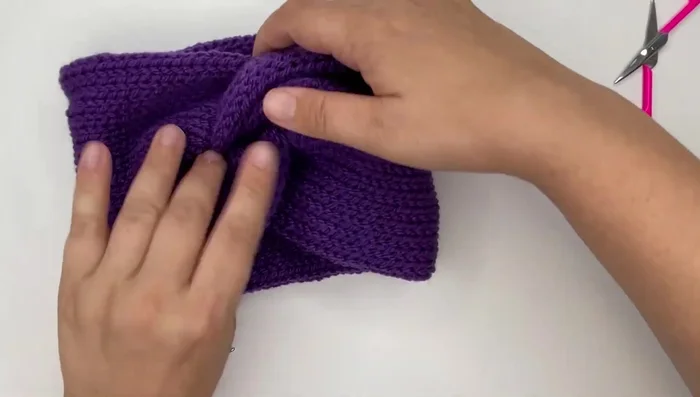
Remove Waste Yarn Prepare for Twisting
- Fold each end of the tube in half and sandwich them together, with the ends facing outwards.
Prepare for Twisting Sew and Finish
- Sew the four layers of the ends together using a tapestry needle and a simple running stitch.
- Tie off and trim the yarn ends.
- Turn the headband over and adjust for a final twisted look.
Sew and Finish


Read more: DIY Stretchy Fingerless Gloves: Easy Sewing Tutorial
Tips
- Before cutting your yarn at the end of the main tube, stretch the work to estimate the length and add more rows if needed.
- Use a waste yarn color drastically different from your main yarn to easily see the stitches during the crochet closure.
- When sewing the ends together, avoid going too deep with the needle to maintain headband length and avoid bulk.