Christmas crafting doesn't have to be complicated! This year, ditch the traditional ornaments and add a touch of glamorous sparkle to your tree with these adorable stiletto stocking ornaments. Forget fiddly beads and intricate designs; this project uses simple sewing techniques to create a surprisingly chic and festive decoration. Imagine a miniature high heel, perfectly formed and playfully filled with festive cheer – a delightful conversation starter hanging on your tree. These tiny stockings, shaped like stilettos, are surprisingly easy to make and perfect for beginners, or anyone looking for a quick and stylish crafting project.
This charming ornament is crafted from felt, offering a soft and durable finish, and requires minimal supplies. The detailed, step-by-step instructions that follow will guide you through each stage of the process, from cutting the felt to the final stitching. So grab your needles, thread, and felt, and let's get started on creating these elegant and eye-catching Christmas tree adornments!
Preparation and Safety Guidelines
- Fabric
- Boot stocking pattern
- Sewing machine
- Scissors
- Safety pin or turning tool
- Iron
- Pins or clips
- Use sharp scissors and needles to avoid injury. Always point sharp objects away from your body.
- Supervise children closely if they are participating. Small parts pose a choking hazard.
- Avoid using flammable materials near open flames or heat sources while working with fabrics.
Step-by-Step Instructions
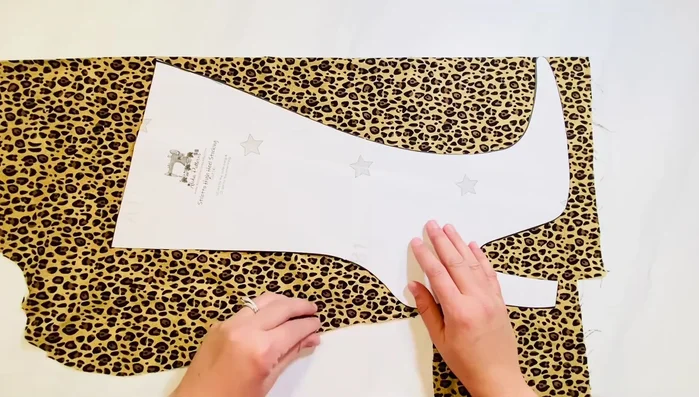
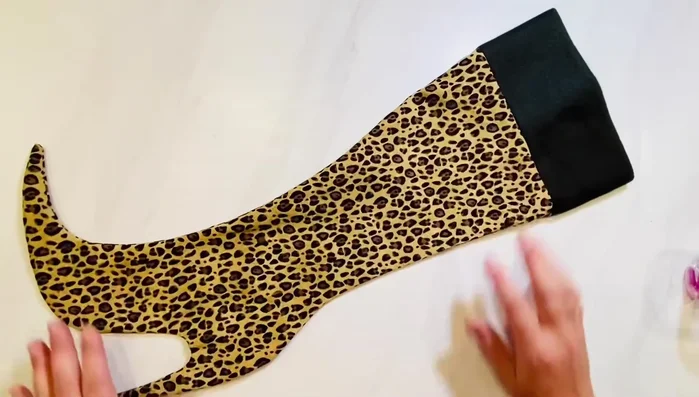
Cut Fabric Pieces
- Get your boot stocking piece and place it on your folded fabric (wrong sides together). Cut out two mirrored pieces.

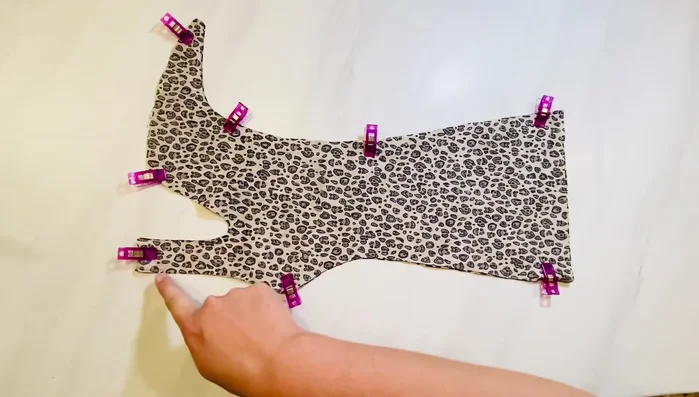
Cut Fabric Pieces Sew Stocking Body
- Place the two stiletto boot pieces right sides together, pin or clip around the edges (excluding the top).
- Sew around the stocking, leaving the top open. Use small stitches and lift the presser foot when turning corners.
- Clip notches into the curves to prevent puckering when turning right side out.
- Finish the edges with a zigzag stitch or serger to prevent fraying.
Sew Stocking Body Turn and Press Stocking
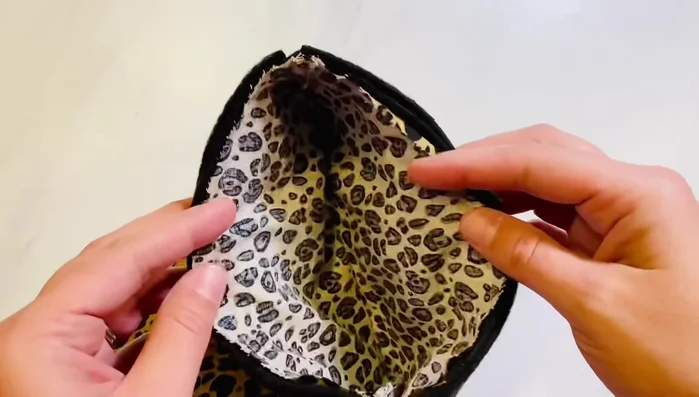
- Turn the stocking right side out, using a chopstick or similar tool to help with tight curves.
- Smooth seams and press flat with an iron.
Turn and Press Stocking Create Hanging Loop
- Cut, fold, and sew the pattern piece. Turn right side out and press flat.
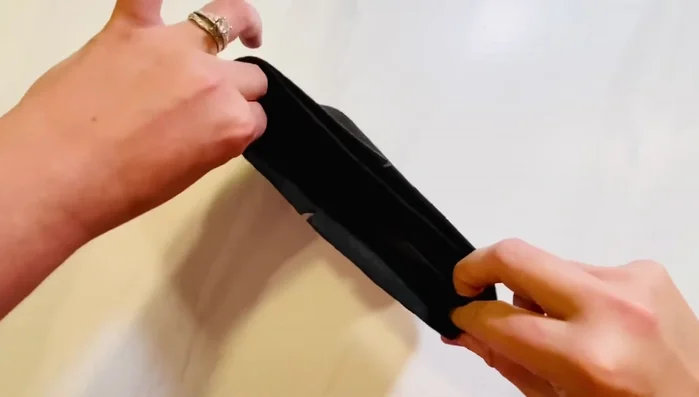
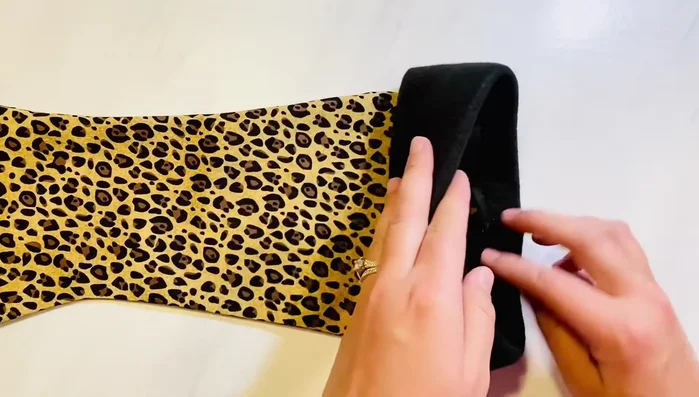
Create Hanging Loop Create and Attach Cuff
- Fold the fabric, sew a line to close it into a tube, and turn right side out. Tuck half of it inside to create a fold.
- Mark the front and back, and the two sides.
- Cut a slit in the center of the folded boot piece to quarter it.
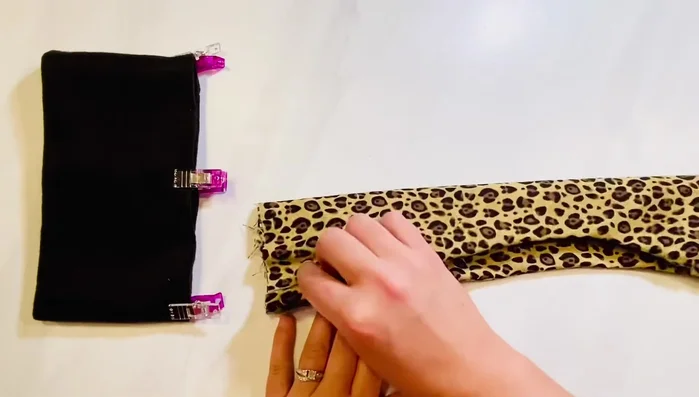
- Match and pin the front, back, and sides of the boot and cuff.
Create and Attach Cuff - Sew around the top of the stocking to attach the cuff.
- Fold the cuff up or down as desired, hiding the seam.
Create and Attach Cuff Attach Hanging Loop
- Fold the hanging loop's top and bottom edges, meet the ends, and pin.
- Attach the hanging loop to the back of the stocking, about an inch inside the cuff.
Attach Hanging Loop


Read more: DIY Reversible Baby Slippers: Easy Sewing Tutorial
Tips
- Use a small stitch when sewing around curves.
- Clip notches into the seams after sewing curves, before turning right side out.