Chelsea boots, with their sleek silhouette and effortless style, are a wardrobe staple. However, the seemingly simple construction of these boots belies a surprisingly intricate process, particularly when it comes to attaching the lining. A flawlessly finished interior not only enhances comfort and durability but also contributes significantly to the overall quality and perceived value of the boot. Improper lining attachment can lead to discomfort, slippage, and even premature wear and tear, rendering an otherwise beautiful boot less enjoyable to wear. Achieving a clean, professional finish requires precision and attention to detail.
This guide offers a comprehensive, step-by-step approach to efficiently and effectively attaching the lining to your Chelsea boots. We'll walk you through each crucial stage, ensuring you achieve a result that rivals even the most expertly crafted footwear, transforming your DIY project from challenging to rewarding. Let's delve into the process, ensuring your Chelsea boots are not only stylish but also incredibly comfortable.
Preparation and Safety Guidelines
- sewing machine (preferably with a post bed, but flat bed adaptable)
- scissors
- glue
- mallet
- elastic
- Always use sharp, appropriate needles and blades to avoid injury and ensure clean cuts. Dull tools require more force, increasing the risk of accidents and uneven stitching.
- Handle your chosen adhesive with care. Read and follow the manufacturer's instructions precisely, including ventilation requirements and safety precautions. Protect your work surface and wear appropriate gloves.
- If using a sewing machine, ensure it is properly maintained and adjusted for the chosen fabric. Never reach into the machine while it is running, and always unplug it before making adjustments or cleaning.
Step-by-Step Instructions
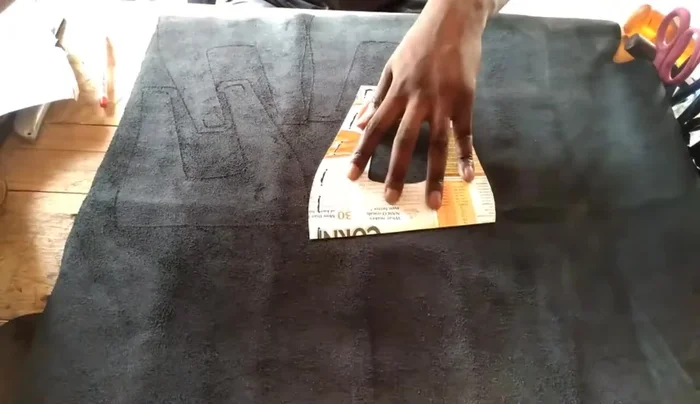
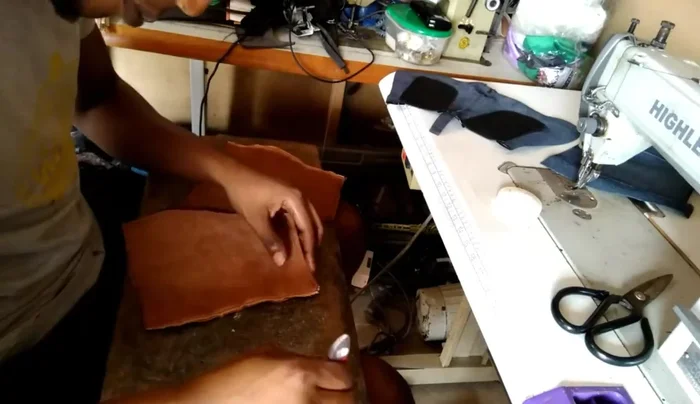
Preparation
- Cut out your patterns and prepare the upper and lining pieces.

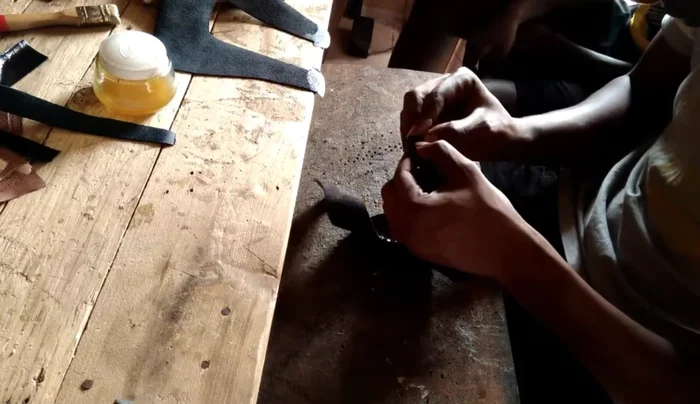
Preparation Initial Glue & Elastic Application
- Apply glue to the necessary areas of the upper and lining, add elastic where needed.
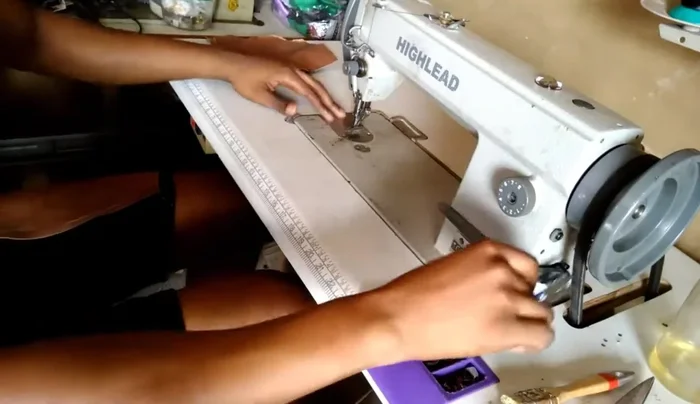
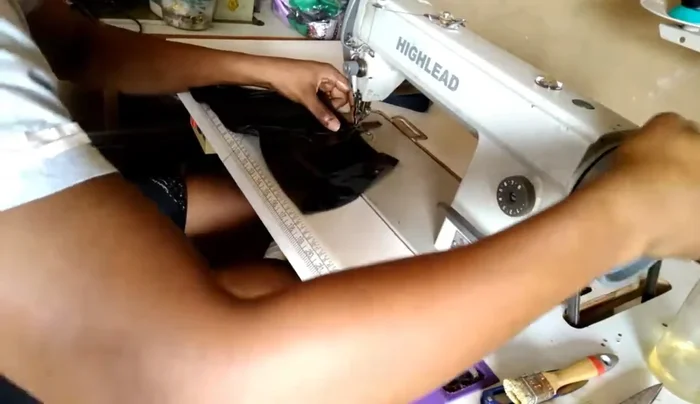
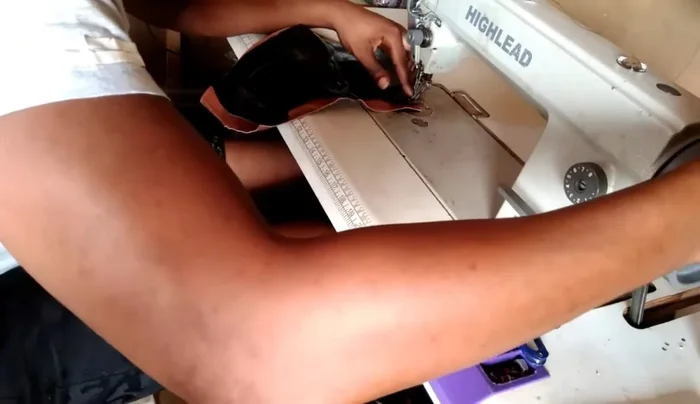
Initial Glue & Elastic Application First Stitch
- Stitch the edges of the lining and upper together.
First Stitch Back Counter Application
- Apply the back counter.
- Stitch the back counter to the upper and lining.
Back Counter Application Seamless Top Finish
- Open the seam allowance at the top of the boot to create a smooth, continuous look. Trim excess material.
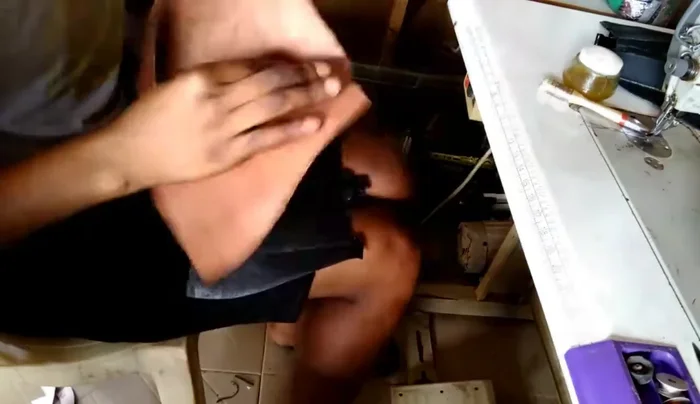
Seamless Top Finish Glue & Adhesion
- Apply glue to the upper and lining, aligning them carefully to avoid wrinkles.
- Press the glued pieces together firmly, ensuring a smooth surface (using a mallet to ensure adhesion).
Glue & Adhesion Second Stitch
- Stitch the joined upper and lining.
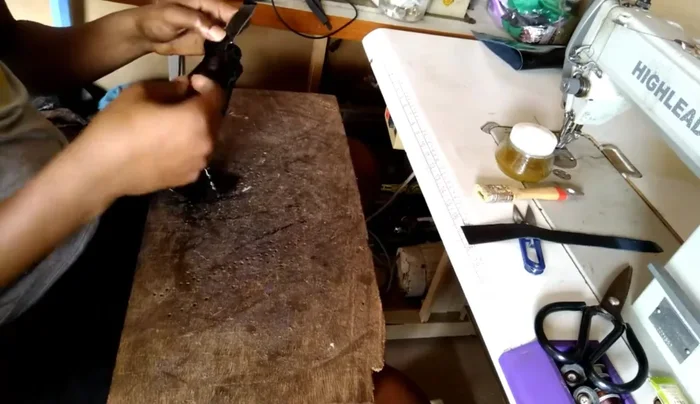
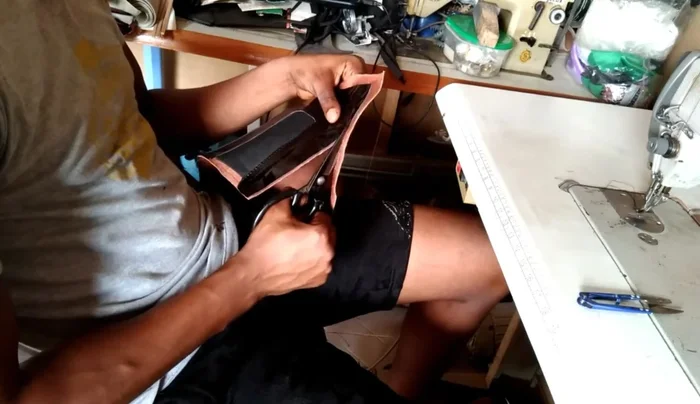
Second Stitch Lining Trim
- Trim excess lining material, ensuring neat edges, particularly at the top of the chassis.
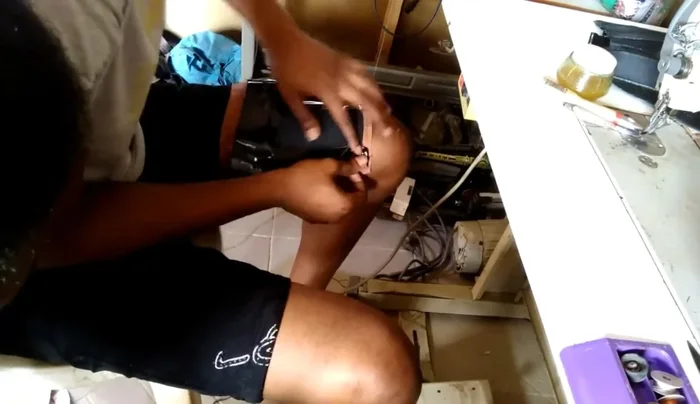
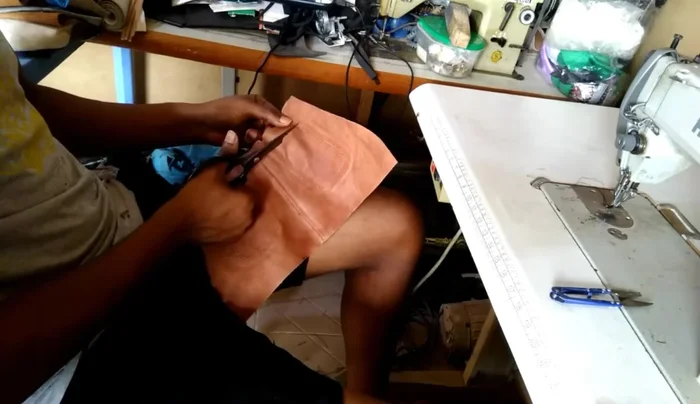
Lining Trim Elastic Trim
- Carefully cut away the lining covering the elastic, leaving a small strap (2cm) to prevent stretching during lasting.
Elastic Trim Final Assembly
- Finish the edges and add the final pieces, applying glue where necessary.
Final Assembly Lasting
- Last the boot.
Lasting


Read more: DIY Reversible Baby Slippers: Easy Sewing Tutorial
Tips
- A post bed sewing machine is more convenient for this process, but a flat bed machine can be adapted.
- Take your time and ensure neatness at each step for a high-quality finish.
- Leave excess lining material for easier handling and trimming.
- Keep your scissors sharp for clean cuts.