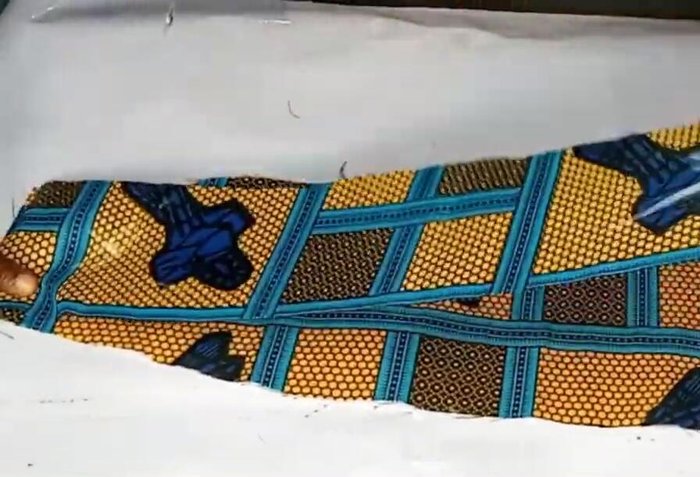
Ankara fabric, with its vibrant prints and rich textures, offers endless possibilities for creative expression. Today, we're diving into a fun and surprisingly simple project: crafting a reversible Ankara waist belt! This versatile accessory can instantly elevate any outfit, from casual jeans to a flowing maxi dress, and the best part? It's incredibly easy to make, even for beginner sewers. This DIY project allows you to showcase your favorite Ankara prints on both sides, offering twice the style in one fabulous accessory. You'll be amazed at how quickly you can transform scraps of fabric into a chic and personalized statement piece.
This tutorial will guide you through each step, from choosing your perfect Ankara fabrics to the final touches that will make your belt truly unique. Forget expensive store-bought belts; prepare to unleash your creativity and follow along as we explore this easy-to-follow, step-by-step sewing tutorial for a reversible Ankara waist belt.
Preparation and Safety Guidelines
- Ankara fabric
- Clear fabric
- Measuring tape
- Ruler
- Scissors
- Interfacing
- Sewing machine
- Iron
- Optional: Top stitching
- Always use sharp sewing shears or a rotary cutter to ensure clean cuts and prevent fabric fraying. Dull blades can cause accidents and uneven results.
- When using a sewing machine, ensure your fingers are clear of the needle at all times. Never reach under the needle while the machine is running.
- Before starting any sewing, pre-wash your Ankara fabric to prevent shrinkage after the belt is finished. Ankara can shrink significantly after washing.
Step-by-Step Instructions
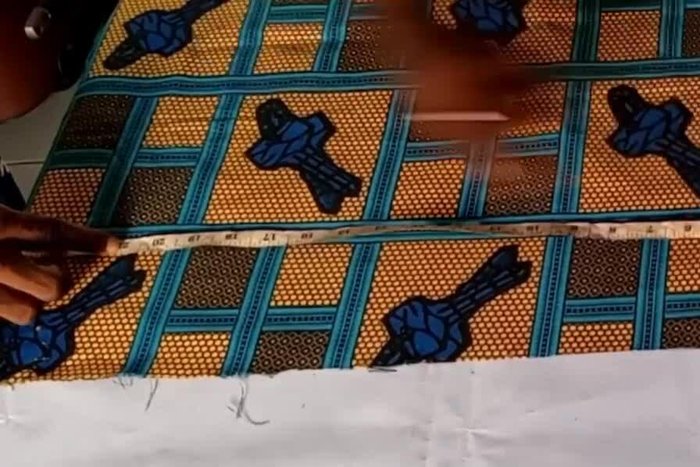
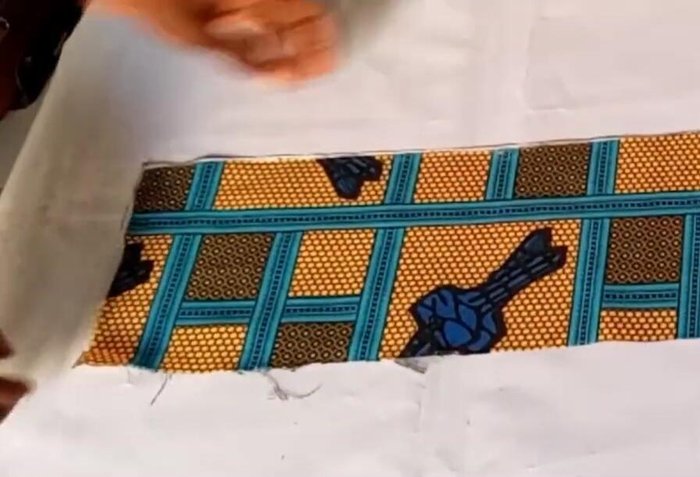
Creating the Belt Pattern
- Mark waist measurements minus 6 inches on fabric (21 inches in this example).
- Mark out 6 inches for the width of the belt.
- Square up the lines to create a rectangle.
- Cut out the rectangle.

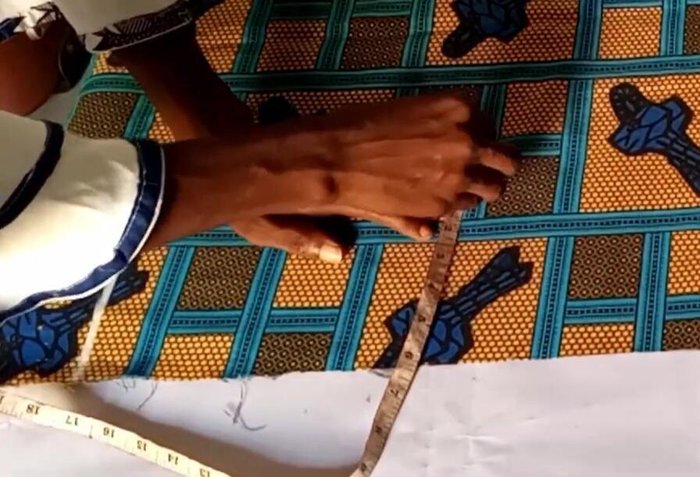
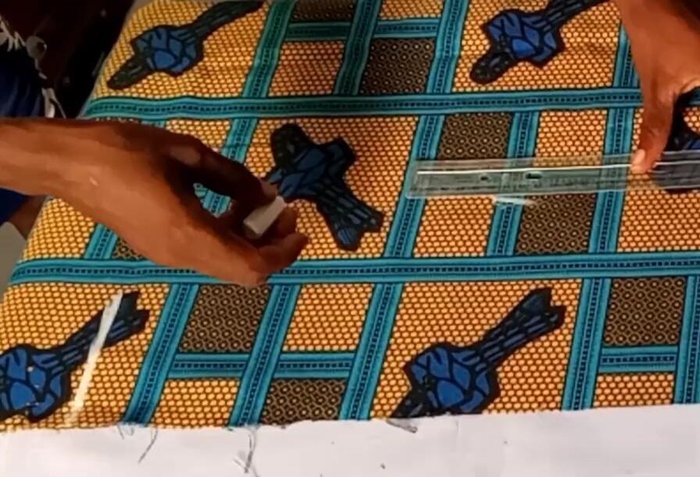
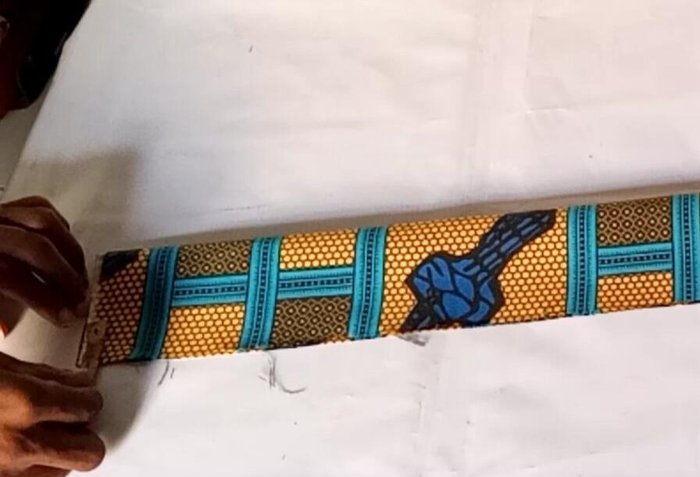
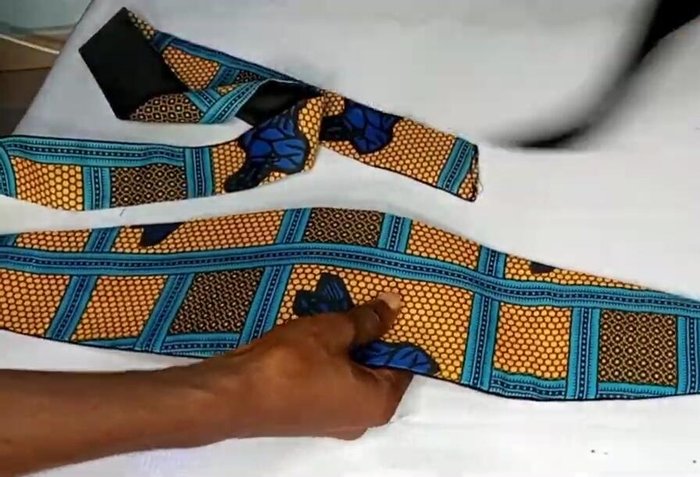
Creating the Belt Pattern - Decide on the desired shape of the belt. This example uses a curved top and bottom.
- Fold fabric in half and mark 1 inch inward on the open side.
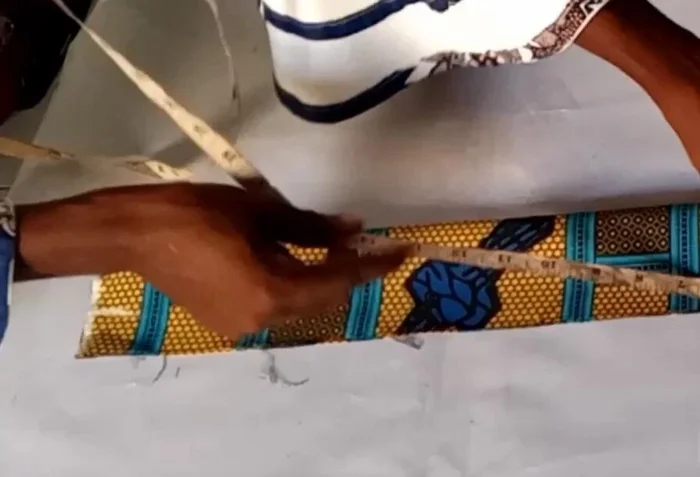
- Mark the center (10.5 inches in this example) and mark 3 inches to the left and right of the center on each line.
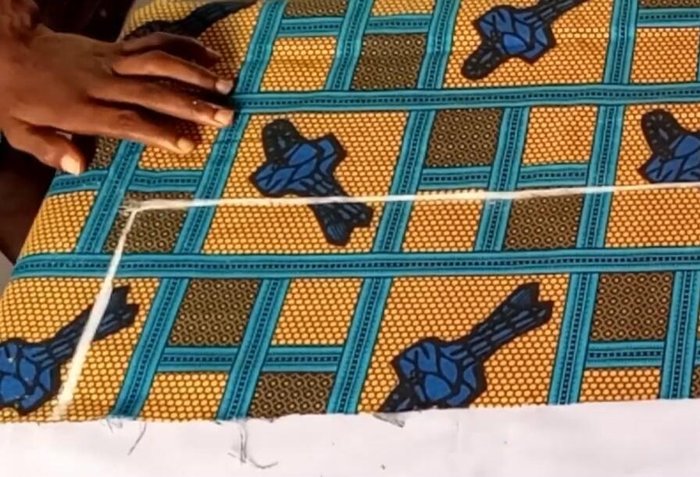
- Curve and connect the lines to create the desired shape.
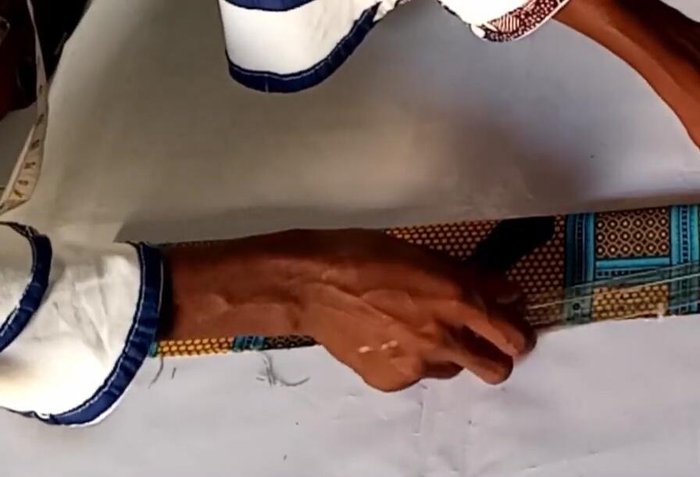
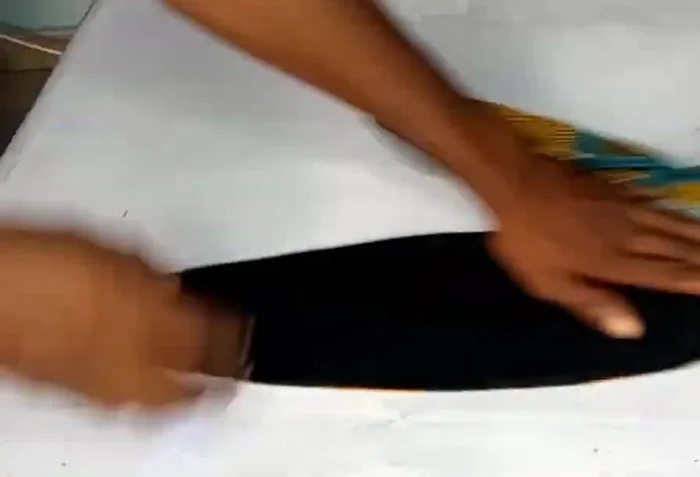
Creating the Belt Pattern - Cut out the shaped fabric piece.
Creating the Belt Pattern Cutting the Fabric and Interfacing
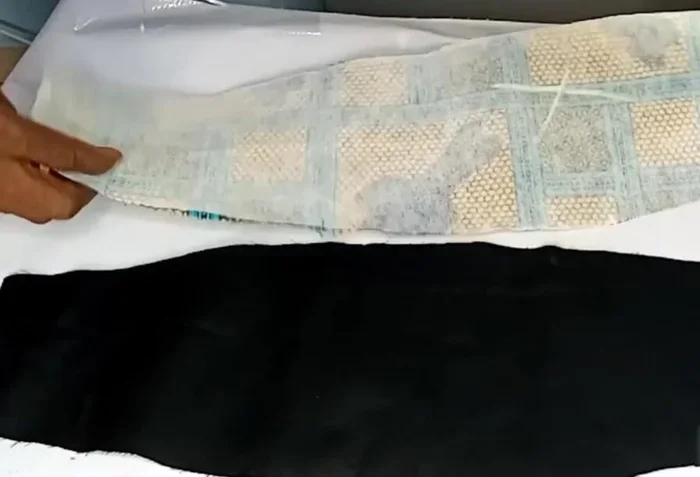
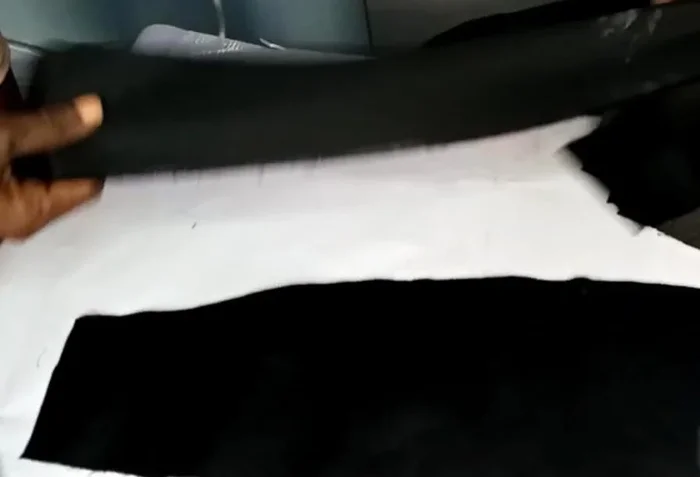
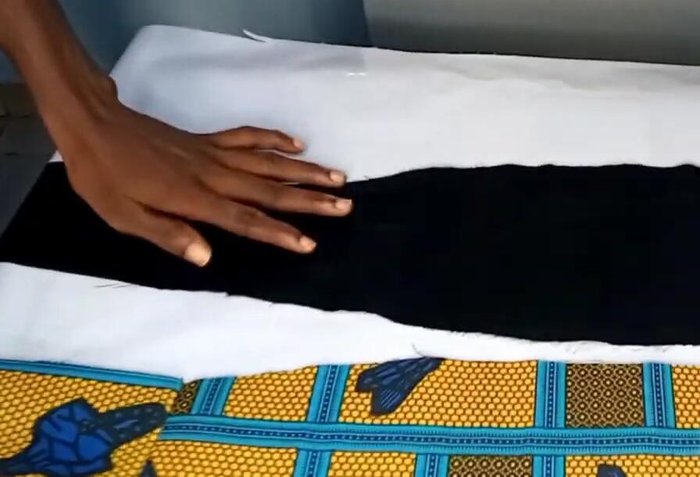
- Use this piece as a pattern to cut out the same shape from the plain fabric.
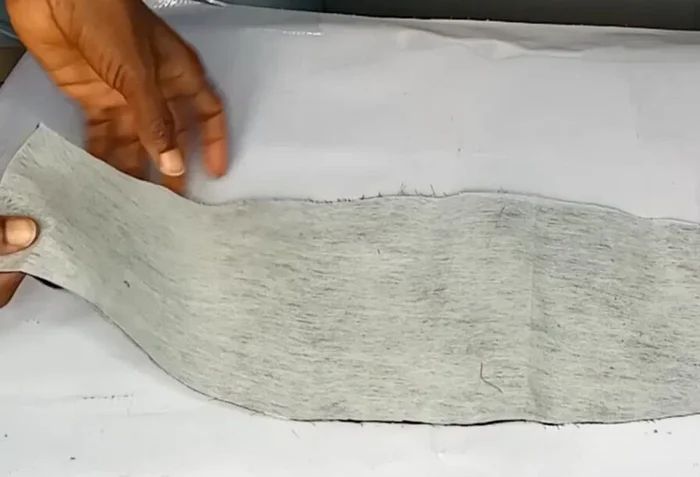
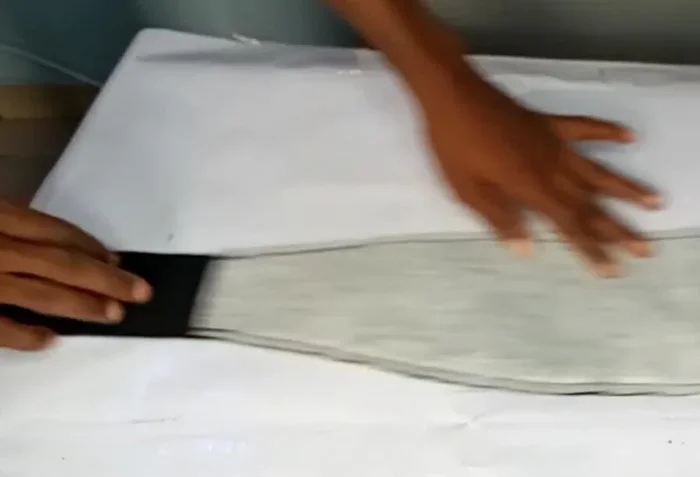
- Cut out interfacing the same size as both fabric pieces.
- Iron the interfacing onto the wrong sides of both fabric pieces.
Cutting the Fabric and Interfacing Attaching the Belt Rope to Fabric Pieces
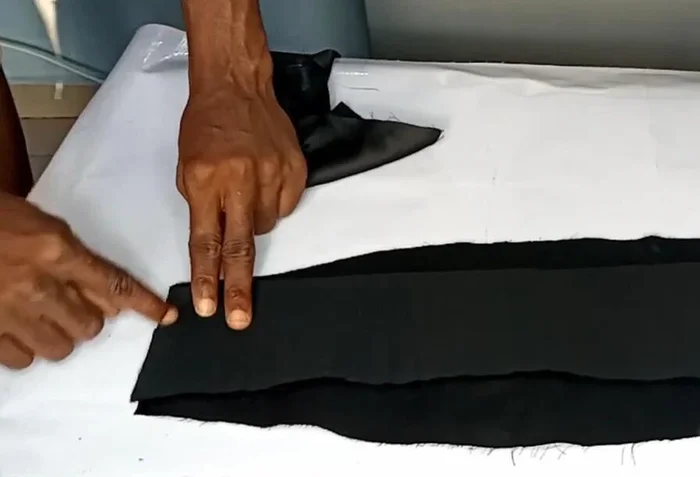
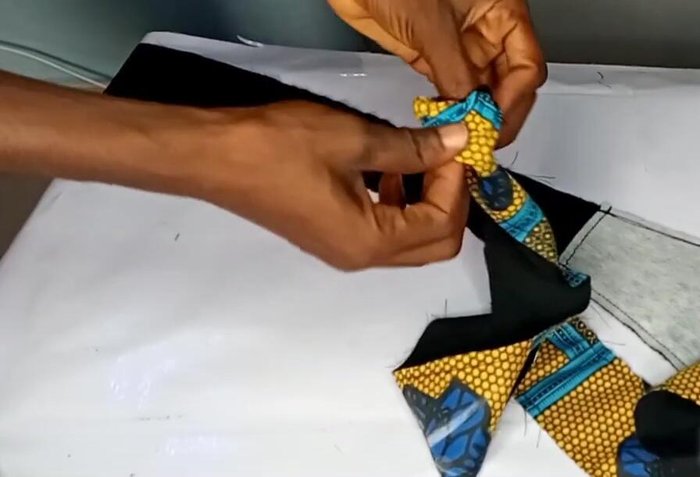
- Cut a 38-inch length of belt rope (3.5 inches wide).
- Place the rope on the edge of the Ankara fabric, right sides facing, and stitch.
- Repeat for the plain fabric piece.
Attaching the Belt Rope to Fabric Pieces Sewing and Finishing the Belt
- Place the two fabric pieces right sides together, aligning centers and edges.
- Stitch around the perimeter, leaving a gap for turning.
- Trim seam allowances and make a slant stitch on the side for a curved look.
- Turn the belt right side out through the opening.
Sewing and Finishing the Belt - Press the belt to create a neat finish.
- Top stitch around the perimeter.
Sewing and Finishing the Belt


Read more: DIY Stretchy Fingerless Gloves: Easy Sewing Tutorial
Tips
- Use a reversible design for a versatile look.
- Interfacing adds structure and stability to the belt.
- Reduce seam allowances to a minimum after stitching for a cleaner finish.
- A slant stitch adds a nice detail to the belt.