Step back in time and embrace the elegance of the roaring twenties with this comprehensive guide to crafting your own stunning cloche hat! The cloche, a quintessential symbol of the flapper era, offers a unique blend of sophistication and playful rebellion. This iconic hat, known for its close-fitting, bell-shaped crown, is surprisingly simple to recreate with a little patience and some basic sewing skills. Imagine the compliments you'll receive wearing this vintage-inspired masterpiece, perfectly complementing your flapper dress or adding a touch of retro chic to a modern outfit.
This DIY tutorial will walk you through each step, from selecting the right materials to mastering the final finishing touches. Whether you're a seasoned seamstress or a curious beginner, we'll guide you through the process with clear instructions and helpful illustrations. So gather your fabrics, needles, and thread, and let's begin creating your own exquisite 1920s cloche hat! Ready to get started? Let's dive into the step-by-step process.
Preparation and Safety Guidelines
- sewing machine
- universal needle size 90/14
- iron
- pressing cloth (optional)
- pressing ham (recommended)
- scissors
- pins
- measuring tape
- hem tape
- vintage trim
- button
- basting
- Use sharp scissors and pins to avoid accidental pricks and cuts. Handle your fabric carefully to prevent snags and tears.
- When working with hot glue or a glue gun, exercise caution to avoid burns. Always allow glue to cool before handling.
- If using a sewing machine, ensure it's properly oiled and adjusted to avoid jamming and injury. Keep your fingers clear of the needle.
Step-by-Step Instructions
Preparation
- Measure your head to determine the correct pattern size.
Cutting
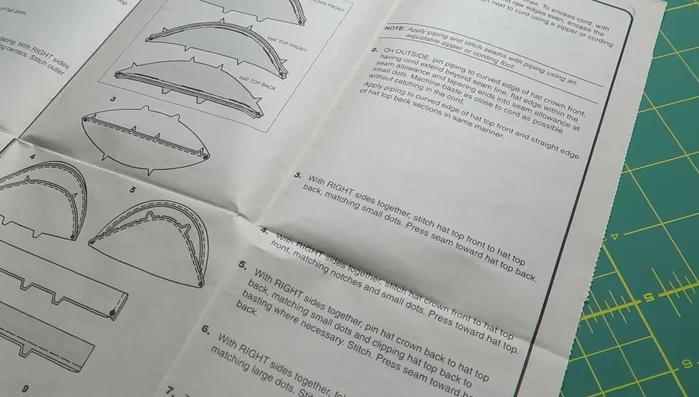
- Cut out pattern pieces 24-28. Omit piece 29 (piping).
Assemble Crown Top
- Stitch the hat top front to the hat top back, matching small dots. Press the seam toward the hat top back.

Assemble Crown Top Assemble Crown Front
- Stitch the hat crown front to the hat top front, matching notches and small dots. Press the seam toward the hat top back.
Assemble Crown Front Assemble Crown Back
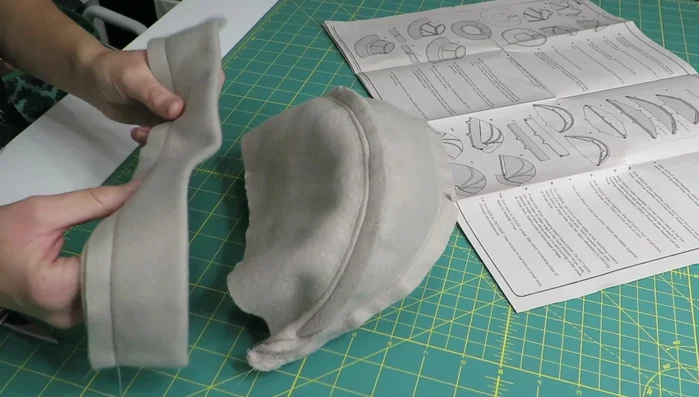
- Pin and stitch the hat back to the hat top back, matching notches and dots. Press the seam toward the hat top back.
Assemble Crown Back Prepare Brim
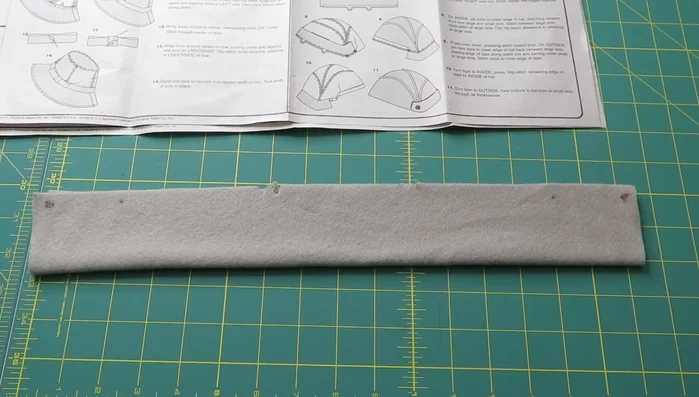
- Fold the hat brim in half and stitch across the ends. Press.
- Baste the raw edge of the brim at a half-inch seam allowance.
Prepare Brim Attach Brim
- Pin the brim to the lower edge of the hat, matching notches. Stitch, matching centers and large/small dots. Backstitch at large dots.
Attach Brim Finish Back
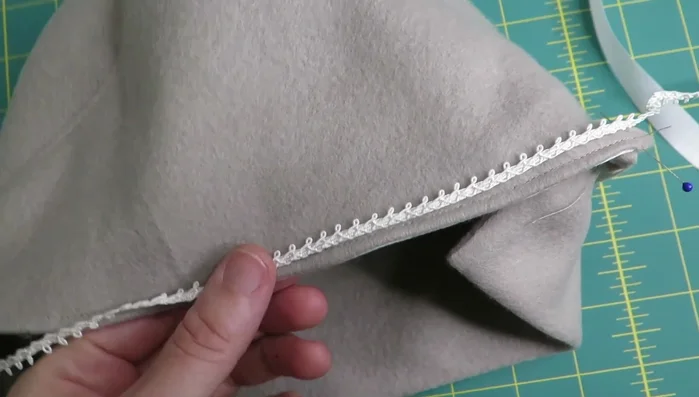
- Attach hem tape to the back of the hat, stitch close to the edge, flip and stitch again.
- Attach trim to cover the stitch line on the back of the hat.
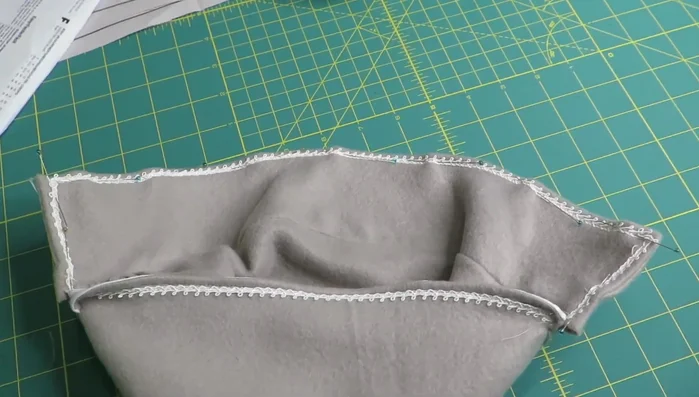
Finish Back Add Trim to Brim
- Attach trim to the front brim of the hat, stitching inside the brim to keep it hidden.
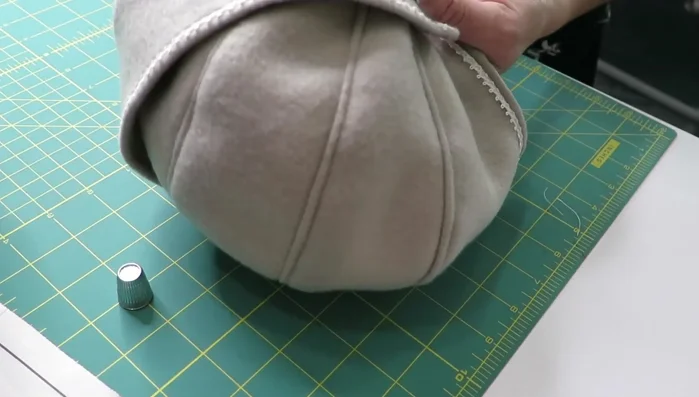
Add Trim to Brim Finishing Touches
- Hand-sew the button to the corner of the brim.
Finishing Touches


Read more: DIY Stretchy Fingerless Gloves: Easy Sewing Tutorial
Tips
- Use a pressing cloth to prevent scorching the fleece.
- A pressing ham is highly recommended for pressing curved seams.
- Consider doubling the brim width for a fuller look by modifying the pattern piece.
- Top stitching can mimic the look of piping.