Step into a world of cozy warmth and historical charm with this tutorial on creating an 1838-style muff using a simple, yet elegant, thumb hole knitting technique. Imagine yourself wrapped in the soft embrace of a hand-knitted muff, its design echoing the elegance of a bygone era. This project is perfect for knitters of all skill levels, offering a delightful blend of practicality and historical flair, transforming a simple knitted tube into a stylish and functional accessory. The traditional design, combined with the easy-to-follow instructions, makes this a truly rewarding project.
This tutorial will guide you through each step of the process, from casting on to the final finishing touches, ensuring a beautifully crafted muff with perfectly placed thumb holes. Ready to bring a piece of 19th-century elegance into your modern life? Let's get started with our step-by-step guide to knitting your own 1838 muff kit!
Preparation and Safety Guidelines
- knitting needles
- yarn
- stitch marker
- Use sharp scissors and needles to avoid accidental pricks or pokes. Always point scissors away from yourself and others.
- Be mindful of your yarn tension throughout the project. Inconsistent tension can lead to an uneven and misshapen muff.
- If working with small parts (like the thumb hole), consider using stitch markers or a different colored yarn to highlight the area and prevent accidental mistakes.
Step-by-Step Instructions
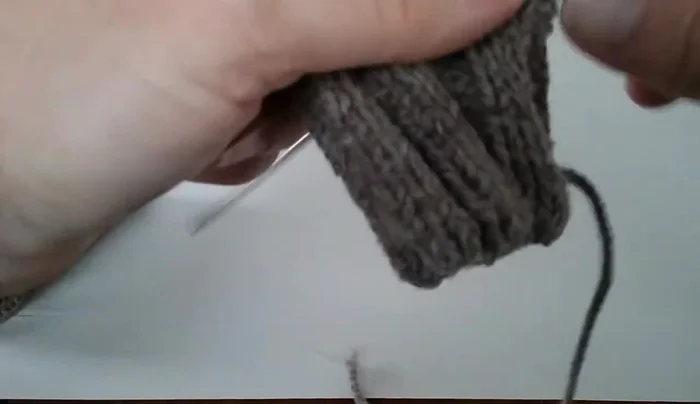
Establish Base Pattern
- Start with the established knit pattern (three knit, three purl).

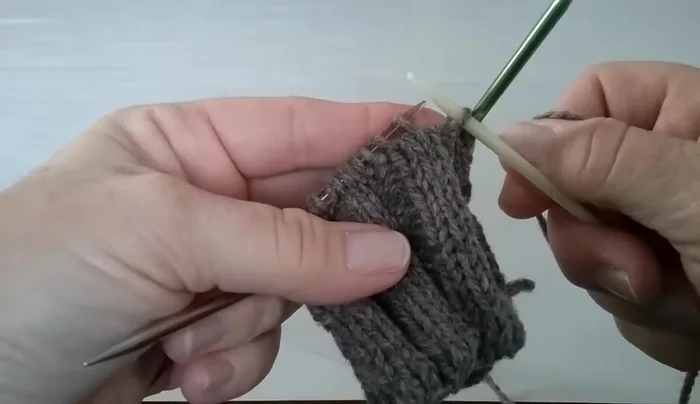
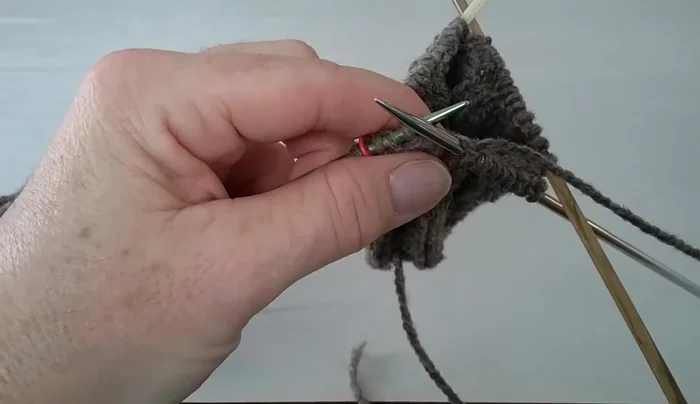
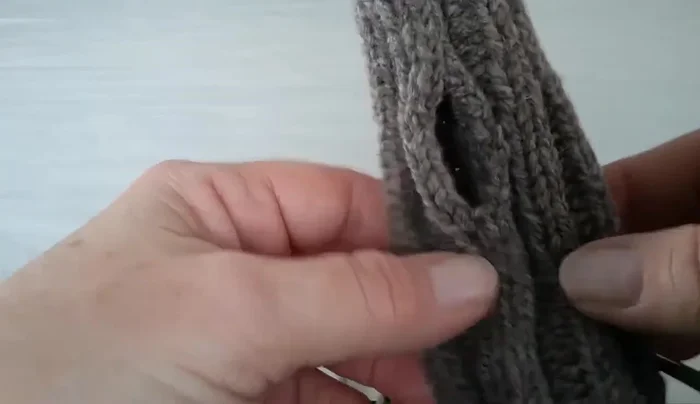
Establish Base Pattern Create Thumbhole Opening
- To create the thumb hole, knit two stitches on each side of the hole.
- Create one stitch by lifting the middle bar and knitting it (or knit into the back of the stitch for a smaller hole).
- Knit two more stitches.
- Place a marker on needle three, then slide two stitches from your working needle onto needle three.
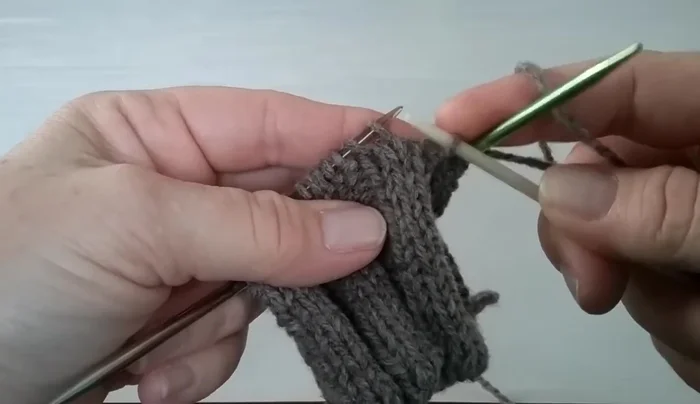
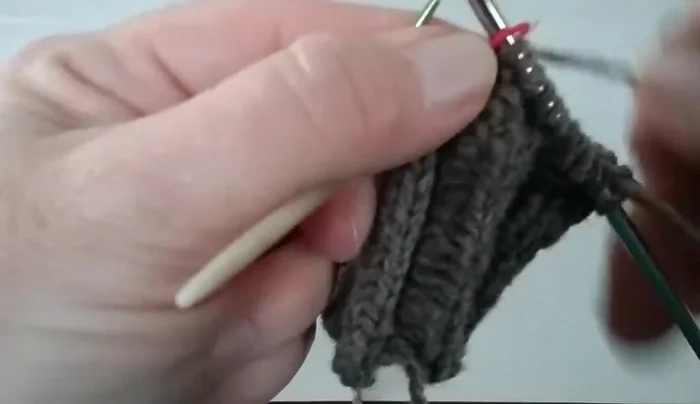
Create Thumbhole Opening - Continue knitting your pattern, leaving the two stitches on needle three separate from the two on your working needle – this creates the thumbhole space.
Create Thumbhole Opening Knit Around to Marker
- Knit around until you reach the marker.
- Move the marker to the next needle, and finish the round.
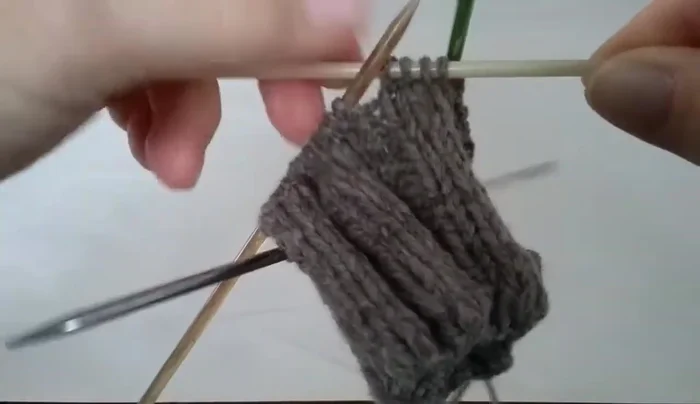
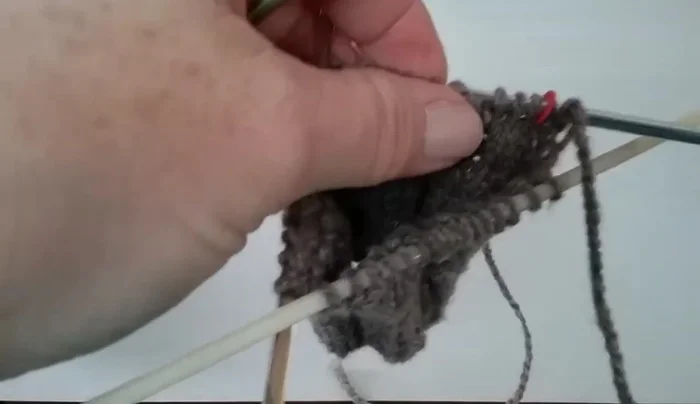
Knit Around to Marker Knit Inside, Avoiding Thumbhole
- Flip your work and knit on the inside, avoiding the thumbhole.
- Continue knitting in the round on the inside until you reach the beginning of the thumbhole.
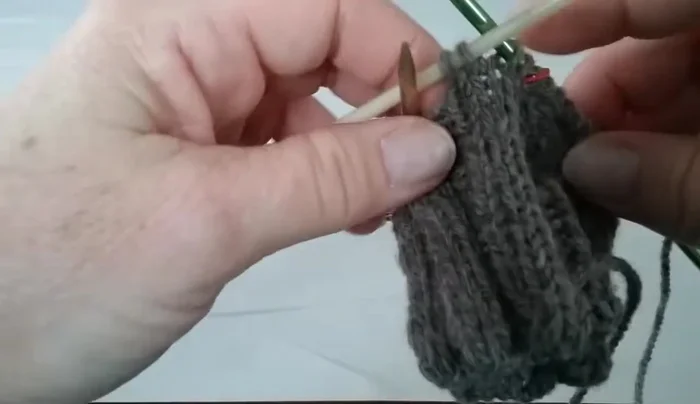
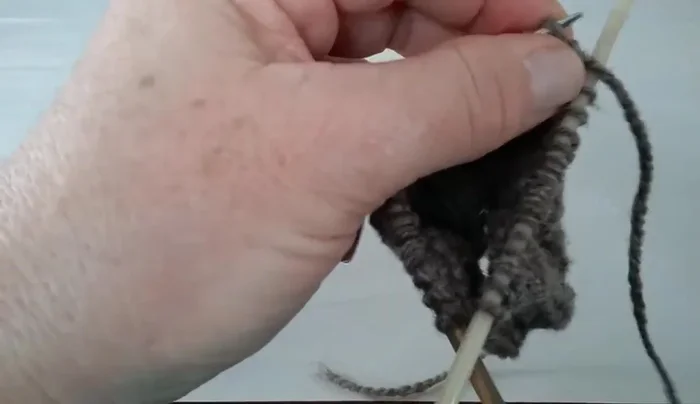
Knit Inside, Avoiding Thumbhole Complete Thumbhole
- Knit the remaining stitches, creating a slit for the thumbhole.
- Join the stitches at the top to complete the thumbhole.
Complete Thumbhole


Read more: DIY Stretchy Fingerless Gloves: Easy Sewing Tutorial
Tips
- Using different colored needles can make the process easier to visualize.
- The 1838 workwoman's guide suggests a method for creating the initial stitch of the thumbhole, but knitting into the back of the stitch will create a smaller hole. Choose the method you prefer.