Christmas is a time for twinkling lights, festive gatherings, and handcrafted decorations that add a personal touch to your holiday décor. This year, ditch the store-bought ornaments and embrace the joy of creating something unique with your own two hands! We'll guide you through a delightful and surprisingly simple sewing project: crafting charming Christmas tree bulb ornaments. These adorable little decorations are perfect for adding a homemade touch to your tree, or for gifting to loved ones as a thoughtful, handmade present. They’re especially ideal for beginners, requiring minimal sewing skills and readily available materials.
Forget complicated patterns and intricate techniques – these ornaments are all about easy-to-follow steps and a touch of festive flair. From selecting your fabrics to the final stitch, we'll walk you through each stage, making this a truly accessible project for everyone. Ready to transform simple fabric scraps into beautiful, shimmering ornaments? Let’s dive into the step-by-step tutorial and get crafting!
Safety Guidelines
- Always unplug the Christmas tree lights before handling bulbs or working near them. Electricity and sewing needles are a dangerous combination.
- Use only bulbs that are designed to be removed from their sockets safely and easily. Forcibly removing a bulb can damage it or the socket, potentially causing a fire hazard.
- Supervise children closely during any part of this project, especially when handling small parts and sharp needles.
Methods: Making a Christmas Tree Bulb Ornament with Fussy Cut Technique
Tools Needed
- Fabric
- Cardstock
- Pencil
- Scissors
- Straight pins
- Ribbon (1/4 inch)
- Sewing Machine
- Poly-fill
- Needle
- Thread
Step-by-Step Instructions
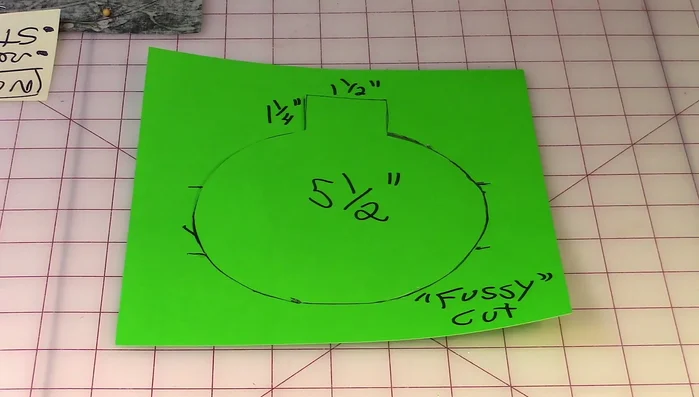
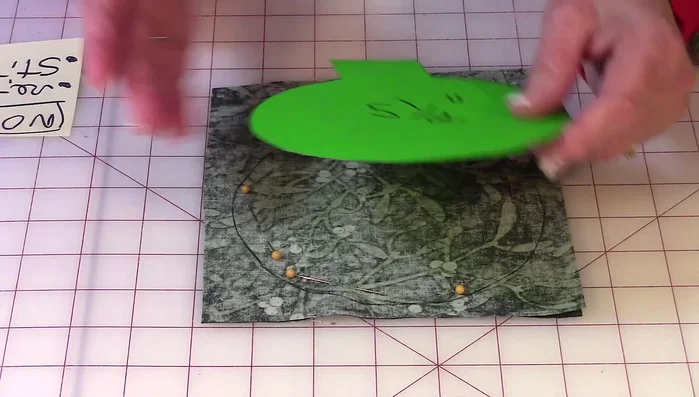
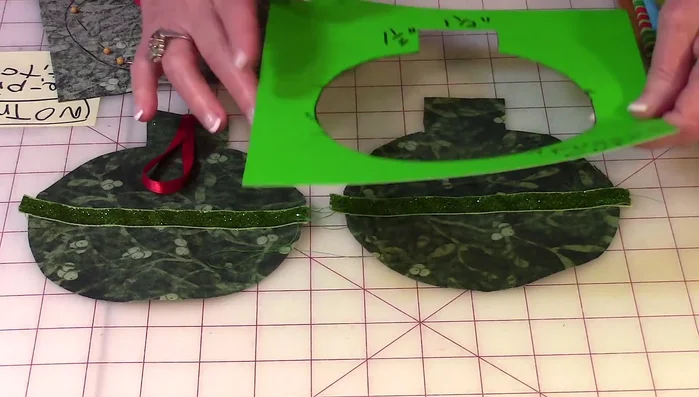
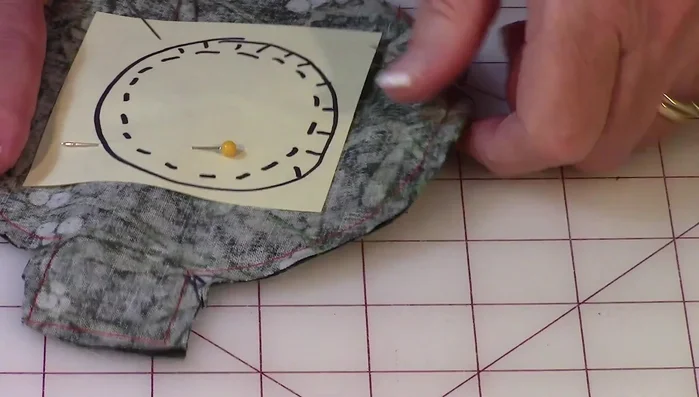
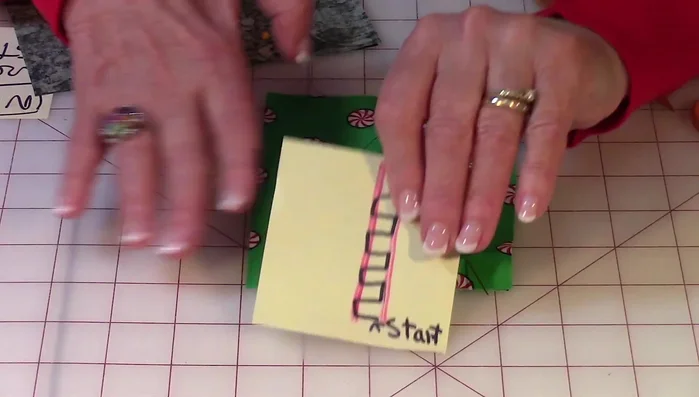
Create Template
- Draw a 5.5-inch diameter circle on cardstock, adding two 1.25-inch high lines at the top, connected by a 1.5-inch wide line.
- Cut out the template.

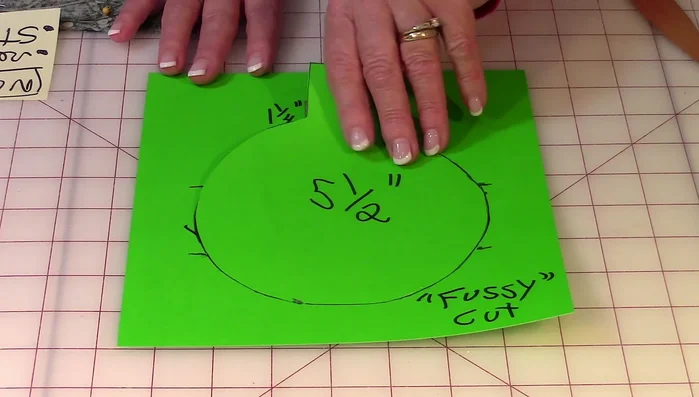
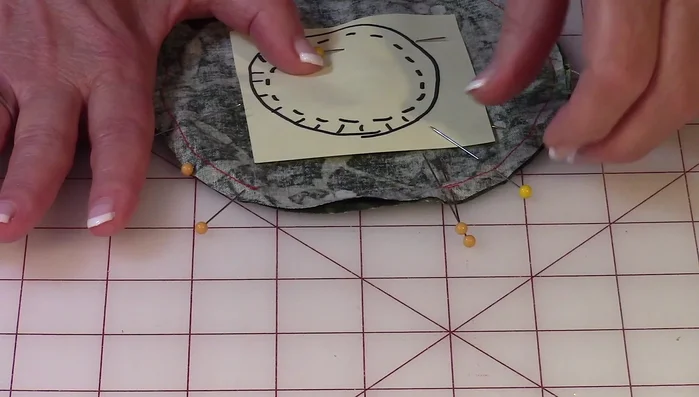
Create Template Prepare Fussy Cut Fabric
- Choose fabric with a desired Christmas design (fussy cut) and trace the template onto it, centering your design.
- Cut out the fabric.
Prepare Fussy Cut Fabric Cut and Prepare Fabric Pieces
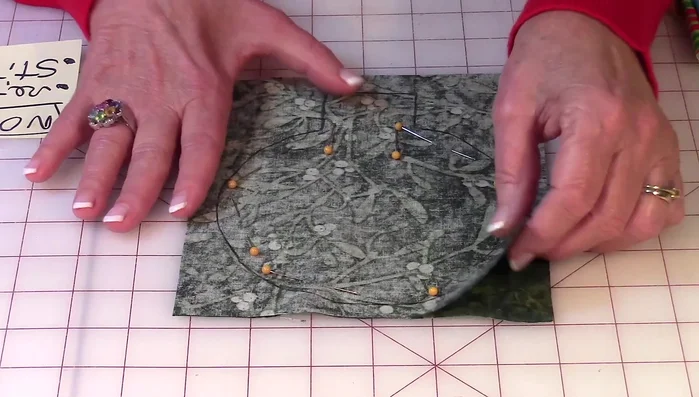
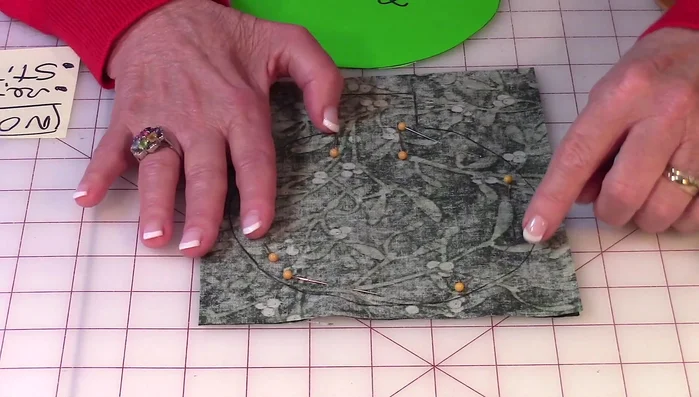
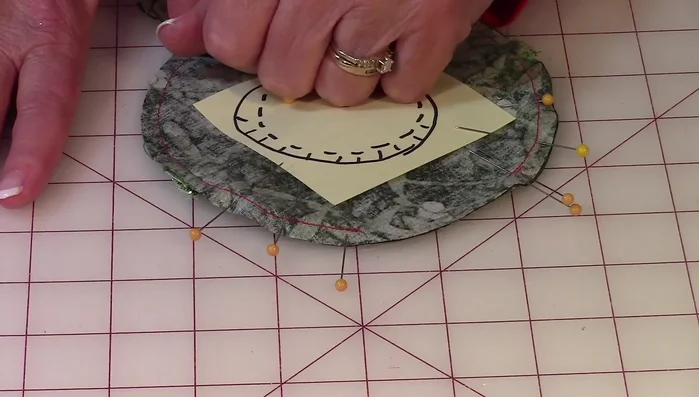
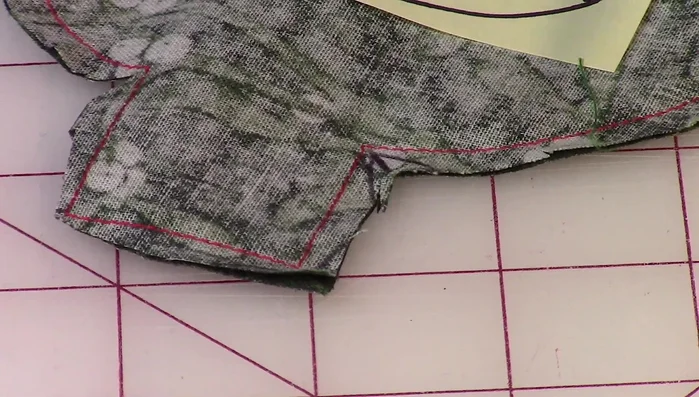
- Cut out two larger fabric squares.
- Place the squares with right sides together, lay the template on top and trace it.
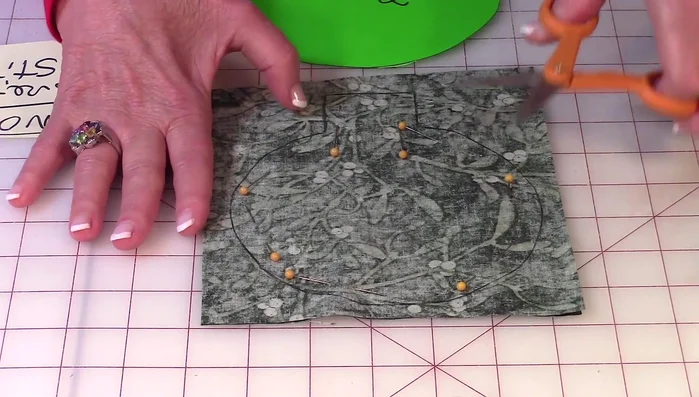
- Pin along the drawn line.
- Cut along the drawn line.
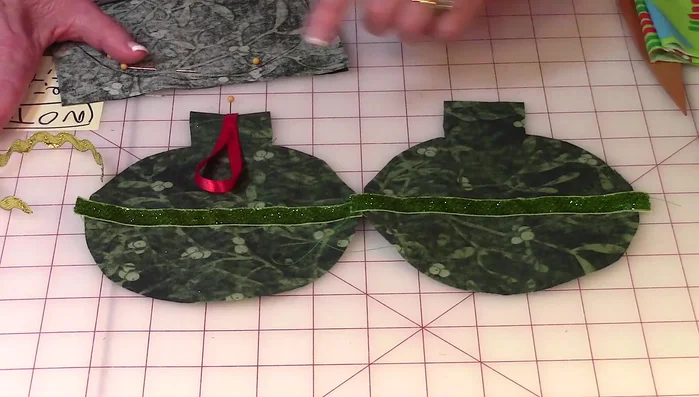
Cut and Prepare Fabric Pieces Attach Trim to First Piece
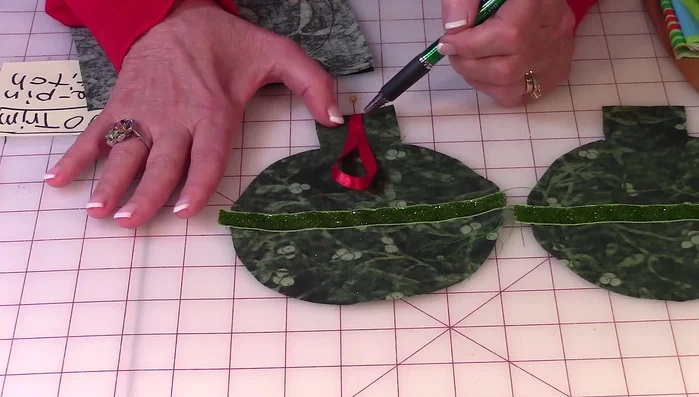
- Add ribbon trim to one piece, mark its position on the template, and stitch it on.
Attach Trim to First Piece Attach Trim to Second Piece
- Use the marked template to position the trim on the second piece, ensuring alignment.
- Stitch the trim onto the second piece.
Attach Trim to Second Piece Prepare and Pin for Sewing
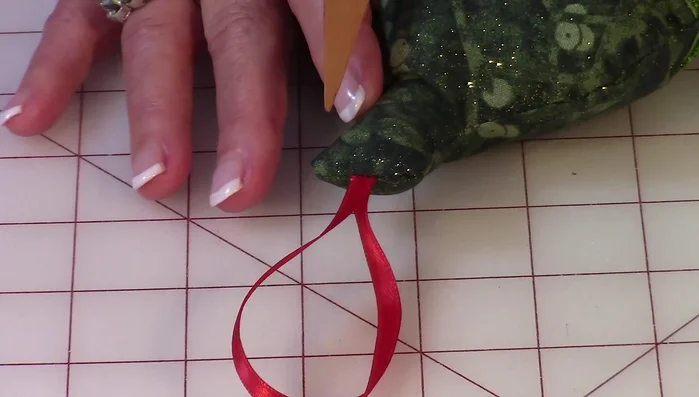
- Prepare a 6.5-7 inch ribbon, fold it in half, and pin it to the top of one fabric piece.
- Pin the two fabric pieces right sides together, aligning the ribbons. Place pins strategically to ease removal during stitching.
Prepare and Pin for Sewing Sew the Ornament
- Stitch around the edges, leaving a 2.5-inch opening.
Sew the Ornament Prepare for Turning
- Make small clips into the corners to allow for turning right side out.
- Make small cuts along the curved edges to help the fabric lie flat.
Prepare for Turning Turn and Shape
- Turn right side out, pulling the ribbon loop to help.
- Poke out the corners to give them shape.
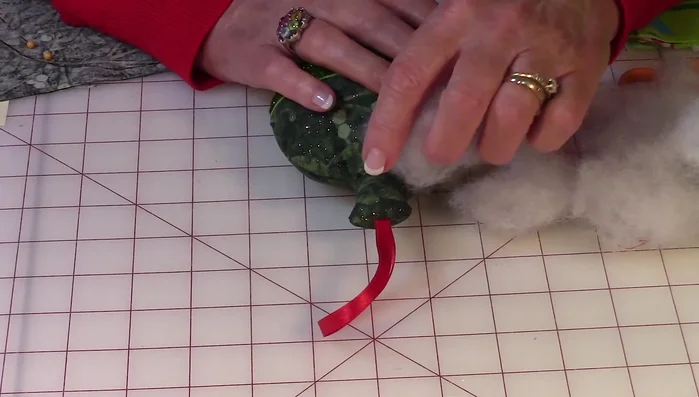
Turn and Shape Stuff and Close
- Stuff with poly-fill, starting at the top.
- Close the opening using a slip stitch.
Stuff and Close


Tips
- Use cardstock instead of paper for the template.
- Move fabric slowly while stitching curves for a smooth finish.
- When stitching curves, leave the needle down before turning corners.
Read more: DIY Flannel Christmas Stocking: A Quick & Easy Fold-Over Tutorial