Christmas is just around the corner, and what better way to add a touch of handmade charm to your holiday décor than with personalized flannel Christmas stockings? Forget expensive, mass-produced versions; this year, embrace the joy of DIY with our quick and easy fold-over tutorial. Using only a piece of festive flannel fabric and a little bit of time, you can create beautiful, unique stockings that will become cherished family heirlooms. These charming stockings are perfect for both seasoned crafters and absolute beginners, requiring minimal sewing skills and offering a delightful crafting experience.
This simple fold-over method eliminates the need for complex patterns and intricate stitching, making it ideal for a busy holiday season. The result? Adorable, personalized stockings ready to be filled with treats and goodies. Ready to get started on creating these festive keepsakes? Let's dive into the step-by-step instructions below!
Safety Guidelines
- Always use sharp scissors or rotary cutter away from your body when cutting fabric. Keep fingers clear of the blade.
- If using a sewing machine, be mindful of your fingers and ensure proper needle placement to avoid injury.
- Adult supervision is required if children are assisting with any part of the project, particularly when using sharp tools or the sewing machine.
Methods: Creating a Lined Fold-Over Christmas Stocking
Tools Needed
- Flannel fabric
- Ribbon (5 inches)
- Sewing machine
- Scissors
- Pins (optional)
- Pattern (printable)
- Iron (optional)
Step-by-Step Instructions
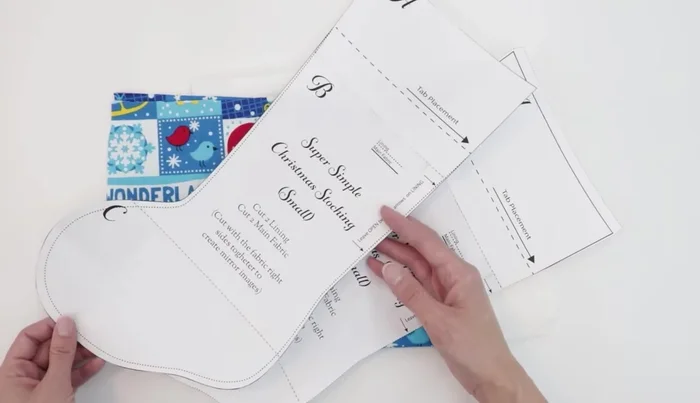
Prepare the Pattern and Fabric
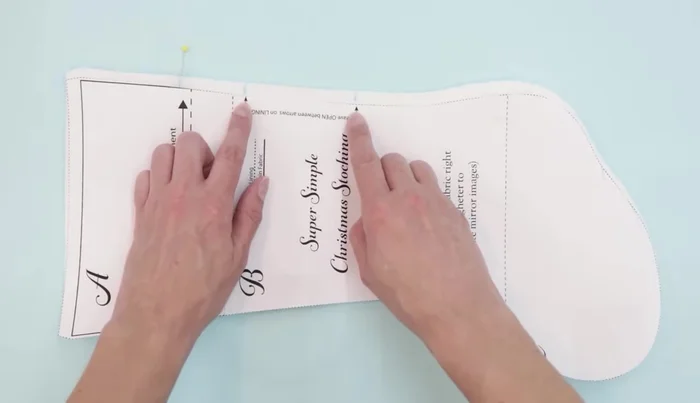
- Print and cut out the pattern twice. Cut once on the solid line for the main fabric and once on the dotted line for the lining.
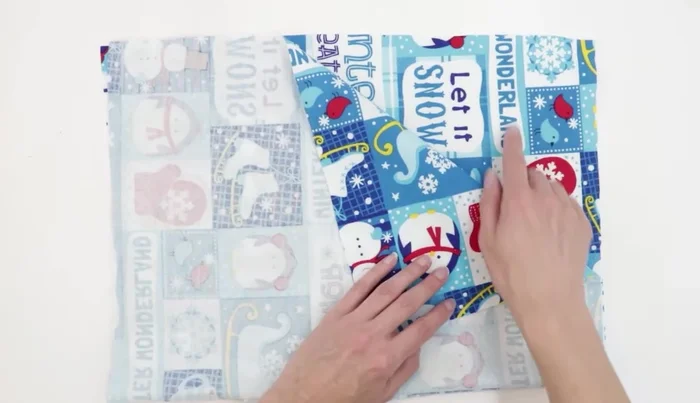
- Place the main fabric pieces right sides together, ensuring the fabric direction is correct. Trace or pin the pattern onto the fabric and cut out.

Prepare the Pattern and Fabric Sew the Main Fabric
- Sew all the way around the sides and bottom of the main fabric pieces with a 3/8 inch seam allowance, leaving the top edge open.
Sew the Main Fabric Prepare and Sew the Lining
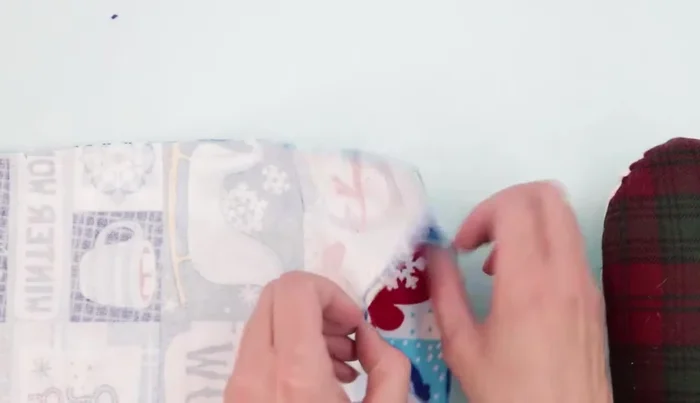
- Fold the ribbon right side out. Place the ribbon (upside down) between the right sides of the lining pieces, aligning it with the marked tab location above the cuff turn, and pin.
- Sew the lining pieces together, leaving an opening for turning. Backstitch over the ribbon section to secure it.
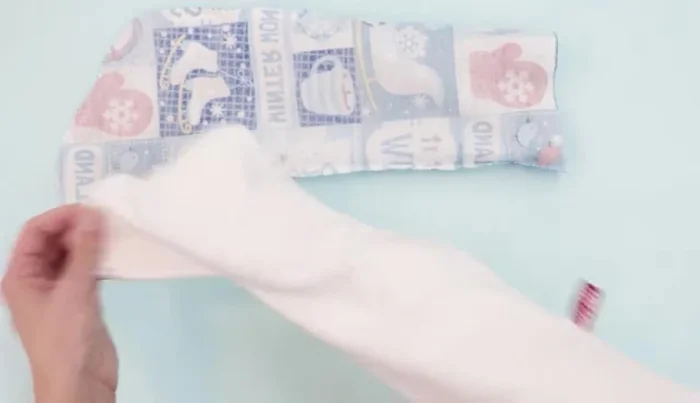
Prepare and Sew the Lining Clip and Press
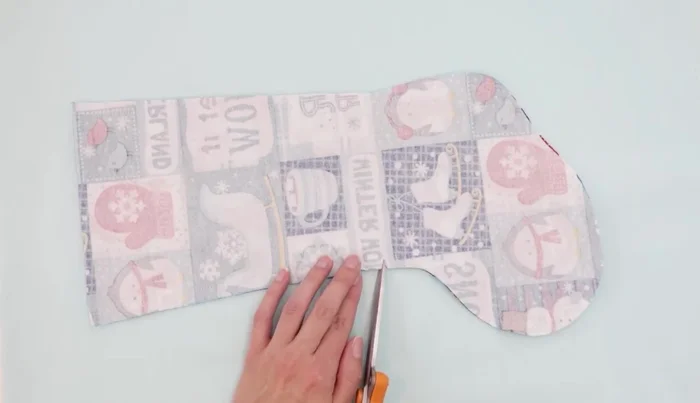
- Clip the curves of both the main fabric and lining pieces (except the lining opening) to reduce bulk and allow for smooth turning. Use pinking shears if available.
- Press the seams open (if fabric allows).
Clip and Press Assemble the Stocking
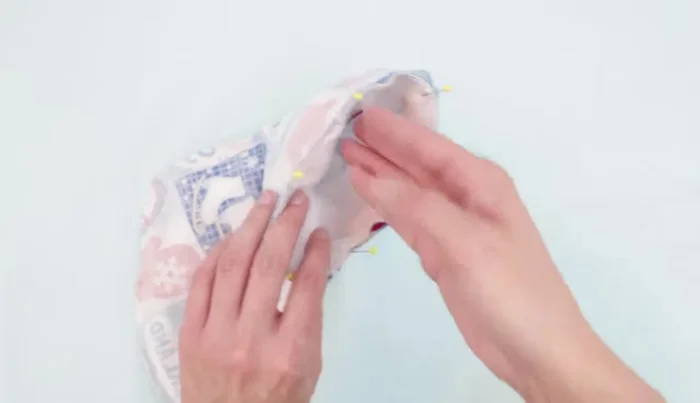
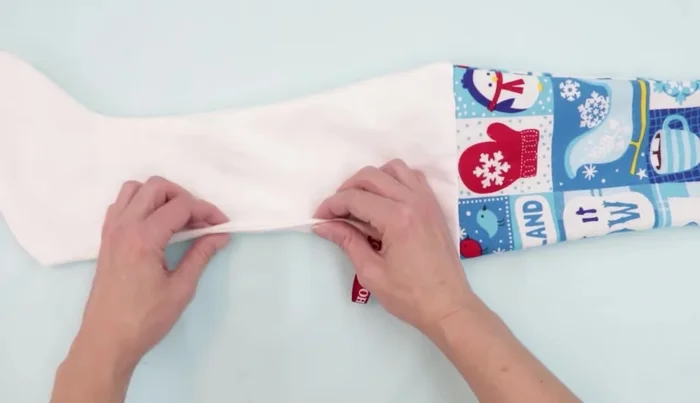
- Place the lining (right side out) inside the main fabric (right sides together), aligning seams. Pin all around.
Assemble the Stocking Sew the Top Opening
- Stitch around the top opening, using a free arm if your machine allows for easier maneuvering. Stop frequently to rearrange fabric.
Sew the Top Opening Turn and Close the Lining
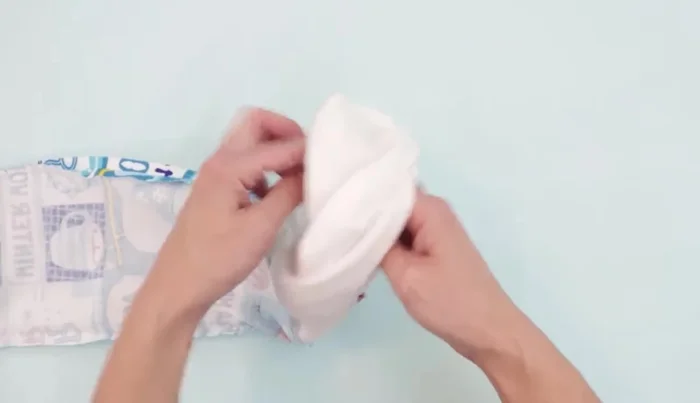
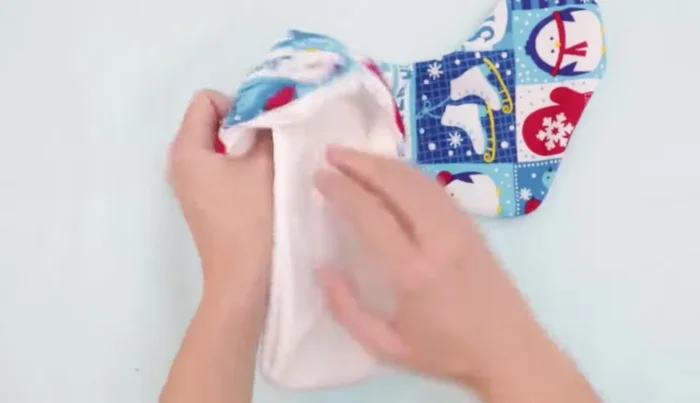
- Turn the stocking right side out through the lining opening.
- Sew the lining opening closed using a slip stitch or a very small machine stitch (1/8 or 1/16 inch). Press or finger press flat.
Turn and Close the Lining Finish the Stocking
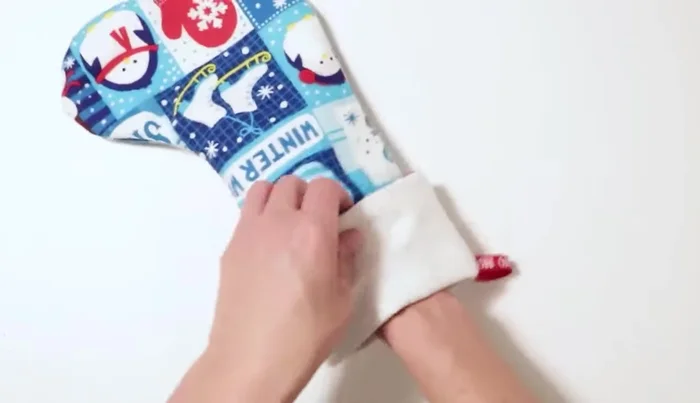
- Tuck the lining inside the main fabric, ensuring the seam is at the top. Fold the top edge over, past the hanging ribbon, and adjust until you like the look.
- For fabrics like velvet, stitch along the cuff fold line to keep the main fabric and lining together.
Finish the Stocking


Tips
- Using slightly different sized pattern pieces for the main fabric and lining can improve the final look.
- If using pins, ensure your pattern is laying flat to prevent fabric distortion.
- Backstitch at the beginning and end of your seams for added security.