Indulge your creativity and craft a stunning, figure-flattering tie-waist gown entirely by yourself! This detailed tutorial provides everything you need to design and sew your own unique garment, perfect for a special occasion or adding a touch of elegance to your everyday wardrobe. Forget expensive designer pieces – with a little patience and these simple instructions, you'll be amazed at what you can achieve. This project is surprisingly accessible, even for beginner sewers, using easily-sourced materials and straightforward techniques.
We’ll guide you through each stage of the process, from drafting the pattern tailored to your specific measurements to the final stitching and finishing touches. Get ready to unleash your inner designer and discover the satisfaction of creating something beautiful with your own two hands. Let's dive into the step-by-step instructions to bring your vision of the perfect tie-waist gown to life!
Safety Guidelines
- Always use sharp fabric scissors and needles to prevent injury. Blunt tools require more force, increasing the risk of accidents.
- Handle your sewing machine with care. Keep fingers clear of moving parts and ensure the machine is unplugged before making adjustments or cleaning.
- If using pins, pay close attention to avoid pricking yourself. Consider using clips as a safer alternative, especially when working with delicate fabrics.
Methods: Tie-Waist Gown Pattern Drafting and Sewing
Tools Needed
- Basic bodice front pattern
- Scissors
- Masking tape
- Pattern paper
Step-by-Step Instructions
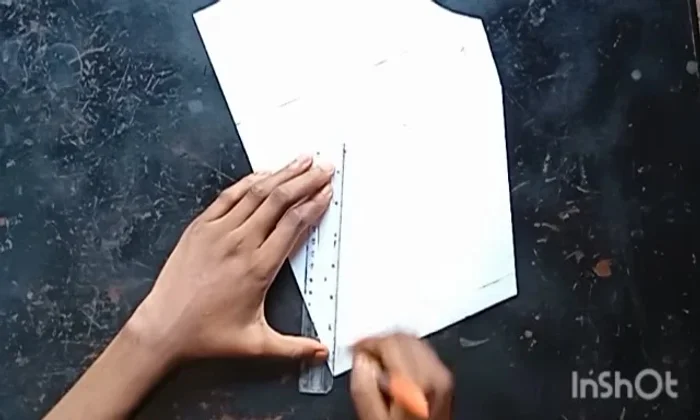
Neckline Adjustment
- Deepen the neckline by 1 inch on the shoulder and the depth.

Neckline Adjustment Front Bodice Shaping
- Draw a line from the bust point to the waistline tip.
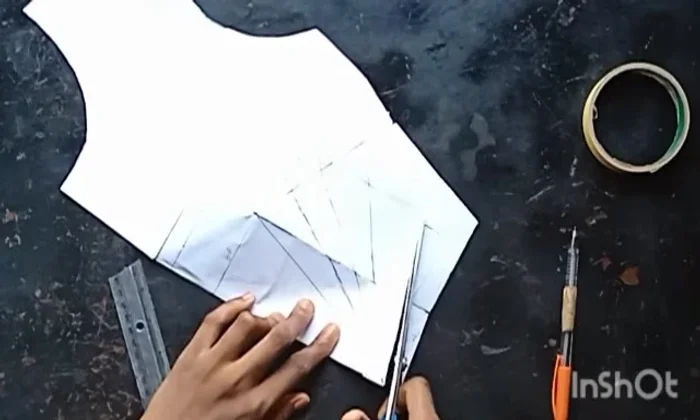
- Remove the waistline dots and close the gaps with masking tape.
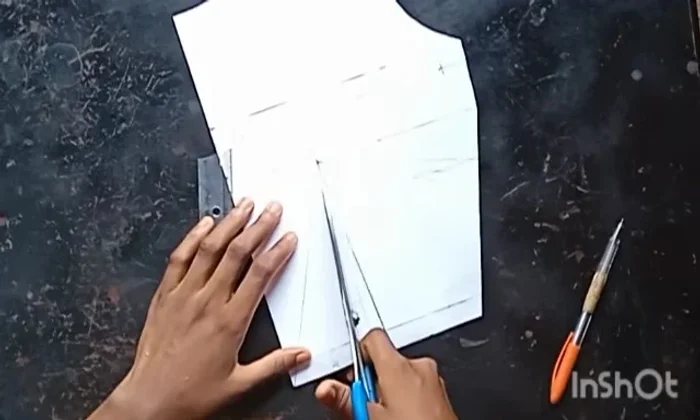
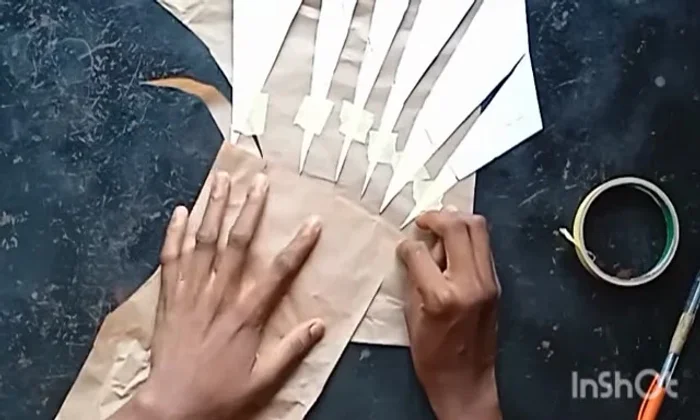
- Draw style lines, directing the lower part of the flare. Join the style lines.
- Cut along the style lines to slash and spread the pattern.
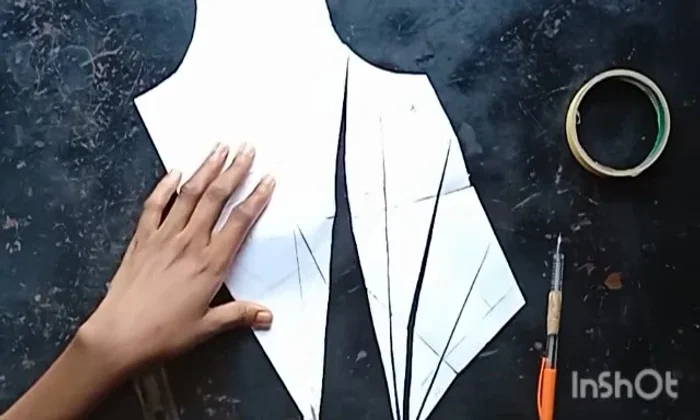
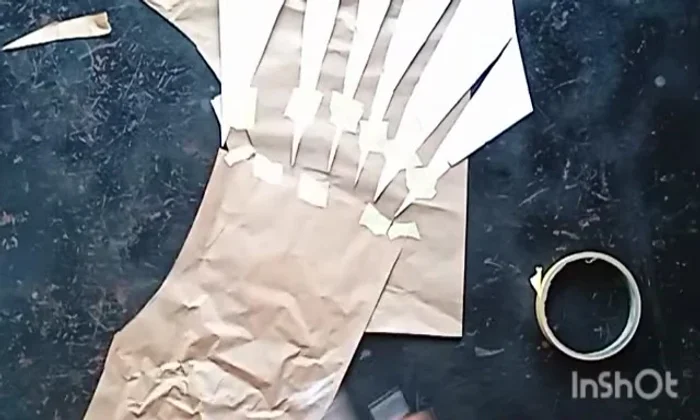
Front Bodice Shaping - Open the slashed pattern and add a fresh pattern paper to create the flared skirt.
- Add an additional paper strip for the tie waist rope, taping it down.
- Measure 0.7 inches on both sides of the rope strip (beginning and end) to create the tie.
- Smoothen the pattern pieces.
Front Bodice Shaping Front Bodice Construction
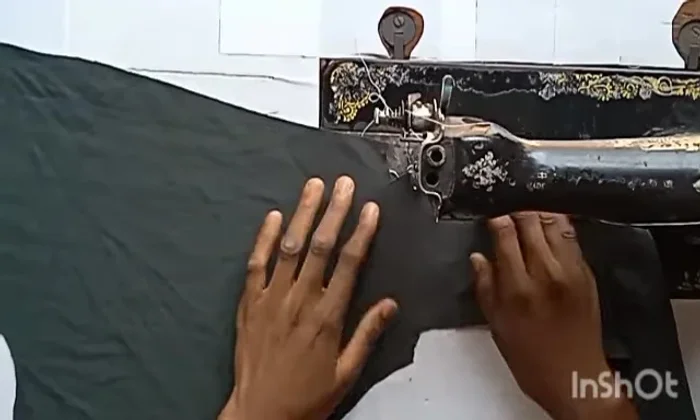
- Join the two front pattern pieces at the center front, considering seam allowance.
- Sew from the center to the belt line, turning the belt pieces to the front.
Front Bodice Construction Back Bodice Construction
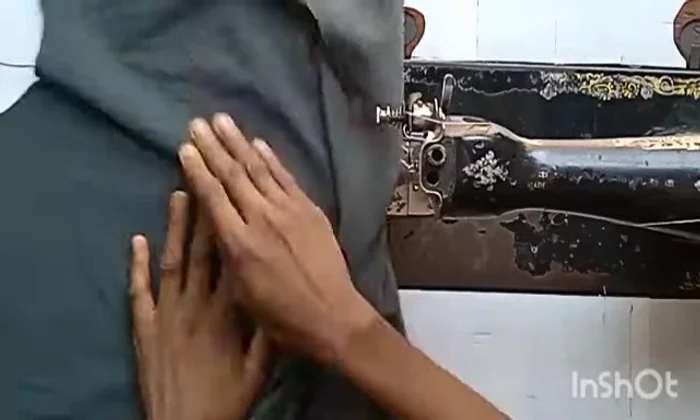
- Join the front and back bodice pieces, shaping the dress normally.
Final Assembly
- Join the shoulder seams.
Final Assembly


Tips
- Be careful when spreading the pattern to avoid overspreading.
- If using a bulky fabric, be cautious when turning the belt pieces to the front.
Read more: Sew a High-Waisted Box Pleated Skirt: A Step-by-Step Guide