High-waisted skirts are a timeless wardrobe staple, effortlessly flattering and versatile enough for countless occasions. This season, the box pleated skirt is experiencing a well-deserved resurgence, offering a chic and sophisticated alternative to more common pleated styles. Its structured pleats and flattering high waist create a silhouette that is both elegant and modern, perfect for everything from a casual weekend brunch to a dressier evening out. Learning to sew your own allows for complete customization, letting you choose your favorite fabric and personalize the length to perfectly suit your style.
This guide will walk you through each step of creating your own beautiful, high-waisted box pleated skirt. From choosing the right fabric and taking accurate measurements to mastering the pleating technique and finishing touches, we'll provide a clear and comprehensive walkthrough ensuring even beginner sewists can achieve professional results. Let's get started!
Safety Guidelines
- Always use sharp sewing machine needles and pins to prevent fabric snags and ensure clean stitches. Dull needles can break or cause skipped stitches, leading to frustration and potential injury.
- Measure your waist and hip accurately before cutting your fabric. Incorrect measurements will result in a poorly fitting skirt. Double-check all measurements before cutting.
- When working with a sewing machine, always keep your fingers away from the needle and presser foot to avoid accidental pricks or injuries. Use a seam ripper carefully to avoid damaging the fabric.
Methods: High-Waisted Box Pleated Skirt Sewing Tutorial
Tools Needed
- sewing machine
- serger (optional)
- iron
- zipper foot (optional)
- pins
- scissors
- fabric (woven fabric recommended)
- interfacing
- bias tape (optional)
Step-by-Step Instructions
Prepare the Pattern
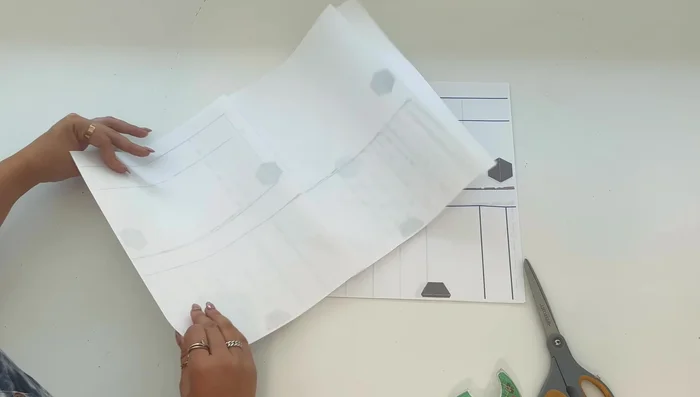
- Print and assemble the pattern pieces, ensuring 'print actual size' is selected. Match the hexagon markings.

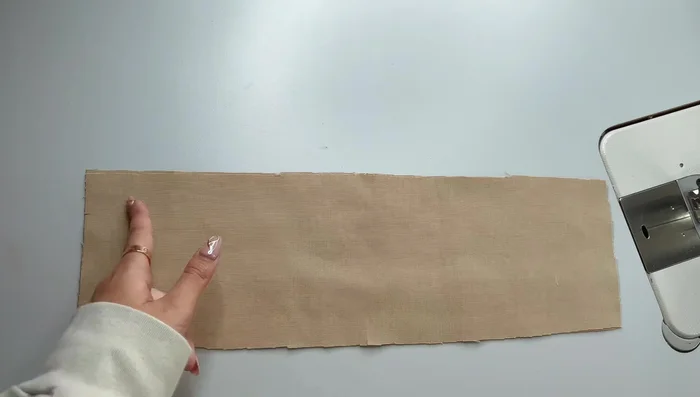
Prepare the Pattern Cut Fabric Pieces
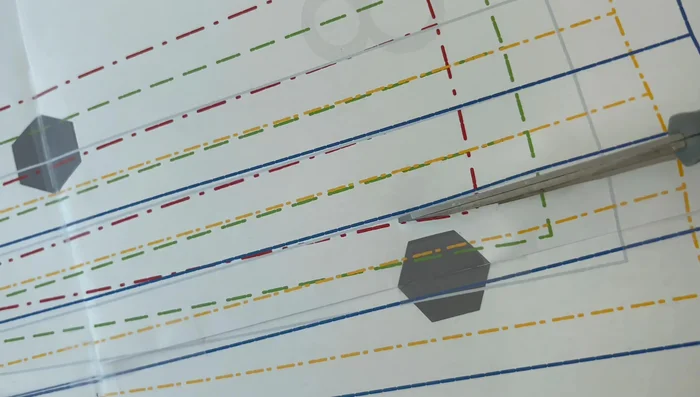
- Cut out pattern pieces along the colored lines corresponding to your size. Cut two front and back skirt pieces, four yoke pieces (two for lining), and two interfacing pieces for the yoke.
Cut Fabric Pieces Prepare Skirt Pieces
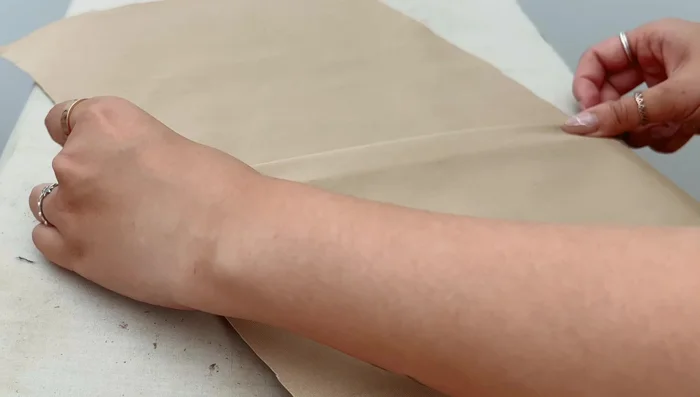
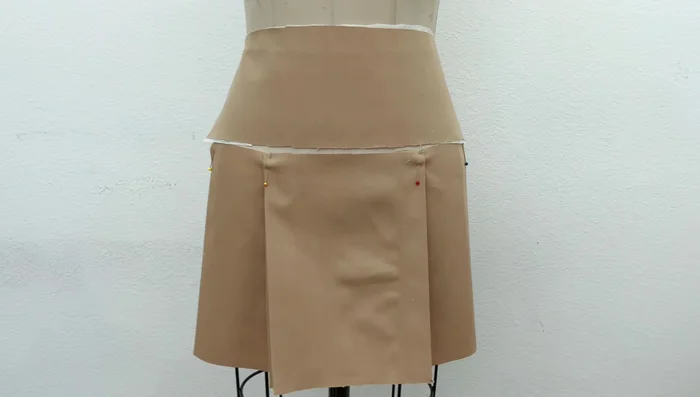
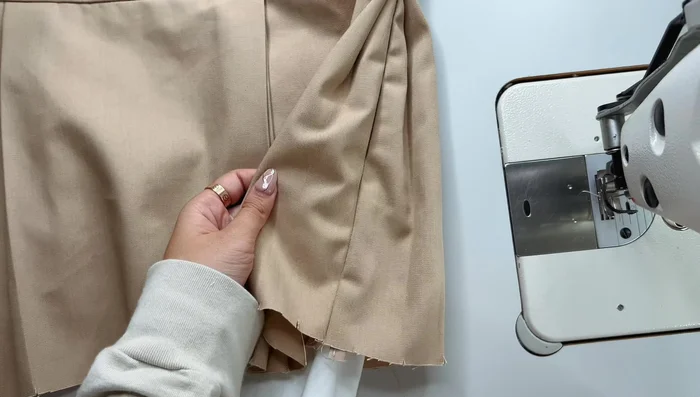
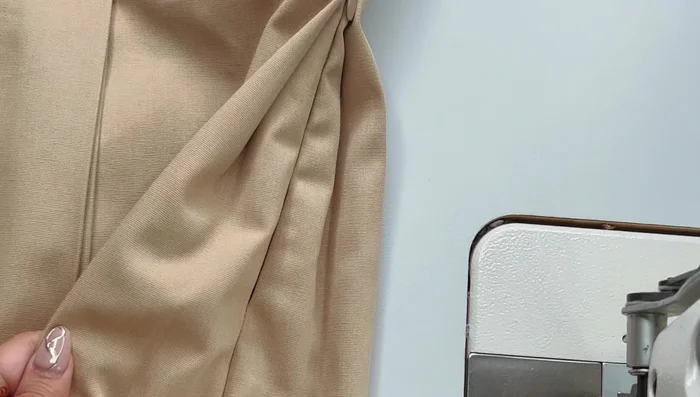
- Press out notches on the skirt pieces. These mark pleat edges.
- Pin or stay stitch pleats ⅛ inch from the top to secure them.
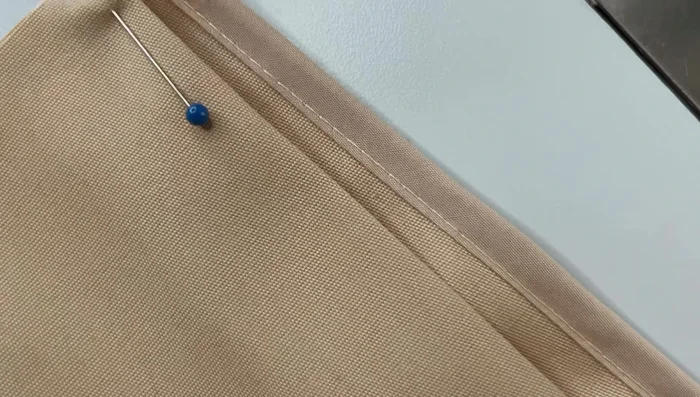
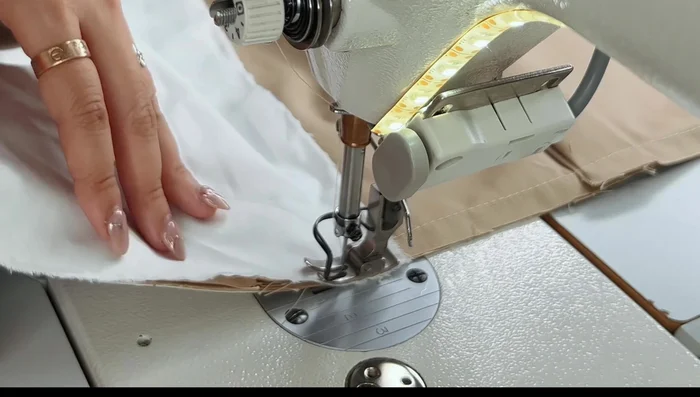
Prepare Skirt Pieces Finish Skirt Edges
- Finish skirt side edges with a serger or bias tape.
Finish Skirt Edges Attach Yoke
- Sew the yoke to the skirt, matching center front notches. Press seam allowance towards the top of the waistband.
Attach Yoke Sew Side Seam
- Sew down the side seam of your choice (front or back).
Sew Side Seam Add Pockets (Optional)
- Sew Mew-inspired pockets into the seam allowance of the yoke and skirt.
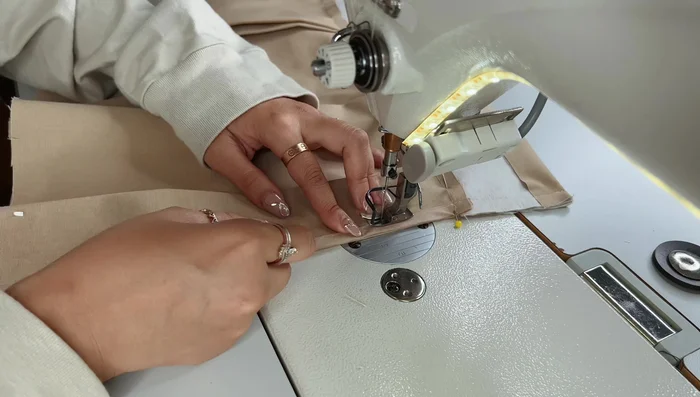
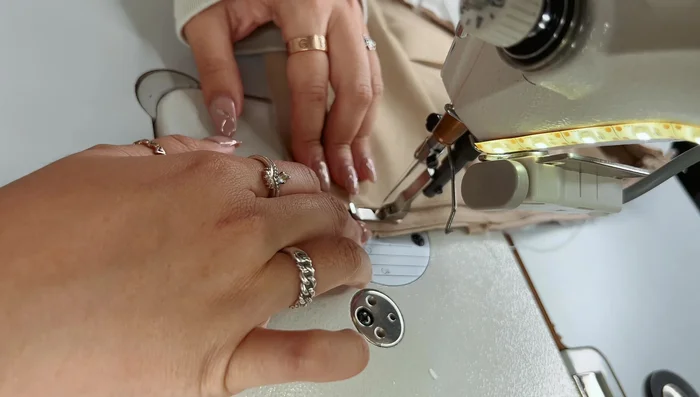
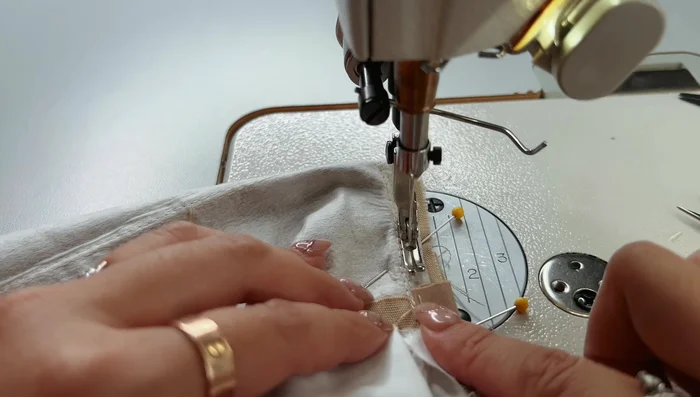
Add Pockets (Optional) Install Zipper
- Insert the invisible zipper, carefully marking and trimming excess fabric. Sew the zipper in place, using a zipper foot if available.
- Sew the second pocket piece to the other side of the zipper, matching notches for alignment.
- Finish sewing the zipper, closing it to ensure proper alignment before finishing the other side.
- Close the seam at the bottom of the zipper and up the skirt to finish the side seam. Hide the seam towards the inside of the skirt.
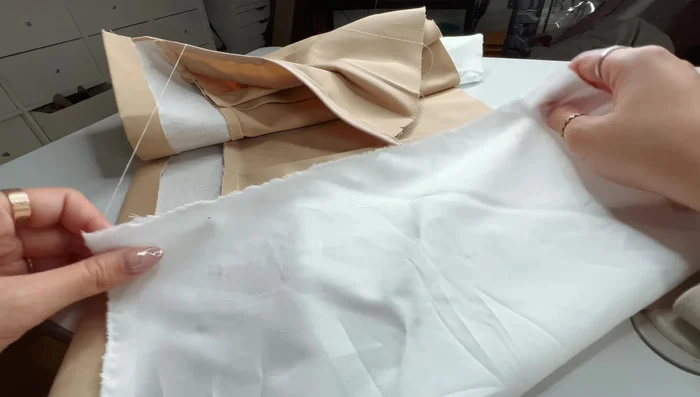
Install Zipper Attach Yoke Lining (Optional)
- If using a lining, sew the lining pieces together and press the seam. Sew the lining yoke to the facing yoke at the side seam, sewing about ¾ of the way down.
- Press the seam allowance towards the lining and topstitch. Fold the yoke right sides together, folding the lining yoke slightly over the waist seam.
- Sew down the lining yoke along the zipper, trim corners, turn right side out, and press the seam allowance.
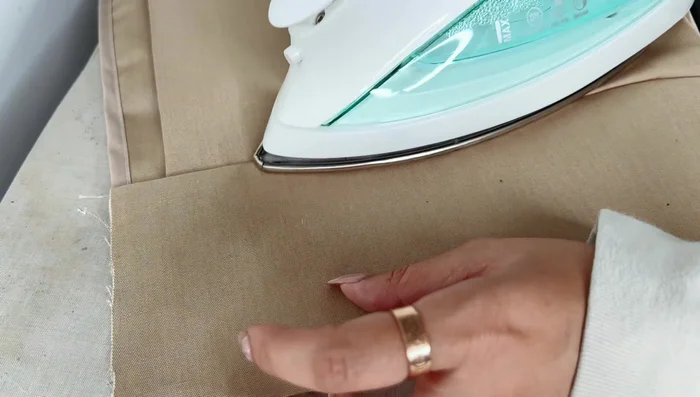
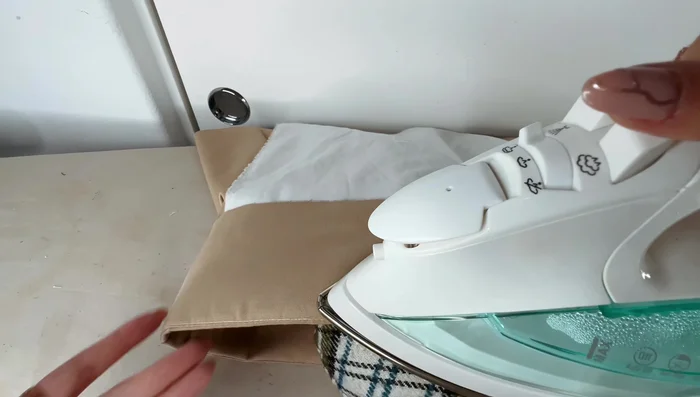
Attach Yoke Lining (Optional) Finish Waistband
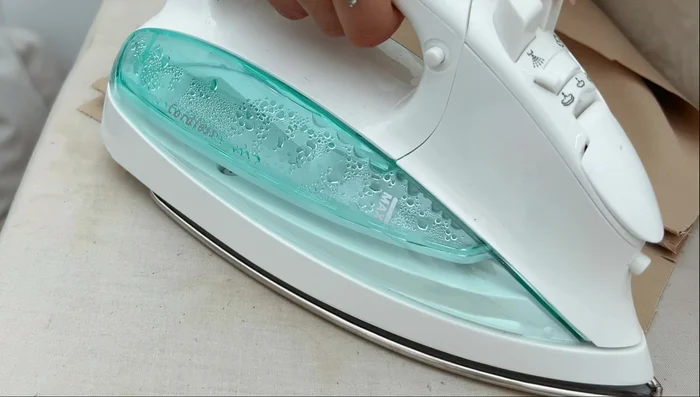
- Iron down the top of the waistband, folding the lining yoke slightly over the waist seam. Pin in place. Sew in the ditch to secure.
Finish Waistband Finish Hem (Optional)
- Finish the hem with a rolled hem.
Finish Hem (Optional)

Tips
- Use a woven fabric for better pleat retention.
- Pay attention to notches during cutting and pressing for easier pleat creation.
- Using an industrial sewing machine is fine but a home sewing machine can get damaged.
Read more: Easy Betty Dress Hack: Create a Stunning Peplum Blouse in Minutes!