Dive into the delightful world of fabric and create charming, plump carrots with this fun and easy quilting project! Using readily available Dresden rulers, we'll guide you through the process of crafting adorable stuffed carrots, perfect for adding a touch of whimsy to your home décor or gifting to loved ones. These delightful little vegetables are surprisingly simple to make, even for beginner quilters, requiring minimal sewing experience and readily available materials. Forget complicated patterns and intricate stitching; this project focuses on quick, satisfying construction and the joy of creating something unique.
These charming DIY stuffed carrots are a fantastic opportunity to experiment with vibrant fabric combinations and personalize your creations. From cheerful sunny yellows to deep earthy oranges, the possibilities are endless! Ready to get your hands dirty (with fabric, of course)? Let's jump right into the step-by-step instructions and transform your fabric scraps into a delightful harvest of handmade carrots.
Safety Guidelines
- Always use sharp rotary cutters and a cutting mat to prevent accidents. Keep fingers away from the blade.
- Dresden rulers can be sharp; handle them carefully and avoid dropping them.
- When using your sewing machine, be mindful of your fingers and avoid reaching into the moving parts.
Methods: Making Stuffed Carrots with Dresden Rulers
Tools Needed
- Dresden ruler
- Rotary cutter
- Orange and green fabric scraps
- Heat n Bond fusible interfacing
- Fiberfill stuffing
- Needle
- Thread
- Pinking shears (optional)
- Hemostats or turning tool (optional)
Step-by-Step Instructions
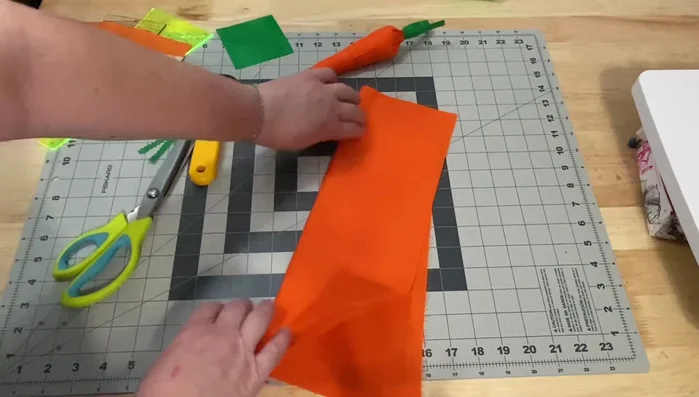
Prepare Fabric
- Fold fabric in half, ensuring enough fabric to fit your chosen Dresden ruler. You can use solid fabric or create a scrappy version by sewing together various orange scraps.

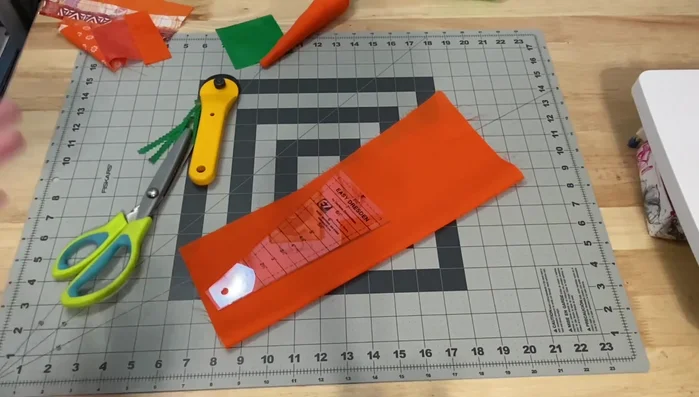
Prepare Fabric Cut Carrot Shapes
- Place your Dresden ruler on the folded fabric and cut out two carrot shapes per carrot. You can adjust the size by using different inch marks on the ruler.
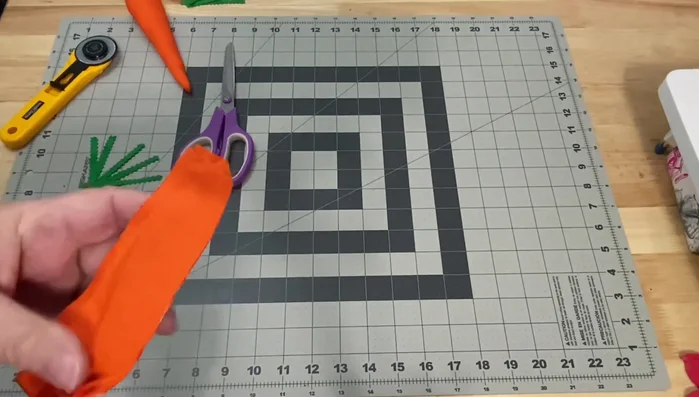
Cut Carrot Shapes Sew Carrot Pieces
- Place the two carrot pieces right sides together and stitch down one side and across the bottom, leaving the top open for turning and stuffing.
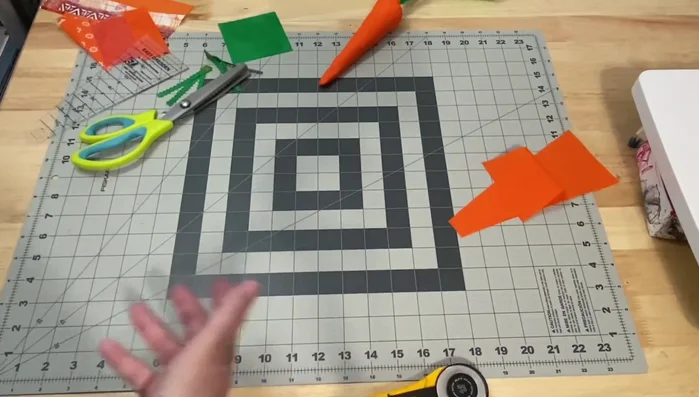
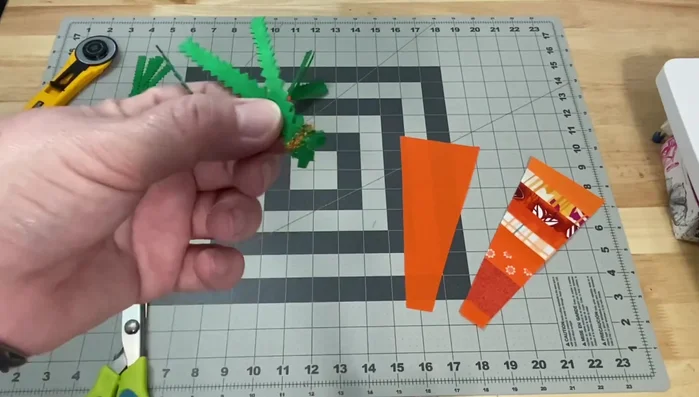
Sew Carrot Pieces Make Leaves
- Cut squares of green fabric. Fuse two pieces together using Heat n Bond fusible interfacing. Cut leaves using pinking shears or rotary cutter.
Make Leaves Assemble Leaves
- Stitch several leaves together to create leaf clusters.
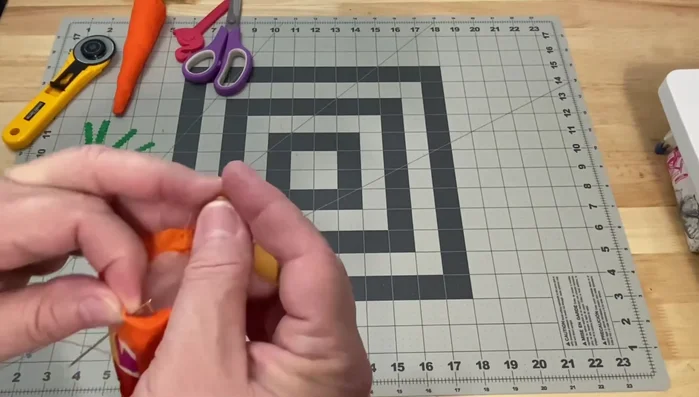
Assemble Leaves Turn and Stuff Carrots
- Carefully turn the sewn carrot pieces right side out using hemostats or a turning tool. Stuff with fiberfill.
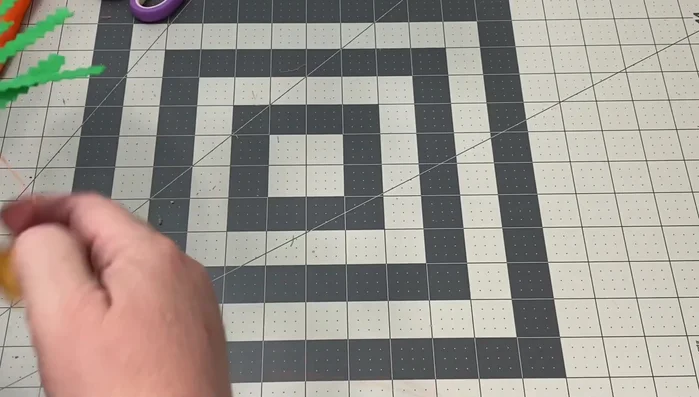
Turn and Stuff Carrots Close the Top
- Fold down the top edge of the carrot and hand-stitch it closed using a running stitch. Secure the stitching with a knot.
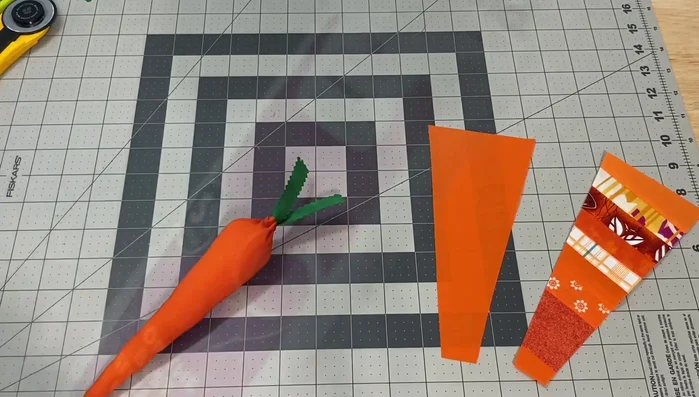
Close the Top Attach Leaves
- Insert the leaf clusters into the top of the carrot and secure with additional hand stitching.
Attach Leaves
Tips
- Don't be afraid to experiment with different fabrics and patterns for your carrots and leaves.
- To avoid bulk, trim the bottom corners of your carrot pieces before turning them right side out.
- Stuff your carrots gradually to achieve even distribution and prevent lumps.
Read more: DIY Adorable Pumpkin Plushies: Two Easy Sewing Methods for Halloween Decor