Halloween is just around the corner, and what better way to celebrate than with adorable, handmade decorations? This year, ditch the mass-produced plastic and embrace the charm of DIY! We'll be crafting delightful pumpkin plushies, perfect for adding a touch of spooky sweetness to your home. Forget complicated patterns and expensive supplies; these cuddly pumpkins are surprisingly easy to make, even for beginners. You’ll find they're a wonderfully fun project for all ages, perfect for a family crafting session or a cozy solo activity.
This guide presents two simple sewing methods, catering to different skill levels and preferences. Whether you're a seasoned sewer or just starting out, you'll find a technique that works for you. Get ready to unleash your creativity and prepare for a harvest of huggable pumpkins! Ready to dive in? Let's get started with our step-by-step instructions.
Safety Guidelines
- Adult supervision is required, especially when using needles and scissors. Keep these tools out of reach of children.
- Always use a sharp needle to avoid accidents and ensure clean stitches. Blunt needles require more force, increasing the risk of injury.
- If using fabric glue, ensure adequate ventilation and follow the manufacturer's instructions carefully. Some glues can be toxic if inhaled.
Methods: Method 1: Simple Pumpkin Plushie
Tools Needed
- plush fabrics (orange and green)
- threads (orange and green)
- embroidery floss
- scissors
- beans
- sewing needle
- embroidery needle
- toy stuffing
Step-by-Step Instructions
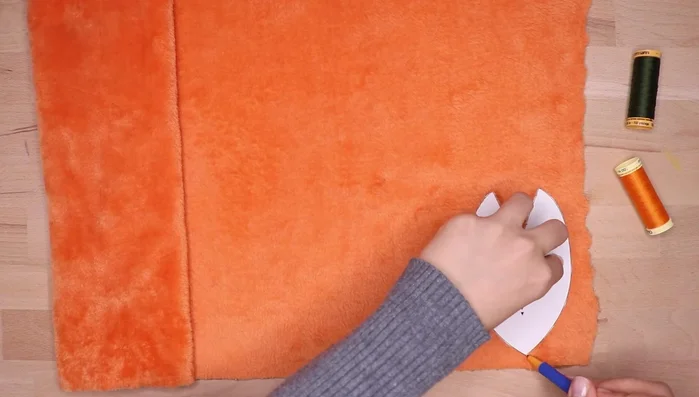
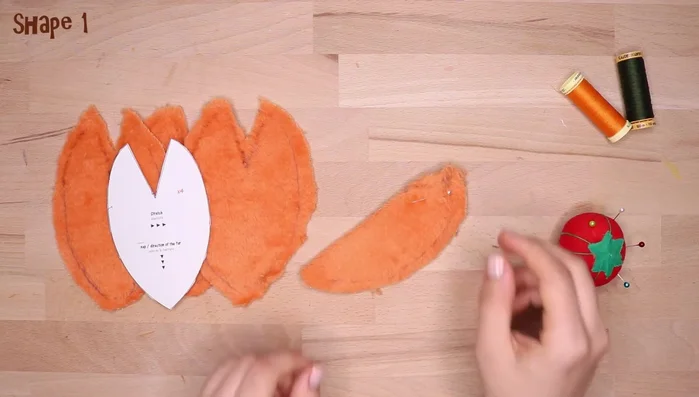
Cut Fabric Pieces
- Print the pattern and cut four pieces in orange fabric, leaving a 1/4 inch seam allowance.

Cut Fabric Pieces Sew Side Panels
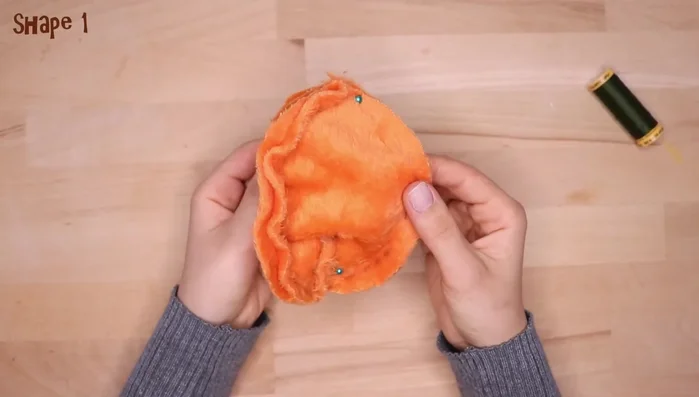
- Fold the fabric with right sides facing and pin the opening.
- Sew along the lines.
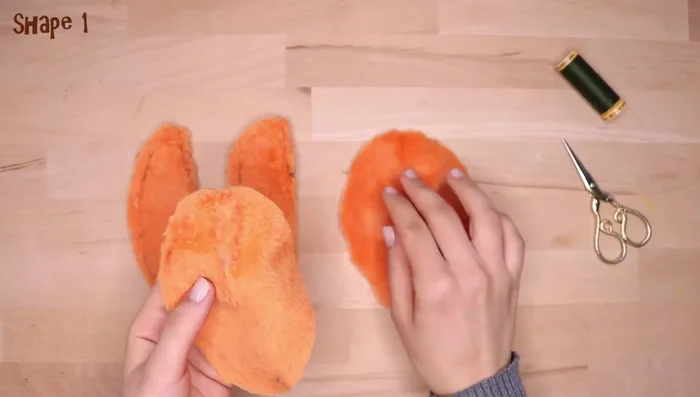
- Take two pieces together (right sides facing), pin, and sew.
- Repeat step 4 with the remaining two pieces.
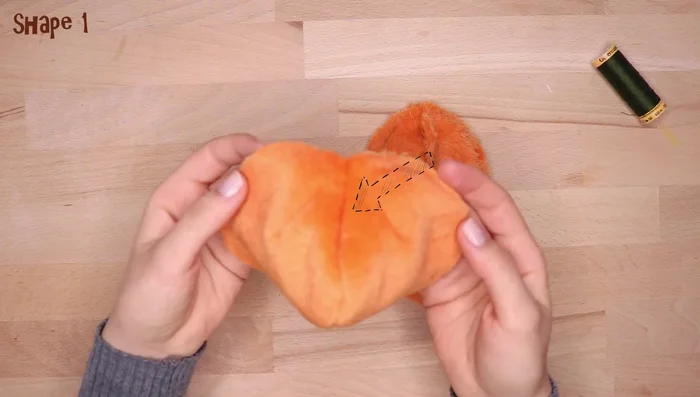
Sew Side Panels Sew Front and Back
- Pin the two larger pieces together, aligning seams.
- Sew along the lines, leaving a small opening at the top.
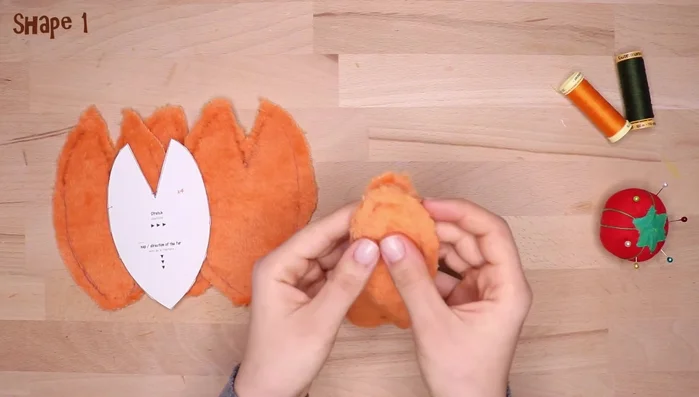
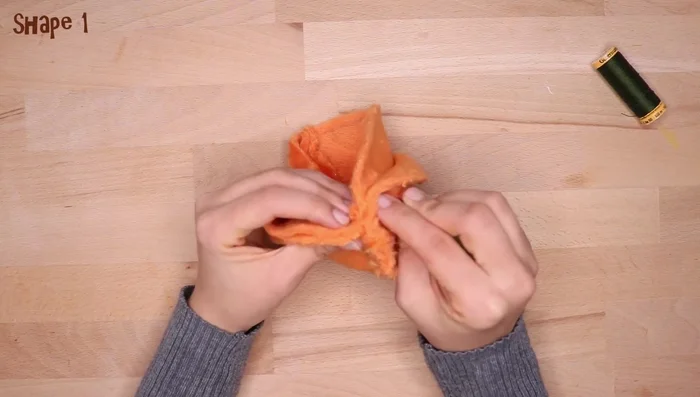
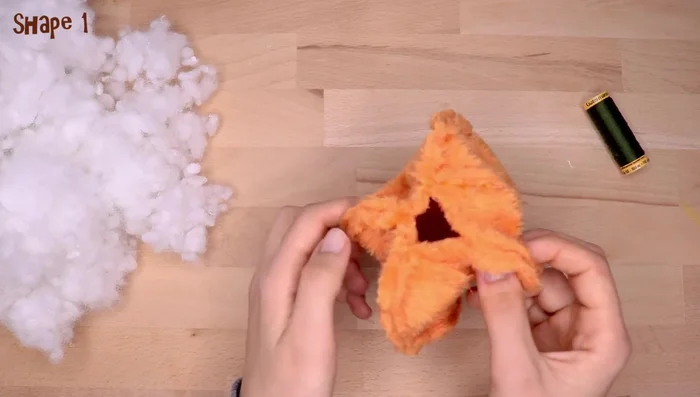
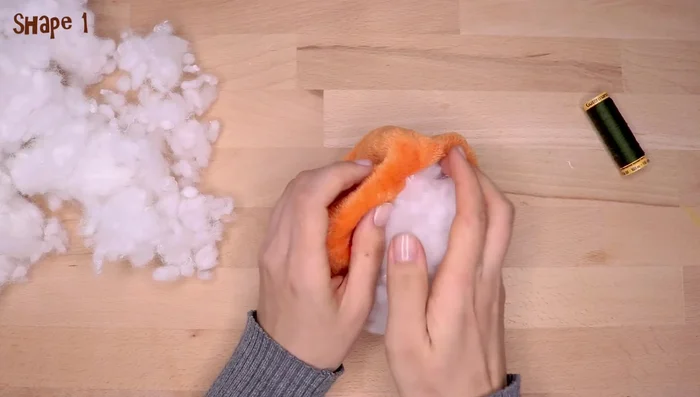
Sew Front and Back Turn and Stuff
- Turn the plushy inside out through the opening.
- Fill with stuffing.
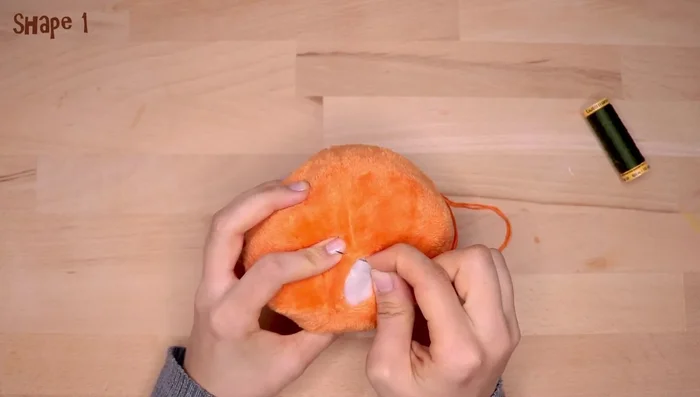
Turn and Stuff Close Opening
- Close the opening with a running stitch using embroidery needle and floss.
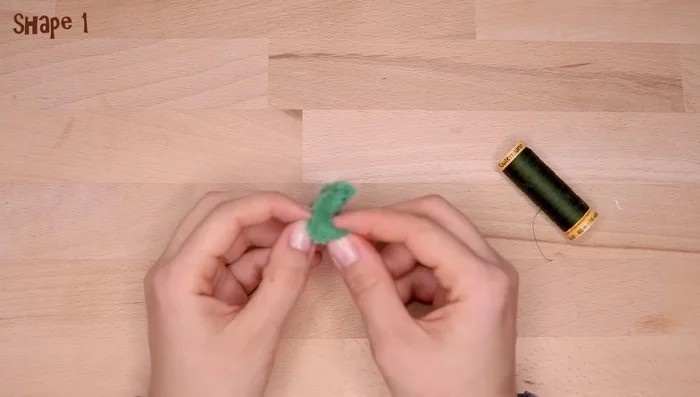
Close Opening Make and Attach Stem
- Cut a small piece of green fabric, fold it (right sides facing), pin, and sew.
- Turn the green piece inside out.
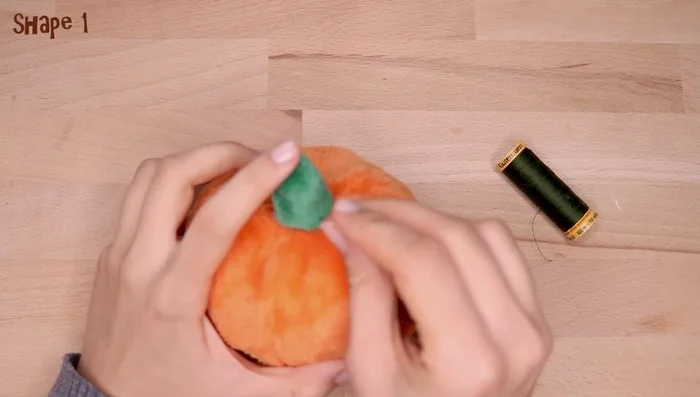
- Place it on top of the pumpkin and sew in place.
Make and Attach Stem

Tips
- Use an embroidery needle and floss to close the pumpkin for a more secure finish, especially with a lot of stuffing.
Methods: Method 2: Defined Shape Pumpkin Plushie
Tools Needed
- plush fabrics (orange and green)
- threads (orange and green)
- embroidery floss
- scissors
- beans
- sewing needle
- embroidery needle
- toy stuffing
Step-by-Step Instructions
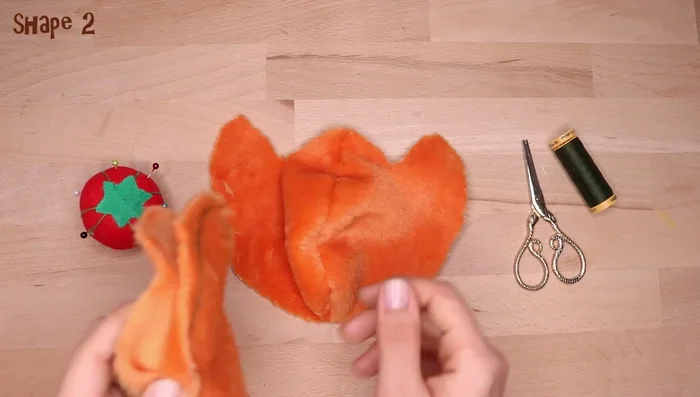
Sew the Pumpkin Body
- Pin two pieces together and sew along the lines, leaving the opening.
- Repeat step 1 with the remaining two pieces.
Sew the Pumpkin Body Turn Inside Out
- Turn the plushy inside out.
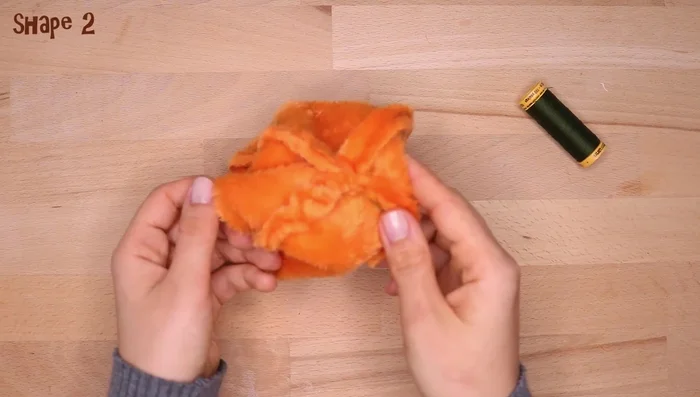
Turn Inside Out Stuff and Close
- Close each opening by hand, making the stitches longer than in Method 1.
- Fill with stuffing and follow the remaining steps from Method 1.
Stuff and Close