Tired of wrestling with pillowcases that never seem to fit quite right? Wouldn't it be fantastic to have perfectly tailored, zippered pillowcases that offer a snug, secure fit for your pillows, protecting them from dust and spills? This simple DIY project shows you exactly how to achieve that, providing you with a satisfying sense of accomplishment and a beautifully crafted, practical addition to your bedroom. Forget the frustration of ill-fitting pillowcases – with just a little time and effort, you can create custom-fit versions to match your style and bedding.
This guide outlines two straightforward methods for creating easy DIY pillowcases with zippers, both designed for beginners with minimal sewing experience. Whether you prefer a classic envelope closure or a more streamlined, fully zippered design, we'll walk you through each step of the process, from measuring your pillow to the final stitch. Ready to transform your sleep sanctuary with these practical and stylish pillowcases? Let's dive into the step-by-step instructions.
Safety Guidelines
- Always use a sharp pair of scissors or rotary cutter to prevent fabric from fraying and ensure clean cuts. Blunt tools can lead to injury.
- When using a sewing machine, be mindful of your fingers and keep them away from the needle. Always use a seam ripper to remove stitches instead of trying to pull them out.
- Before starting, pre-wash your fabric to avoid shrinkage after the pillowcase is completed. This ensures a proper fit.
Methods: Method 1: Two-Fabric Back Panel with Decorative Flap
Tools Needed
- Fabric (two different types)
- Zipper (slightly longer than pillow form)
- Sewing machine
- Zipper foot
- Iron
- Pins
- Scissors
Step-by-Step Instructions
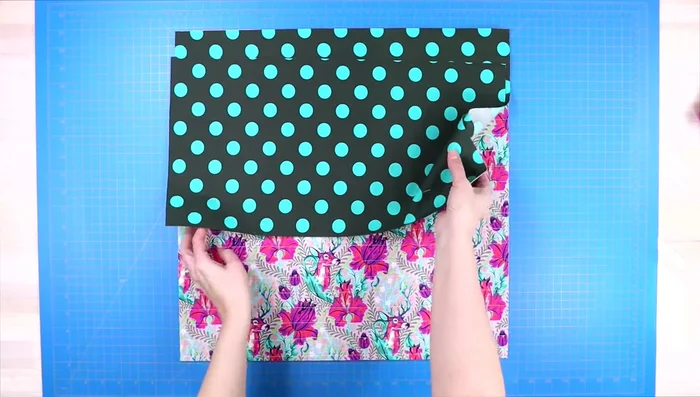
Prepare Fabric Pieces
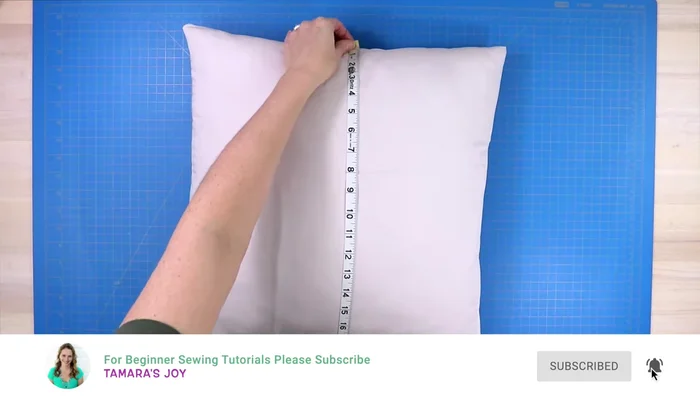
- Measure pillow form from side seam to side seam. Cut front fabric to these measurements.
- Cut a fabric strip (width of pillow form, length + 1.5 inches). This extra length accounts for seam allowance.
- Cut the fabric strip in half.
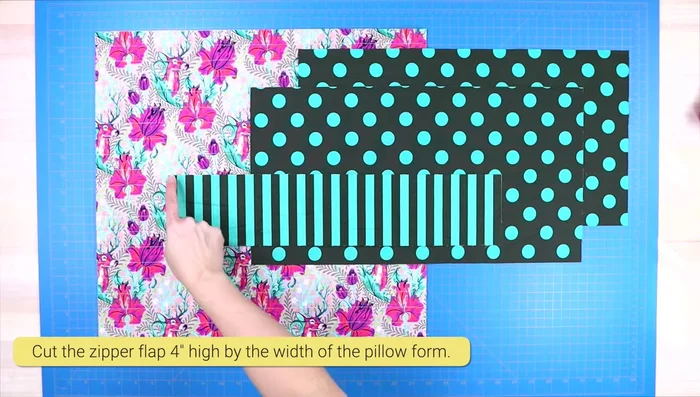
- Cut another fabric piece (4 inches x width of pillow form).

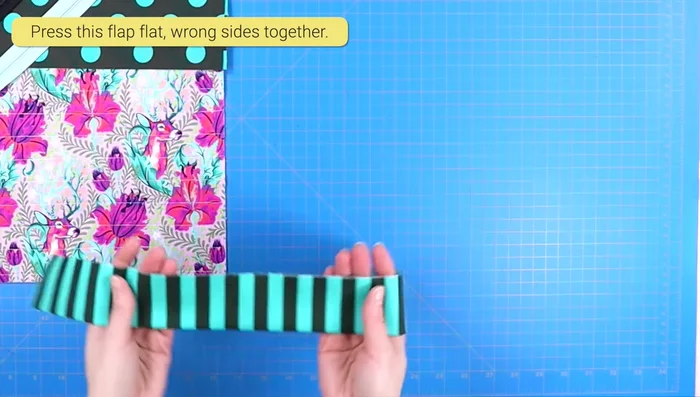
Prepare Fabric Pieces Prepare the Decorative Flap
- Fold the 4-inch strip in half (wrong sides together), press.
Prepare the Decorative Flap Attach Zipper to Bottom Fabric
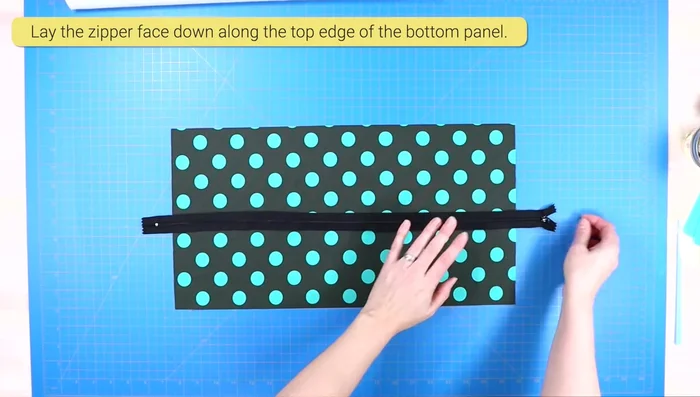
- Place zipper face down along the top edge, center it. Sew across the top edge using a zipper foot, securing with back stitches.
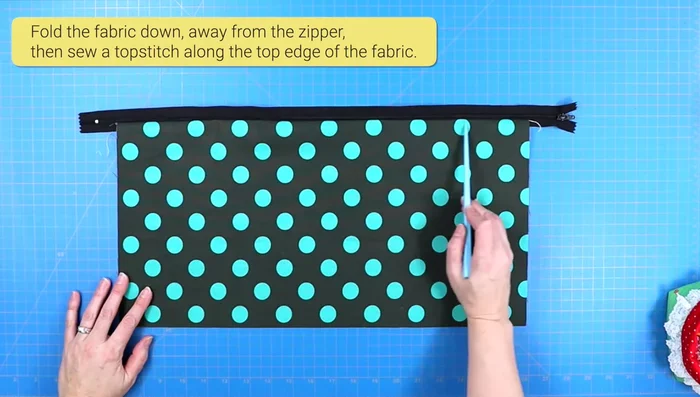
- Top stitch along the top edge of the zipper, securing with back stitches.
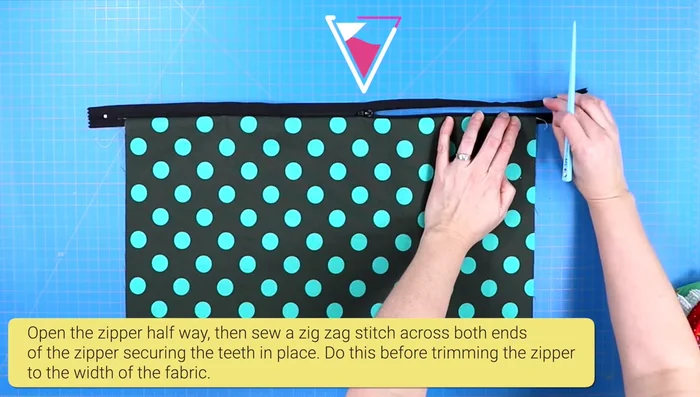
- Secure zipper ends with a wide zigzag stitch to prevent teeth from separating. Trim excess zipper.
Attach Zipper to Bottom Fabric Assemble Back Panel
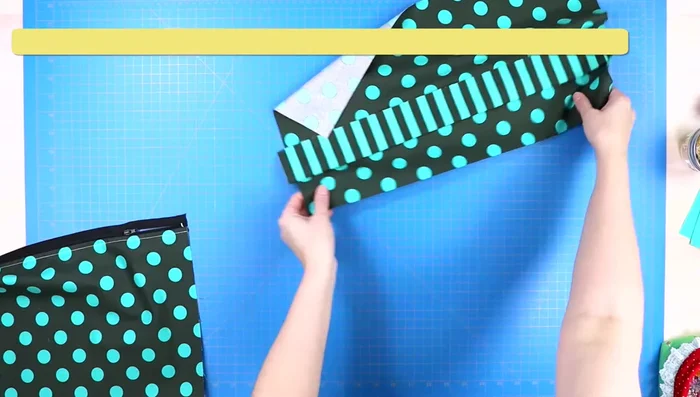
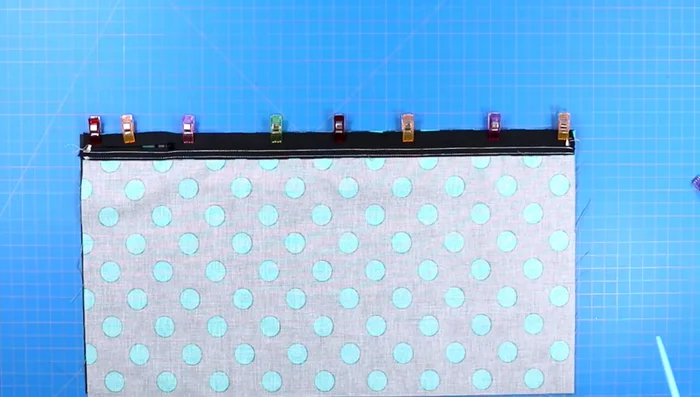
- Place the top fabric piece, folded 4-inch strip (raw edges aligned), and zippered fabric piece (right side down) together. Clip in place.
- Sew across the top edge of the sandwich using a zipper foot, securing with back stitches.
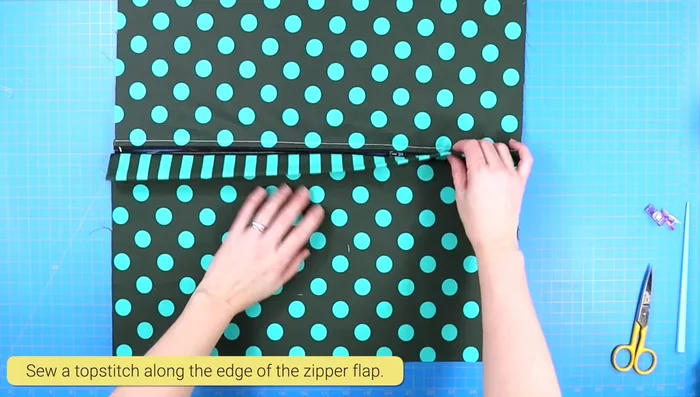
- Finger press the seam open. Sew a top stitch along the top edge of the flap, moving the zipper head out of the way.
Assemble Back Panel Finish Back Panel
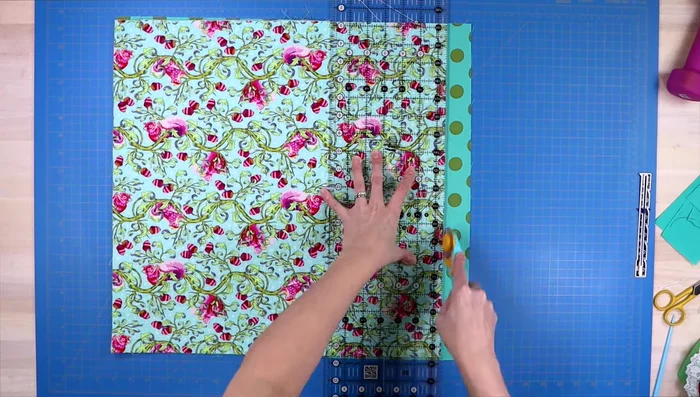
- Trim backing panel to match front panel.
Finish Back Panel Assemble Pillow
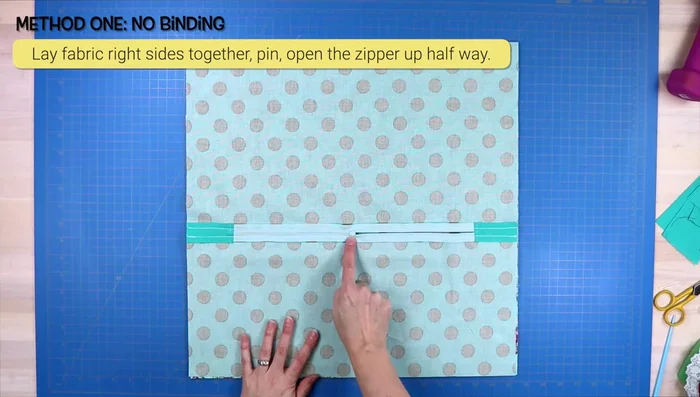
- Lay both panels right sides together, clip, sew a 1/2 inch seam allowance around the edges, clip corners, and turn right side out.
Assemble Pillow

Tips
- Use a longer zipper than your pillow form for Method 1 to ensure the metal zipper stops extend past the edges of the pillow.
Methods: Method 2: Single-Fabric Back Panel with Integrated Flap
Tools Needed
- Fabric (single type)
- Zipper (shorter, possibly extended)
- Sewing machine
- Zipper foot
- Iron
- Pins
- Scissors
Step-by-Step Instructions
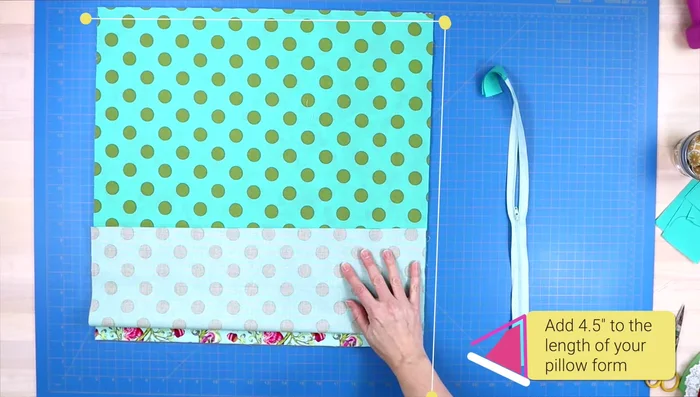
Cut Back Panel
- Width = pillow form width; Length = pillow form length + 4.5 inches. Divide the length in half.
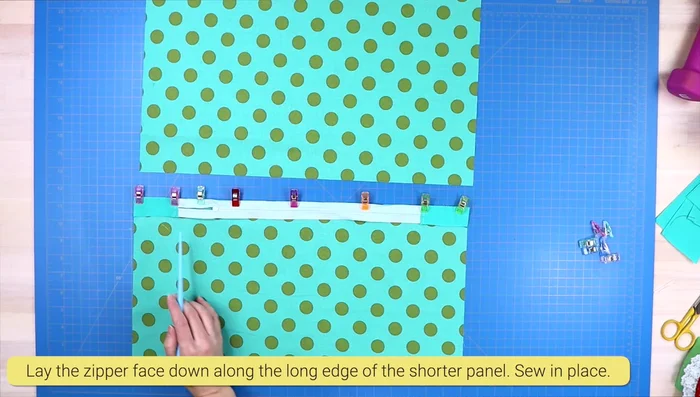
Cut Back Panel Attach Zipper to First Panel Half
- Place zipper face down along the top edge, sew using a zipper foot. Secure with back stitches.
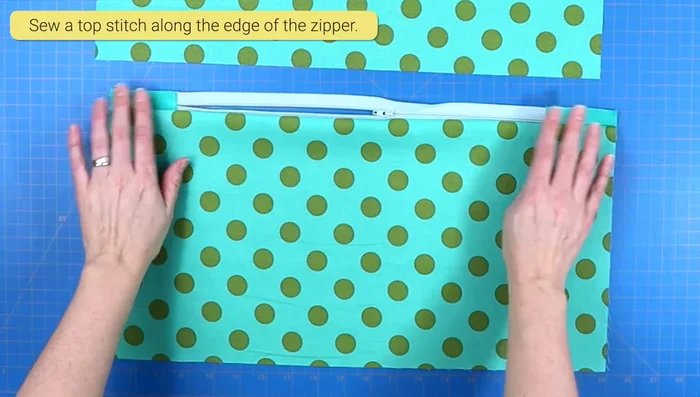
- Top stitch along the top edge of the zipper on the smaller panel half.
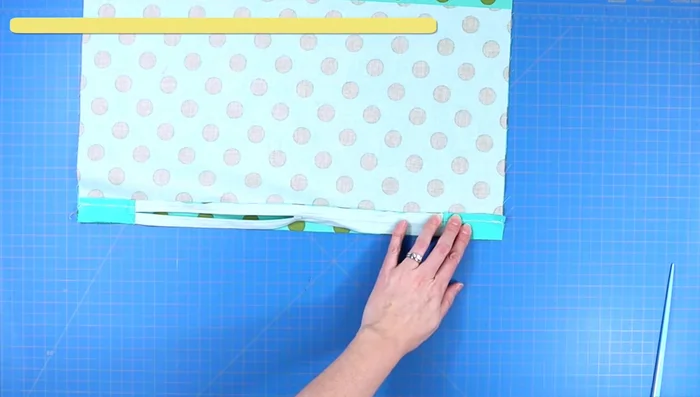
Attach Zipper to First Panel Half Attach Zipper to Second Panel Half
- Place zipper edge along the edge of the larger panel, sew using a zipper foot. Secure with back stitches.
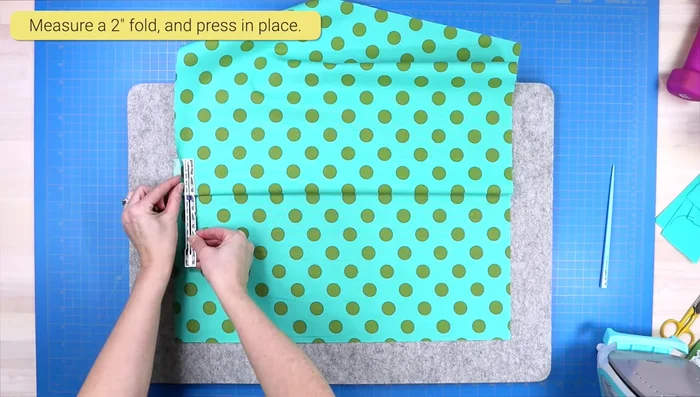
Attach Zipper to Second Panel Half Create and Attach Flap
- Press a 2-inch fold over the zipper on the larger panel. Pin in place and sew across the top edge using a zipper foot.
Create and Attach Flap Trim and Assemble Pillow
- Trim backing panel to match front panel.
- Refer to steps for Method 1 for assembly instructions (with or without binding).
Trim and Assemble Pillow
Tips
- For a smaller zipper, use the tutorial on lengthening zippers.
Read more: 3 Easy DIY Twisted Headbands: Simple Sewing Tutorials for Adults & Babies