Headbands are a stylish and practical accessory for both adults and babies, offering a comfortable way to keep hair out of the face and adding a touch of personal flair to any outfit. Whether you're looking for a quick and easy project to add to your crafting repertoire or a thoughtful handmade gift, creating your own headbands is surprisingly simple. Forget expensive store-bought options; with just a few basic sewing skills and readily available materials, you can craft beautiful and unique headbands tailored to your exact preferences. This tutorial focuses on three delightfully simple twisted headband designs, perfect for all skill levels.
From delicate and dainty styles ideal for newborns to more robust and colorful options for adults, these designs offer versatility and customization. We’ll guide you through each step of the process, using clear instructions and accompanying images to ensure even complete beginners can achieve professional-looking results. Ready to get started and create some gorgeous headbands? Let's dive into the detailed, step-by-step instructions for each design.
Safety Guidelines
- Always supervise young children during crafting and never leave them unattended with small parts like buttons or pins.
- Use fabric that is soft and gentle against the skin, especially for baby headbands. Avoid anything with rough textures or loose threads.
- Ensure all seams are securely stitched to prevent unraveling and potential choking hazards, particularly for babies' headbands.
Methods: Single Twisted Headband
Tools Needed
- Fabric with Lycra or stretch
- Rotary cutter & mat (optional)
- Scissors
- Turning stick or pencil eraser
- Thread
- Straight pins
- Measuring tape
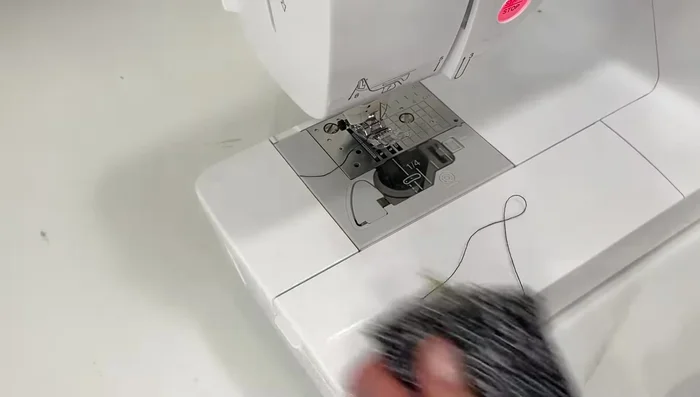
- Sewing machine
Step-by-Step Instructions
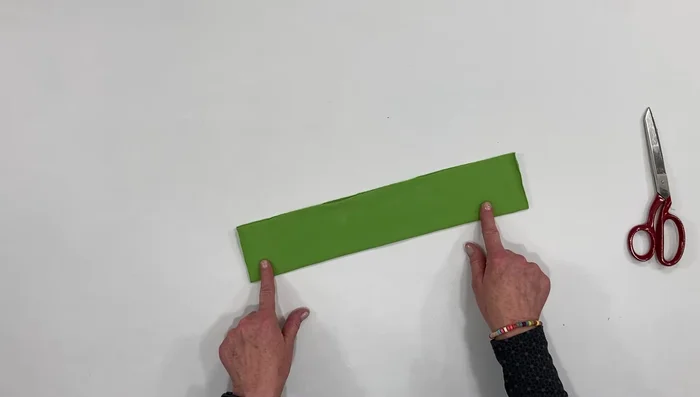
Prepare Fabric
- 6 inches wide x (head measurement - 2 inches) long.

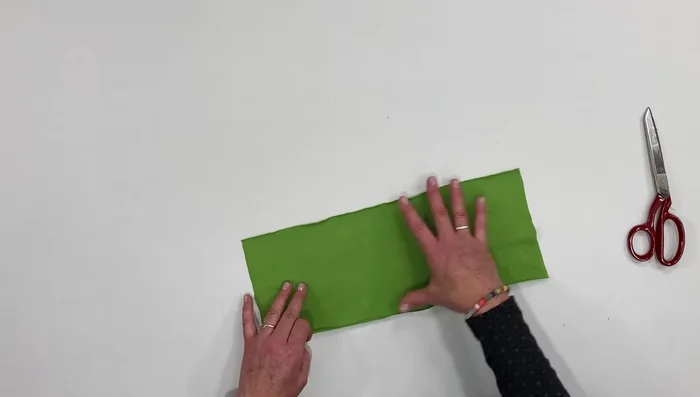
Prepare Fabric Create Tube
- Fold fabric in half lengthwise, right sides together, and pin.
- Sew a seam along the long edge using a stretch stitch or narrow zigzag stitch.
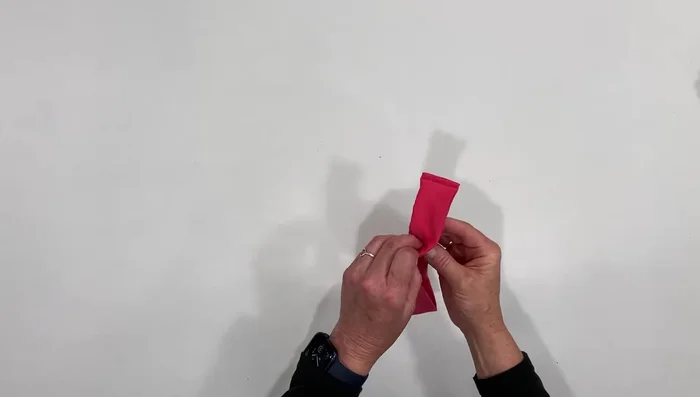
- Turn the tube inside out using a turning stick.
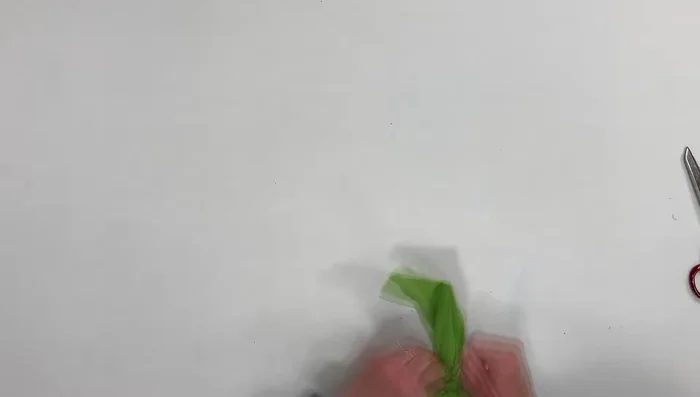
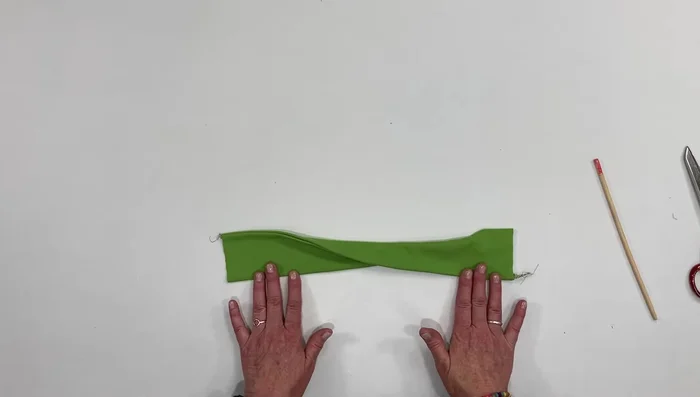
Create Tube Twist and Sew
- Offset the edges and wrap one end around the other, right sides together, aligning the top edge with the back seam.
- Sew along the edges about 3/8 inch from the edge.
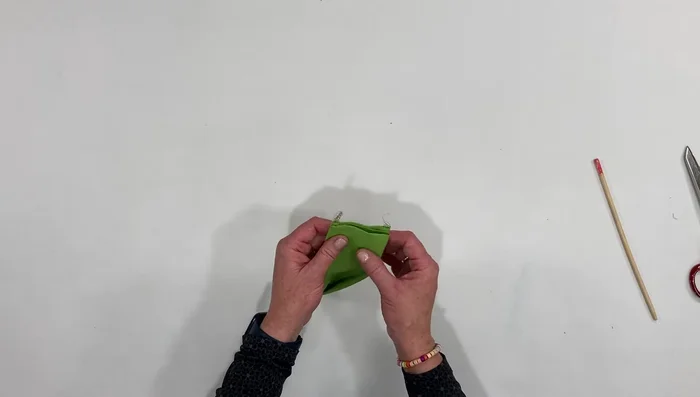
- Trim the seam and turn right side out.
Twist and Sew

Tips
- Use fabric with Lycra or good stretch for comfortable wear.
- Use a stretch stitch or narrow zigzag stitch to prevent the seam from popping.
- The right side of the fabric will curl when pulled.
Methods: Double Twisted Headband
Tools Needed
- Fabric with Lycra or stretch
- Rotary cutter & mat (optional)
- Scissors
- Turning stick or pencil eraser
- Thread
- Straight pins
- Measuring tape
- Sewing machine or Serger
Step-by-Step Instructions
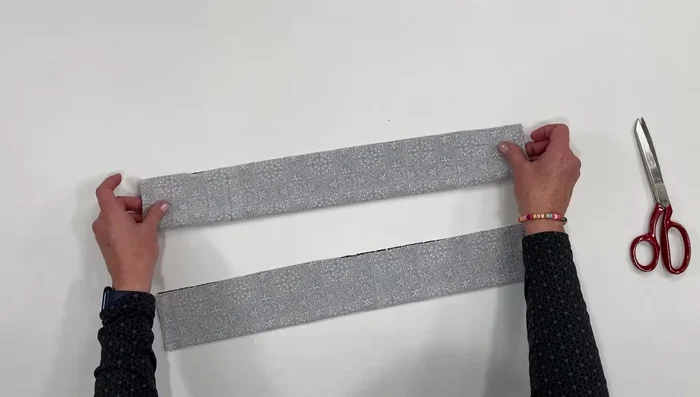
Prepare Fabric Strips
- 6 inches wide x (head measurement - 2 inches) long.
Prepare Fabric Strips Sew Fabric Strips
- Sew a seam along the long edge of each strip using a serger or stretch stitch.
Sew Fabric Strips Turn and Position Strips
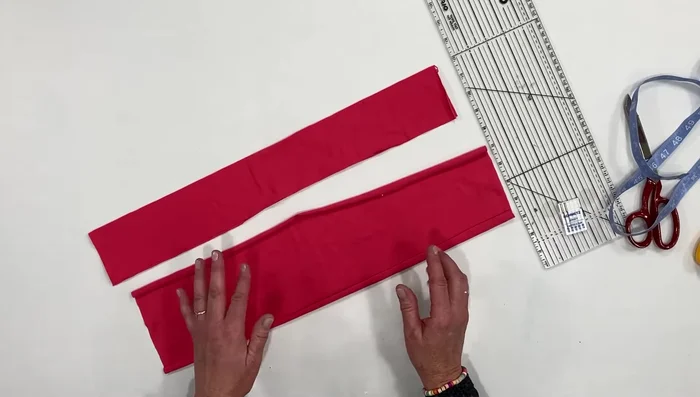
- Turn both strips inside out.
- Place the two strips together, seam sides facing each other, and flatten.
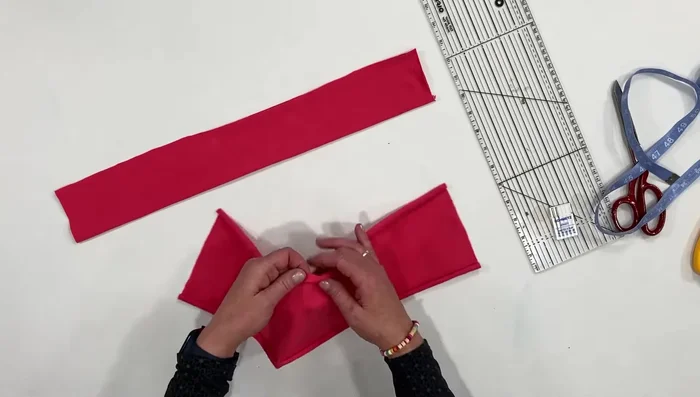
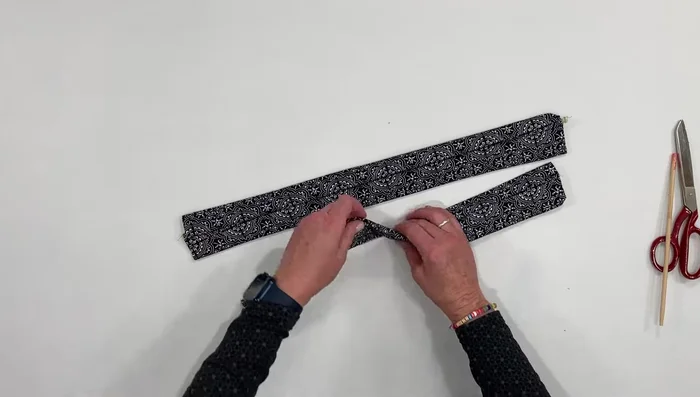
Turn and Position Strips Join Fabric Strips
- Align the seam edges and sew all four edges together using a single needle machine and a small seam allowance.
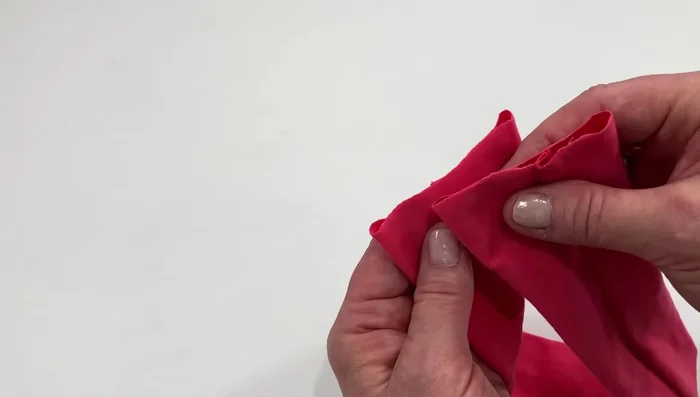
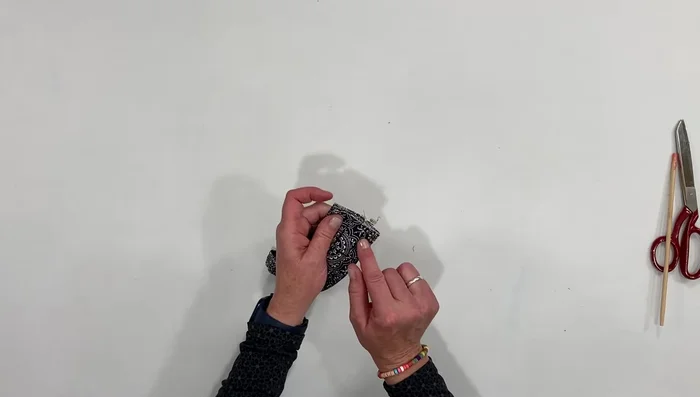
Join Fabric Strips Finish Headband
- Trim excess fabric and turn right side out.
Finish Headband


Tips
- A serger makes this process much faster.
Methods: Flat Twisted Headband
Tools Needed
- Fabric with Lycra or stretch
- Rotary cutter & mat (optional)
- Scissors
- Thread
- Straight pins
- Measuring tape
- Sewing machine
Step-by-Step Instructions
Prepare Fabric
- 6 inches wide x (head measurement - 2 inches) long.
Prepare Fabric Create Tube
- Fold fabric in half lengthwise, right sides together, and sew a seam.
Create Tube Turn and Fold
- Turn inside out. Fold in half again with seam at the top or bottom.
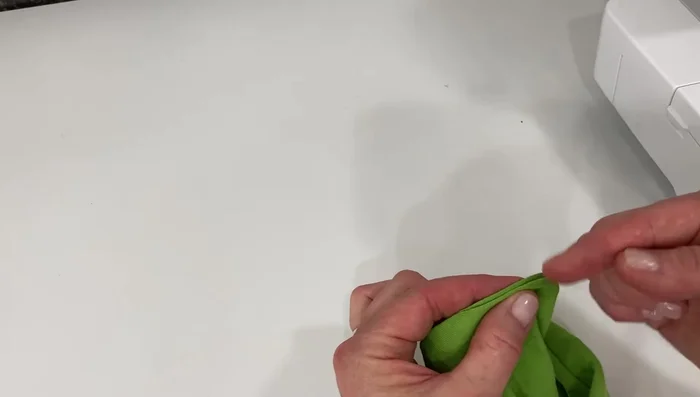
Turn and Fold Twist and Prepare for Final Seam
- Twist one end and fold in half, aligning edges. Pin.
Twist and Prepare for Final Seam Sew the Headband
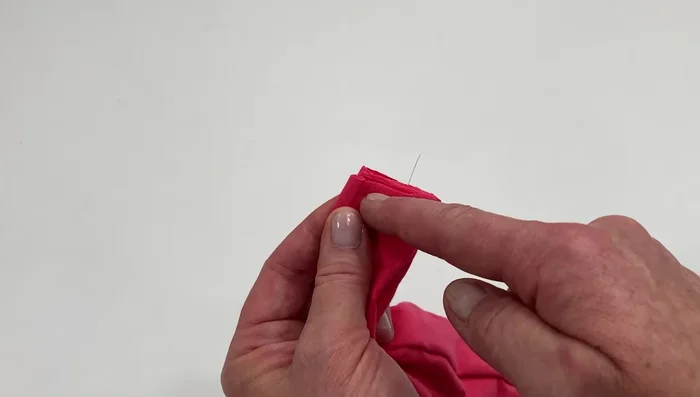
- Pin and sew only through two layers for a cleaner finish.
Sew the Headband Close Opening
- Close the opening using a whip stitch or top stitching.
Close Opening
Tips
- For a cleaner finish, pin and sew only through two layers of fabric.