Fanny packs are back, and they're cooler than ever! But ditch the mass-produced, generic designs and embrace the satisfying accomplishment of crafting your own unique roll-top fanny pack. This comprehensive sewing tutorial will guide you through creating a stylish and functional accessory perfectly tailored to your preferences, from choosing the perfect fabric to adding those personalized touches that make it truly yours. Forget boring, predictable bags; get ready to unleash your creativity and sew a statement piece that reflects your individual style.
This DIY project is surprisingly achievable, even for beginner sewers. We'll break down each step, providing clear instructions and helpful visuals to ensure you confidently navigate the process from start to finish. Get ready to learn how to create the iconic roll-top closure, expertly finish seams, and add durable hardware. Ready to get started? Let's dive into the step-by-step instructions!
Safety Guidelines
- Always use sharp sewing machine needles and pins to prevent fabric from being damaged or pulled. Dull needles can lead to skipped stitches and broken threads.
- Exercise caution when using rotary cutters and other sharp tools. Always cut away from yourself and keep your fingers clear of the blades.
- Before starting to sew, double-check your measurements and markings to avoid mistakes that require significant reworking. A well-planned project reduces frustration and waste.
Methods: Double Fold Bias Tape Binder Method for attaching Bias Tape
Tools Needed
- Double fold bias tape binder attachment for sewing machine
Step-by-Step Instructions
Prepare the Sewing Machine
- Install the double fold bias tape binder attachment to your sewing machine.

Prepare the Sewing Machine Attach Bias Tape
- Sew the bias tape directly onto the garment's outside edges.
Attach Bias Tape
Tips
- This method is fast and effective for attaching bias tape.
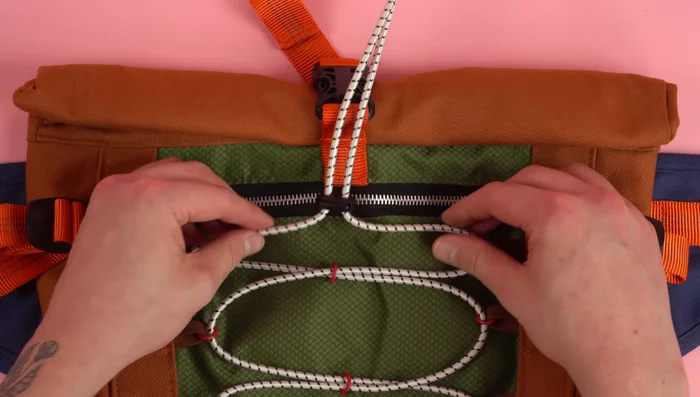
Methods: Adding Elastic Cord and Eyelet Rings
Tools Needed
- Eyelet rings
- Leather or webbing strips
- Elastic cord
- Cord stopper
- Elastic cord hooks
Step-by-Step Instructions
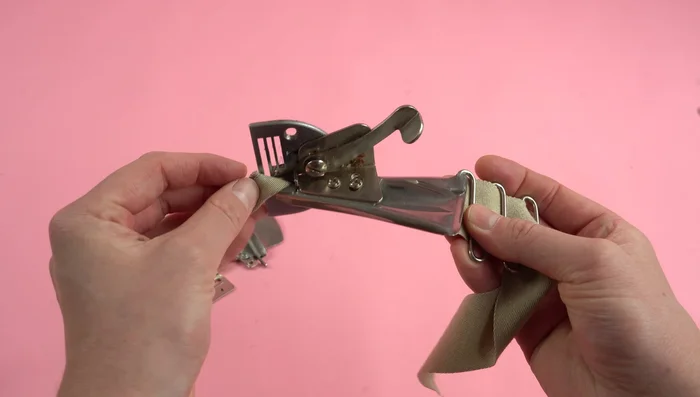
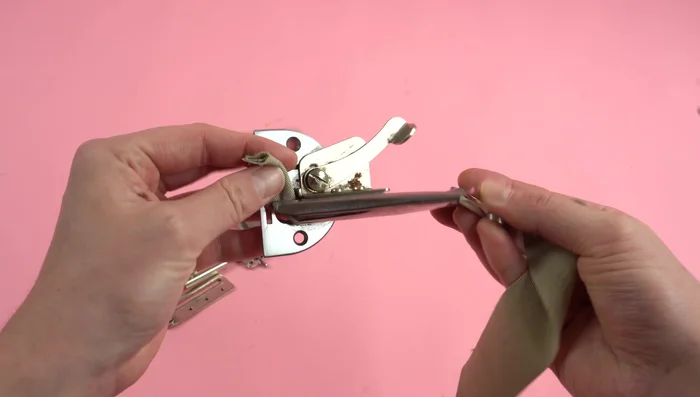
Prepare Eyelet Rings
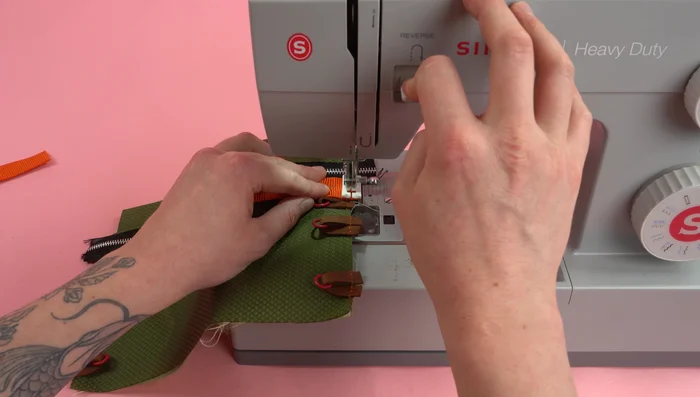
- Cut a small leather strip (or use webbing) and feed it through each eyelet ring.
- Evenly space the rings on both sides of the bottom panel, leaving about a quarter to a half inch hanging off the side edge.
- Sew the rings to the panel, one at a time.
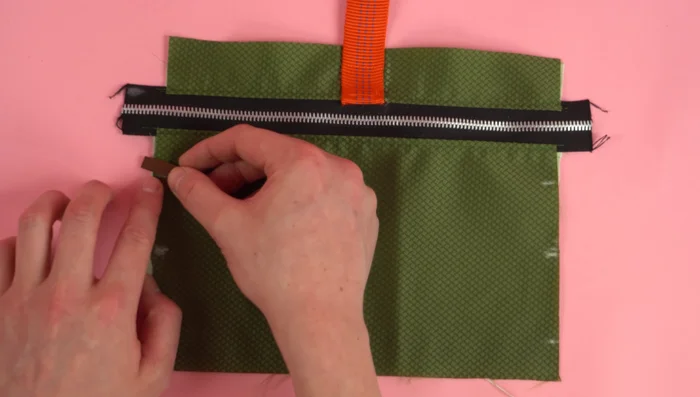
Prepare Eyelet Rings Attach Bottom Webbing
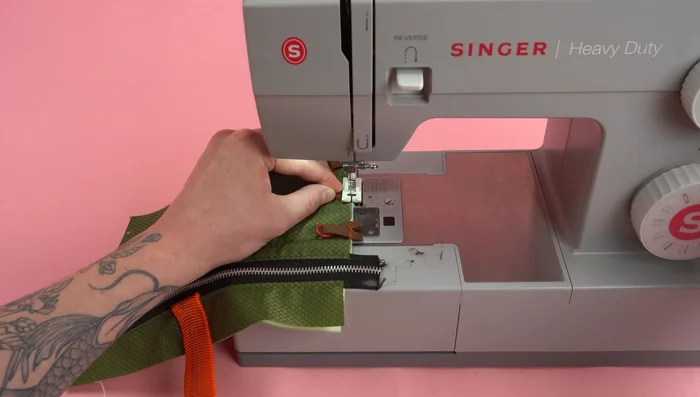
- Cut two six-inch strips of one-inch webbing and sew them under the zipper edge.
Attach Bottom Webbing Prepare Elastic Cord
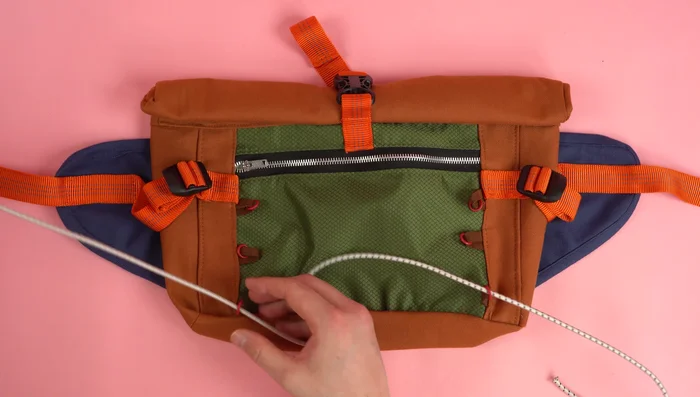
- Cut about a yard and a half of elastic cord.
Prepare Elastic Cord Thread Elastic Through Rings
- Feed the elastic cord through the bottom loops and back through the loop on the opposite side, repeating until all rings are used.
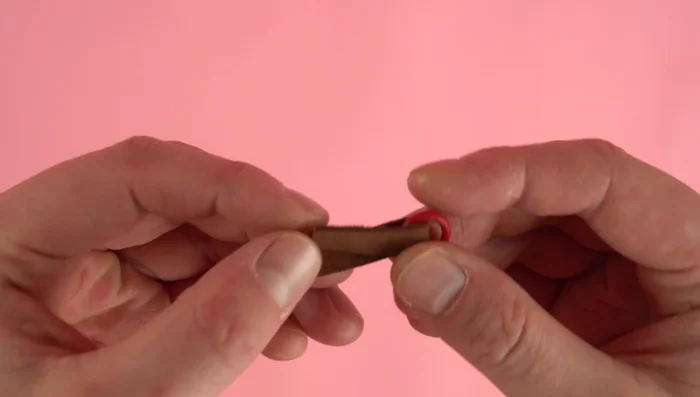
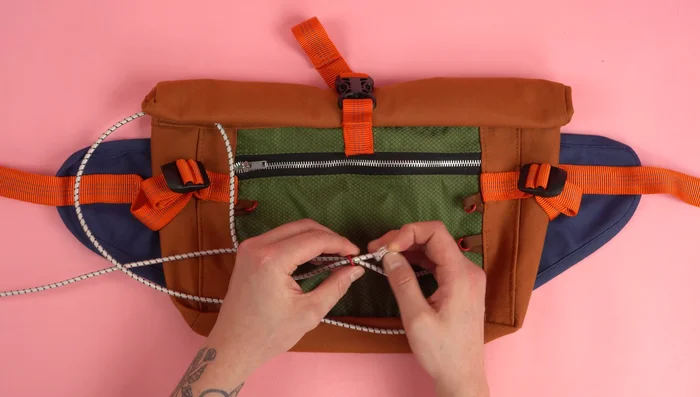
Thread Elastic Through Rings Finish Elastic Cord
- Attach a cord stopper and hooks to the ends of the elastic cord.
Finish Elastic Cord
Tips
- This is optional, but adds a nice feature to the bag.